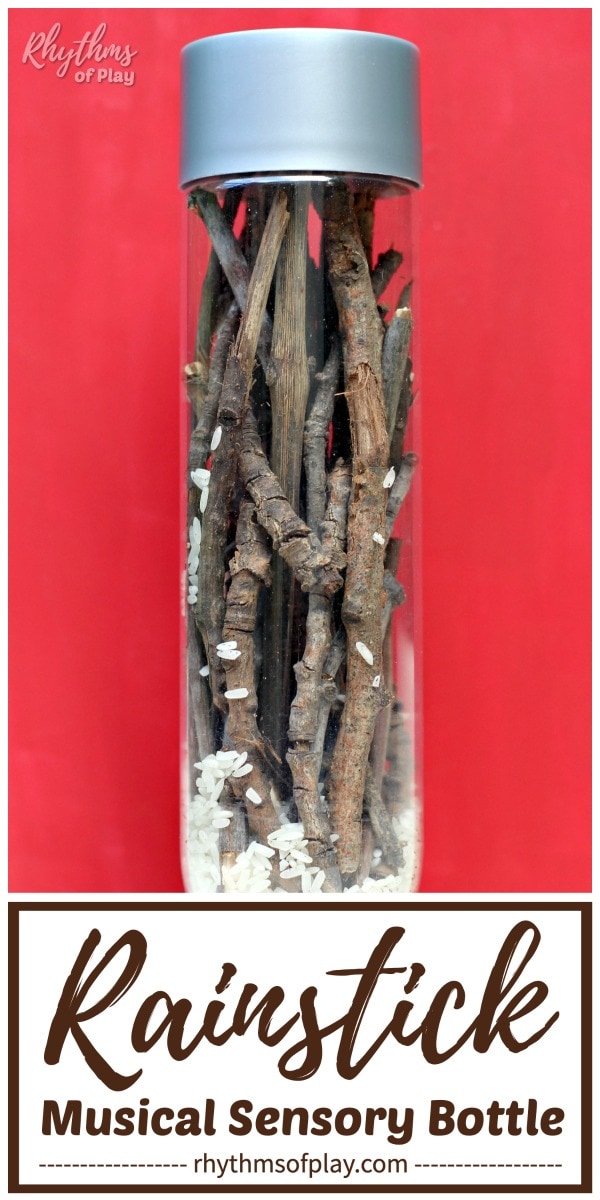
This easy step-by-step DIY sensory bottle tutorial teaches you how to make a see-through musical rainstick craft with recycled and natural materials that sound like rain falling.
This musical rainstick instrument quickly became one of our family’s favorite homemade sensory bottles. A rainstick is a musical instrument that sounds like the gentle pitter-pat of rain falling when it is tipped from top to bottom. They are commonly created in the shape of a tube and partially filled with small pebbles, beads, beans, or rice. Rainsticks are often constructed with small thorns or pins on their inside surface. However, this easy rainstick craft is made with simple craft supplies such as sticks instead of thorns or pins and a recycled plastic bottle, so it is easy for kids and adults of all ages to make this rain sensory bottle at home or in the classroom.
Discovery bottles like this see-through rainstick serve several purposes. The gentle sound of this homemade musical toy can help toddlers, preschoolers, kindergarteners, and elementary school-aged children focus, calm-down, and learn to self-regulate. A rainstick is also a great DIY toy for no-mess, safe sensory play and helping children calm down and unwind. These fidget toys that mimic the sound of falling rain are just as useful and enjoyable for adults.
This weather sensory bottle can also help educate children about simple science concepts and different types of weather. This informative guide also covers the history, purpose, uses, and spiritual significance of rainsticks. Learn more about these musical instruments in the sections that follow. First published on July 21, 2016, this homemade rainstick sensory bottle craft tutorial is regularly updated to improve its content and keep it current. Scroll down to learn how to make a rainstick with the complete step-by-step instructions. For more information about sensory bottles and their uses, check out Calm Down Sensory Bottles 101.
What is the purpose of a Rainstick?
A rainstick is a long, cylindrical percussion instrument that produces a sound like falling rain when tilted or turned upside down. These natural sound-effect tools are designed to mimic the sound of falling rain. Usually, it is made from a hollow tube, often constructed from cactus, bamboo, or wood. A rainstick typically features a series of spines, thorns, or internal spikes attached to the inner surface of the tube. Inside the tube, small objects such as beans, seeds, small beads, or tiny pebbles create a gentle sound when they fall and trickle through this series of internal obstacles.
When the instrument is tilted or flipped, the small objects inside the tube move along the spiral path created by the spines or thorns. When these objects hit the obstacles or irregularities inside the tube, they produce a soothing sound reminiscent of raindrops falling. However, the step-by-step rainstick craft tutorial below uses sticks as the internal obstacles rather than spines or thorns, making it easy to assemble a simple sensory bottle that sounds like rain at home or in the classroom. You might also enjoy making any of these other Nature-Inspired Sensory Bottles.
What Culture are Rainsticks fRom?
Rainsticks originated mainly in the indigenous cultures of Central and South America, especially among the Diaguita and Mapuche peoples of Chile and Argentina, as well as in the Aztec civilization of Mexico. Traditionally, they are made from dried cactus stalks with thorns and filled with pebbles or seeds. These natural musical instruments were often used in rituals and ceremonies, such as rain-dance ceremonies to invoke rain for crops in dry, arid climates, hence their name. Similar rain-making devices have appeared in West Africa and among other indigenous groups throughout history.
Purpose and Uses of Rainsticks Today:
Over time, rainsticks have gained popularity worldwide as musical instruments and decorative items. Although they are still used in rain ceremonies and rituals among indigenous cultures, today they are primarily used for musical, therapeutic, and relaxation purposes. They are commonly used as calming or meditative sound tools, and are popular souvenirs in Latin American countries.
They are also utilized in music therapy and various world music genres to add unique textures and atmosphere to different types of musical compositions. Their gentle soothing sound makes them perfect for relaxation and meditation. Follow the easy step-by-step instructions below to learn how to make a rainy weather bottle. You might also enjoy these Rainy Day Activities.
Spiritual Meaning of a Rainstick and Rain:
Throughout history, rainsticks have served as a link between the earthly realm and the divine. To many, they are symbols of life, fertility, and water’s vital nurturing power. These sound-making tools were primarily used by earth-based indigenous cultures to foster harmony with nature and restore balance during droughts, which involved calling on nature’s spirits to summon rain.
Spiritually, rain represents purification, emotional release, or a divine blessing. As such, it serves as a catalyst for renewal, new beginnings, and growth. Rain also typically signifies cleansing of the soul, washing away old negative energy or grief, and nourishing the spirit to promote growth, just as it sustains the earth. A rainstick can have similar sound-healing properties.
DIY Rainstick Musical Instrument:
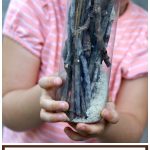
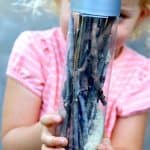
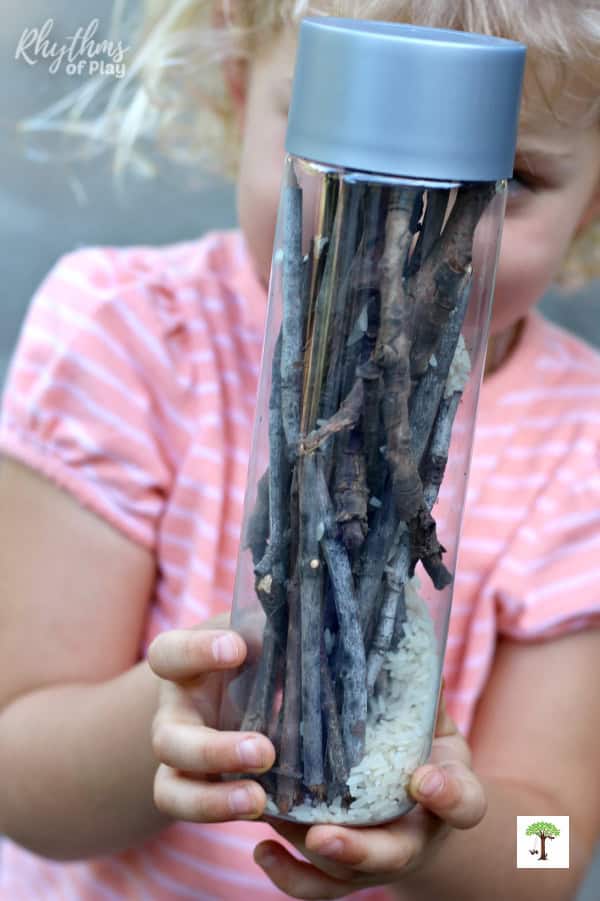
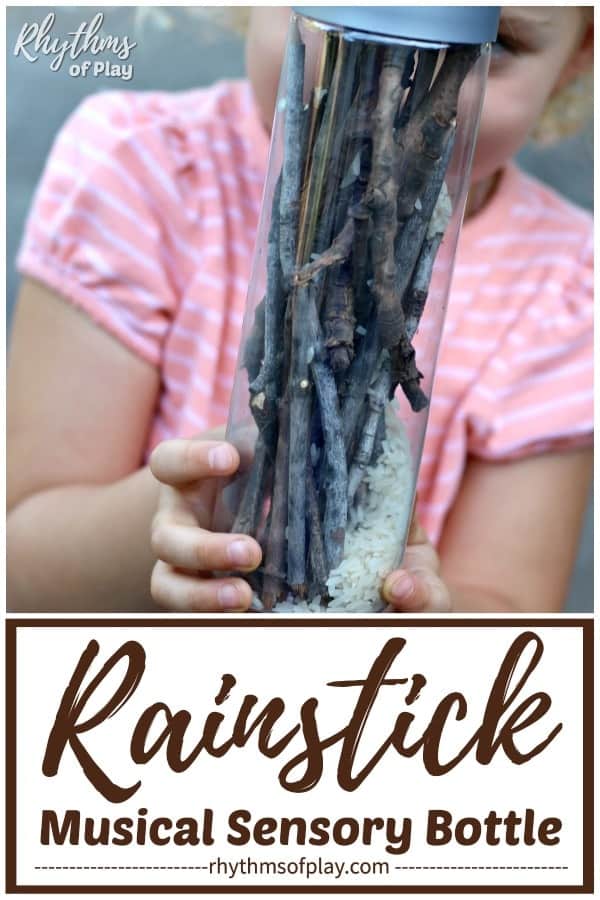
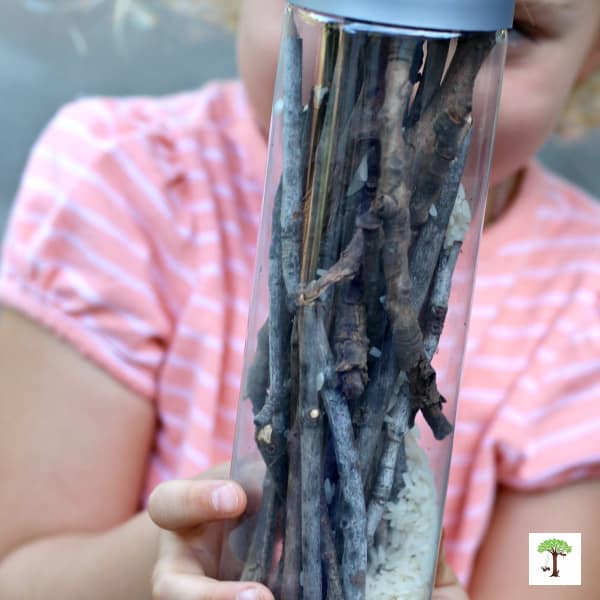
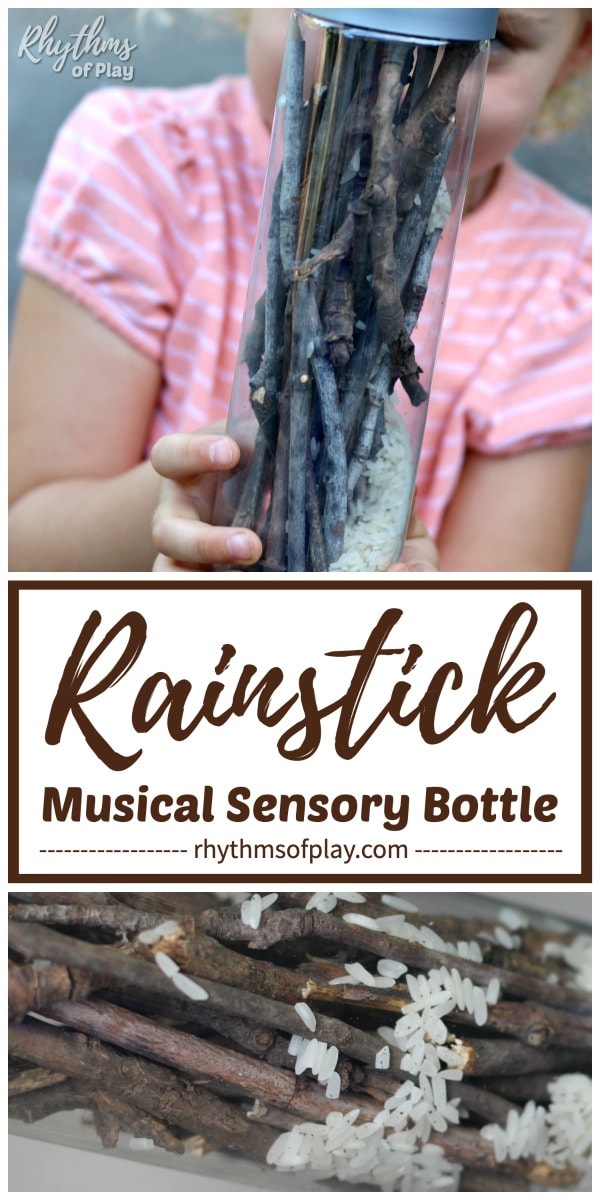
A see-through rainstick musical sensory bottle, like the one my daughter is playing with in the photographs for this post, is a mess-free way to stimulate the auditory and visual sensory systems. Tipping it from top to bottom causes the rice to bounce off the sticks, producing a sound reminiscent of rain. Young children love watching the rice fall and listening to the gentle pitter-patter of rain. They can also give this great sensory craft a gentle shake to make it sound like a rainstorm.
Speaking of the sound of rain, one of my family’s favorite rainy-day songs is “It’s Raining Outside” by Nancy Kopman. Children love to dance and sing along with its catchy, simple rhythmic lyrics. Click on THIS link to see the video or THIS link to purchase and download the song. For more kids’ music ideas, check out kids’ music that won’t drive you nuts! You might also enjoy this list of fun things to do on a rainy day.
Rainstick Craft Supplies and Ingredients:
Odds are you have everything you need to make a see-through rainstick at home in your backyard. To make this calming tool, you only need a few sticks, rice (or other small objects like pebbles or small beads), a bottle from your recycling bin, and a pair of little hands. First, read the step-by-step rainstick tutorial below to understand the steps involved. Then gather your preferred supplies from the list of recommended options below:
- Recycled water bottle or mason jar (Look for an empty bottle from the recycle bin that has a wide enough opening to fit sticks through and makes a nice sound for a rain bottle)
- Goo Gone
- Sticks, twigs, or small bare branches
- Rice (tiny beads, pebbles, millet, or dried lentils will also work)
- Super glue
 or hot glue
Related: Recycled DIY Chalk Paint
How to Make a Rainstick: Step-by-Step Homemade Sensory Bottle Tutorial:
The easy musical sensory bottle tutorial below shows how to make a rainstick step by step. First, gather some small twigs or branches before you make this rainstick sensory bottle. If you have children, invite them outside for a nature scavenger hunt to find sticks and twigs small enough to fit in a bottle or easy to break into smaller pieces.
Once you have a handful of sticks, twigs, and bare branches, gather the remaining rainstick craft materials listed above to make this simple weather sensory bottle DIY. My daughter and I enjoy making sensory bottles on our DIY Outdoor Art Table and Mud Kitchen, but a kitchen counter, dining room table, or desktop also works great.
When I make sensory bottles with my daughter, I often add a homeschool lesson to make our creation a fun and educational activity. The step-by-step rainstick tutorial below shares a few tips for making this rain sensory bottle with kids.
1. Grab an empty bottle from the recycle bin:
- Peel off the sticker from the bottle, then remove any sticky residue with Goo Gone.
Related: Rainbow Rainy Day Art
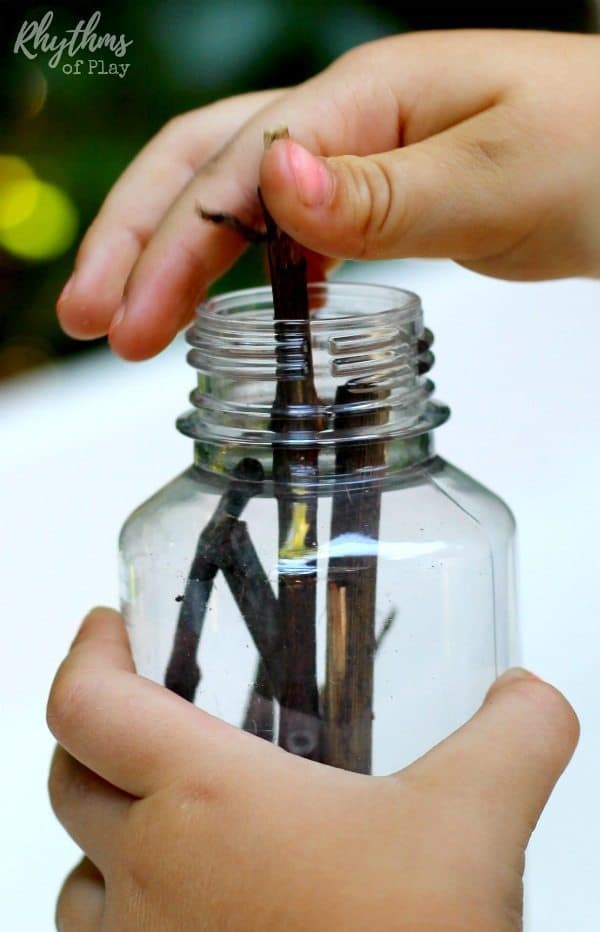
2. Fill the bottle with sticks and twigs:
- Invite your children to fill a Voss water bottle, mason jar, or another recycled bottle with small sticks and twigs to exercise their fine motor muscles.
- Show children how to tangle them up and go in different directions rather than sticking them all straight into the empty water bottle. This will create more surface area for the rice to bounce off of, producing the sound of rain.
- If you make these with your children, add a science lesson on sound and gravity as you make this rainstick craft.
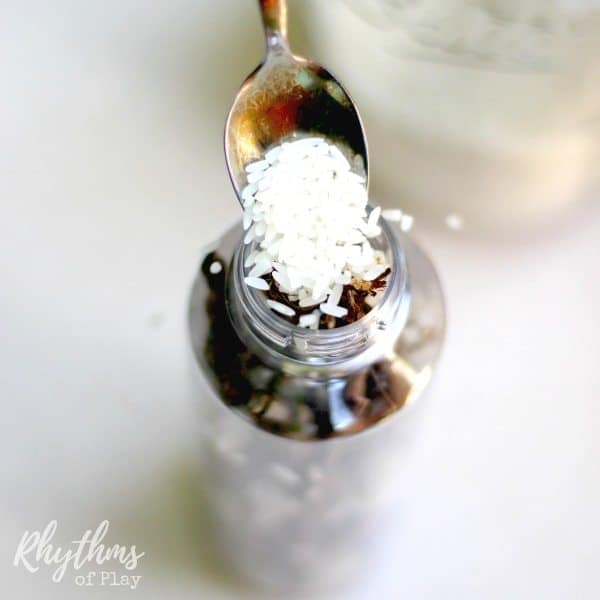
3. Add rice to the rainstick craft:
- Invite children to add 5-10 teaspoons of rice to the rainstick musical sensory bottle to practice scooping and transferring. (Alternatively, you can use beads, pebbles, millet, or lentils instead of rice.)
- Scooping and transferring the rice from a bag or jar into an empty water bottle or jar is a great hand-eye coordination activity for kids.
- Cleaning up the mess is also an excellent Montessori practical life activity (or Waldorf home life activity).
- Squeezing oranges and arranging flowers, sweeping the floor, and wiping the table are a few more fantastic Montessori practical life activities you can do at home or in the classroom.
- Shh — don’t tell kids they are learning while playing and making. It will be our little secret! 😉
Related: Coin Sorting Montessori-Inspired Sensorial Activity
4. Place the lid on the rainstick DIY sensory bottle:
- Put the lid on your homemade rainstick and slowly tip your musical sensory bottle instrument from top to bottom to hear the gentle pitter-patter of rain.
- Glue on the lid with super glue or hot glue. Alternatively, wrap duct tape around the tops of the bottle and the lid instead of or in addition to sealing it shut with glue.
- This step is optional but recommended if young children, such as toddlers and preschoolers, like my daughter in the photograph below, will be playing with the homemade rainstick.
Related: DIY Geometric Puzzle Toy for Kids
DIY Rainstick Instrument Tips, Finishing Touches, and Uses:
Nice work! You’ve made your own rainstick using simple, recycled, and natural materials. No special tools required. Embrace imperfection. Keep the sticks slightly uneven and imperfect. Let it be a bit wild, just like nature. Take your time, be curious, and enjoy the process.
A DIY rainstick sensory bottle makes an excellent homemade toy for toddlers, preschoolers, kindergarteners, elementary-aged children, tweens, and teens. These homemade calm-down bottles are fun musical instruments to watch and listen to. When slowly tipped from top to bottom, it makes a gentle pitter-patter sound like rain.
As you tilt your rainstick back and forth or turn it upside down, listen closely. When the long, hollow plastic tube, filled with sticks, rice, seeds, or pebbles, tilts, it will trickle past the sticks, mimicking the sound of falling rain. Each gentle rattle and soft cascade stimulates the sound sensory system (auditory system) and encourages you to slow down and relax.
For kids, this simple rainstick craft can help improve focus and fine-motor skills. For adults, making a rainstick provides a peaceful reminder to slow down and enjoy the process. Use your DIY rainstick to relax and find calm, for musical play, as a storytelling prop, or as a weather discovery bottle in addition to a science lesson.
If you’d like to learn more about sensory bottles, their uses, how to make them, and troubleshooting tips, please visit Calm Down Sensory Bottles 101.
Learn more about Nell Regan Kartychok, author, photographer, and creator of this original rainstick craft for kids and adults HERE, and Rhythms of Play HERE!
If You Liked This Rainstick Sensory Bottle, you might also like:
Other DIY Weather Sensory Bottles:
- Snowflake Snowstorm Winter Weather Sensory Bottle
- Sunny Sensory Bottle
- Windy Fall Leaves Sensory Bottle DIY
- Nature Sensory Bottles (Includes more weather sensory bottle ideas)
More DIY Sensory Bottles:
- Butterfly Sensory Bottle
- DIY Rainbow Ringer Game Sensory Bottle
- Soothing Sea Shells Sensory Bottle
- Slow Falling Hearts Sensory Bottle


These are great! Can’t wait to share your fun idea with our students!
So glad you like it, Justine! Thank you for sharing it with your students 🙂
Can you use other bottles than Voss – I can’t find those around here.
Good question Chris! Any bottle out of the recycle bin will do. You just need to be able to fit sticks and rice through the opening and your good to go! Different bottles will have different sounds. Experiment and have fun!
This is a GREAT self-regulation bottle, thank you so much!!!
Thank you, Patrick! So glad you approve. It’s one of our favorites as well.