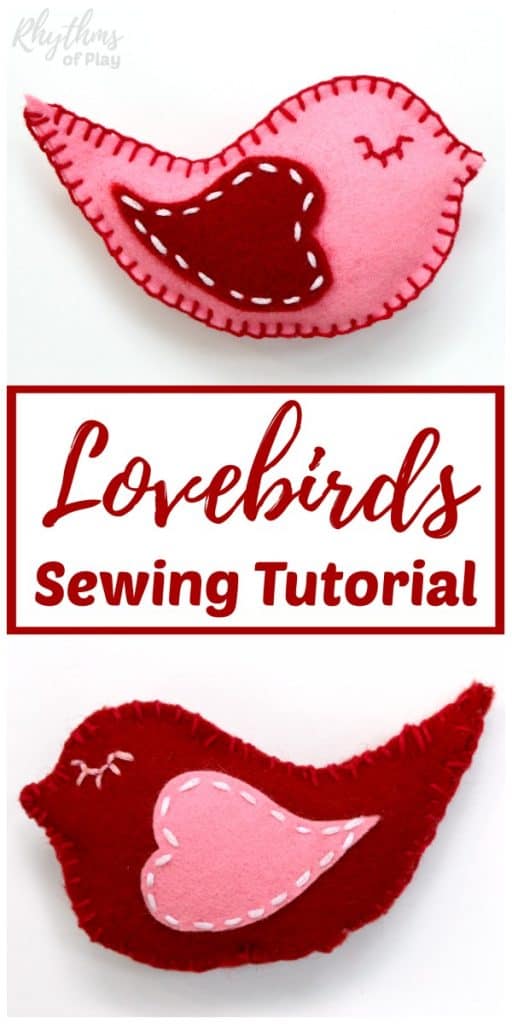
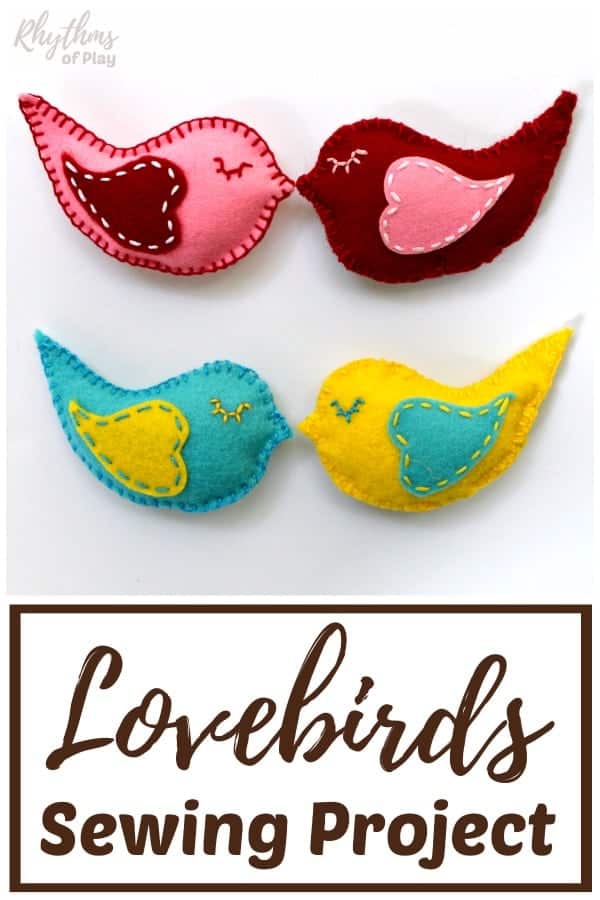
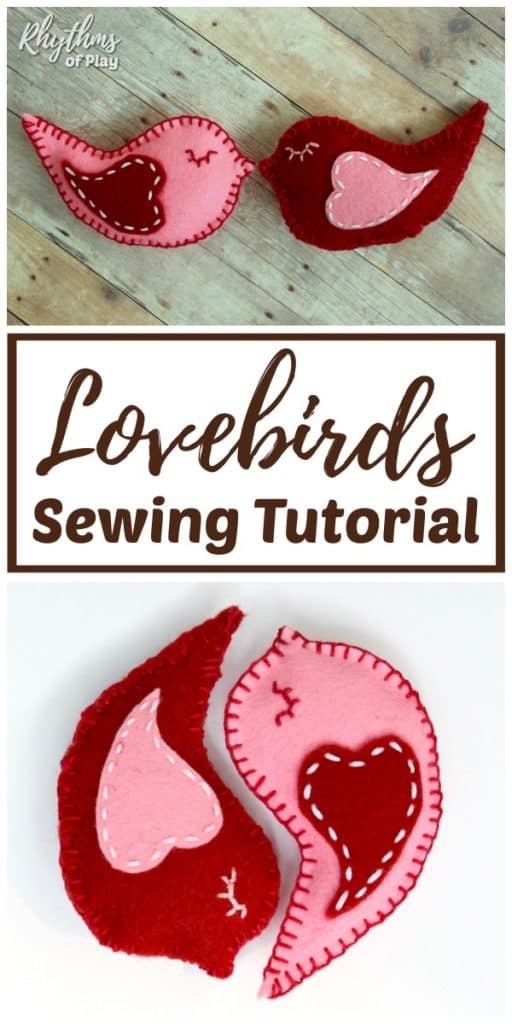
Sew a felt lovebird softie with this beginning hand-sewing project for children and adults of all ages!
Learn how to sew a pair of lovebirds with this beginning sewing project for kids and adults. Use our printable lovebird pattern to teach children how to sew a softie by hand, or use our easy step-by-step instructions to make your own. A pair of lovebirds make a cute hand-sewn gift idea kids can make for Valentine’s Day, Mother’s Day, Father’s Day, Grandparent’s Day, or just to say I love you any time of year!
These sweet felt lovebirds my daughter and I hand-sewed were created in honor of the “Sew a Softie” initiative. Join us by learning to sew a softie with your child, teaching your child how to sew, or inviting your child to become an ambassador to other children learning how to sew. Learn more about Sew a Softie HERE! Or, learn how to sew a pet mouse.
Related: How to Sew a Button Apple Tree
Felt Lovebird Hand Sewing Supplies
- lovebird sewing pattern printable
- Heavyweight cardstock
- Cotton embroidery thread or floss or a high-quality 50-weight cotton thread
- Acrylic felt, wool blend felt, or 100% wool felt
- Organic cotton stuffing or wool stuffing
- Small sewing scissors (good sewing scissors make it easy to cut felt, but please don’t let children cut paper with them, or they can become dull.)
- Disappearing ink fabric pen
- Large eye sewing needles
More of our favorite sewing supplies for children and adults, including a few sewing kits, are in our Amazon Store–see them all HERE!
Related: Hand-Painted Stained Glass Love Birds
How to Sew a Felt Lovebird by Hand Step-by-Step Directions
My daughter and I LOVE designing and sewing softies together. We made a lovebird beginning sewing pattern to use as a printable template to make sewing a softie easy! You may also enjoy sewing narwhal softies or a felt mouse plush toy.
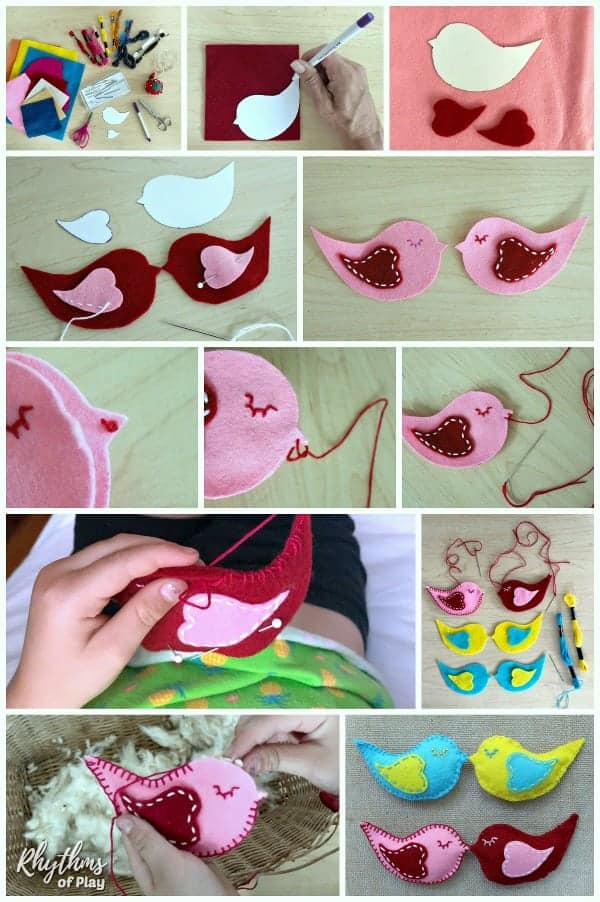
Please read through the step-by-step instructions below before starting to sew a felt lovebird softie. We have also included a photo tutorial showing how to sew the felt lovebirds together from start to finish, which we have posted with the written directions. Be sure to have a look at it before starting to sew as well.
If your child has never sewn by hand before, try our burlap and yarn beginning sewing tutorial, or teach children how to sew a running stitch first.
Related: Heart Sewing Projects for Beginners
1. Download and print the lovebird sewing template onto cardstock.
- Print the lovebird sewing template onto cardstock.
- Cardstock creates a nice thick beginning sewing pattern that can be easily traced with a disappearing ink pen.
- Another option is to draw or sketch a pair of lovebirds on cardstock to make your own sewing pattern.
2. Cut the lovebird and heart wing pattern out of the printable lovebird template.
- Use a pair of small sewing scissors to cut the lovebird and heart-shaped wing out of the free printable lovebird beginning sewing pattern.
- We used the same heart to make the fin of our narwhal plush toy!
3. Use a disappearing ink pen to trace the lovebird and wing template onto felt or another fabric.
- Use a fabric pen with disappearing ink to trace two lovebirds and two hearts in one color. You can see this step in the photo collage below.
- Cut another pair of lovebirds and wings in a complementary or contrasting color to make each lovebird a plush toy pair (optional).
- Make sure to flip the lovebird and heart wing pattern over to trace the other side so you have a total of two sets of lovebirds and wings (that mirror each other) in the same color to make each felt lovebird plush toy.
- The disappearing ink in the fabric marking pens will disappear in about 24 to 48 hours, or it can be rinsed with water to be removed. So, be sure to cut the lovebirds and lovebird wings out of the felt immediately after you trace the lovebird pattern–or the lovebird pattern might disappear before you have a chance to cut it out!
4. Sew a felt wing onto each side of the felt lovebird.
- Thread a large eye sewing needle with embroidery thread or a high-quality 50-weight cotton thread in contrasting or complementary colors to sew each lovebird pair together.
- Use a whipstitch or a running stitch to sew each felt heart wing onto each felt lovebird half. A hand-sewn running stitch is pictured.
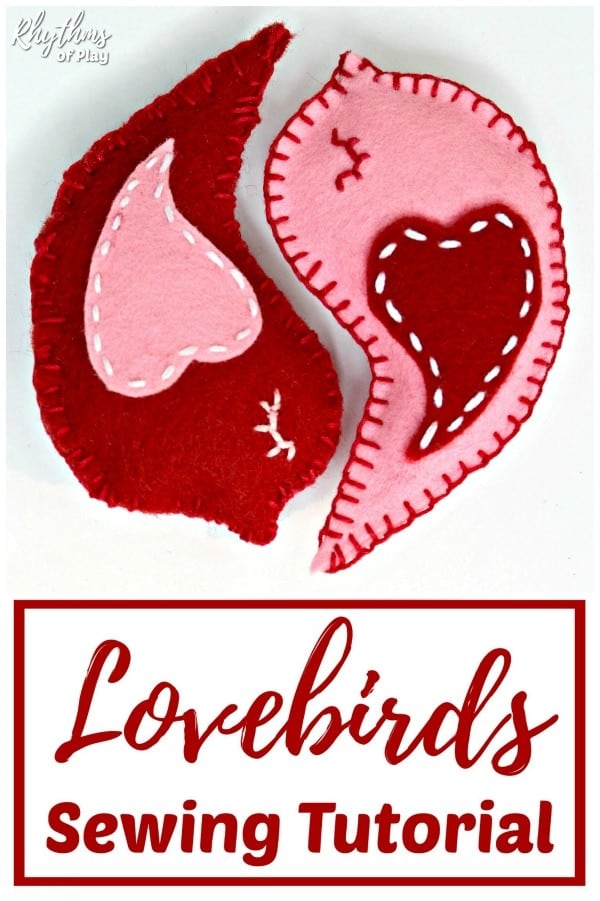
- Make sure that you sew the proper felt wing on the proper side of the felt lovebird so that when the two sides of the felt lovebird are sewn together the hearts are on the outside with the tip of the heart pointing towards the tail.
5. Use a disappearing ink fabric pen to draw an eye on both sides of the lovebird felt softie.
- Use a disappearing ink fabric pen to make a dot or a “U” shape with lashes to create an eye for each side of the felt lovebird.
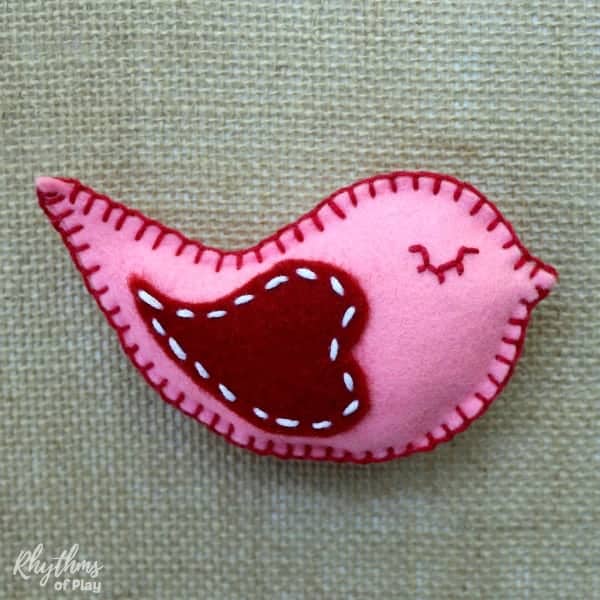
- Look at the lovebird eye in the photo tutorial above and the photograph below to “see” what we are talking about–pun intended–lol!
6. Sew an eye onto each felt lovebird half.
- As you can see in the felt lovebird photo tutorial, and in the photo below, we sewed a closed eye with lashes for each felt lovebird.
- Alternatively, you can sew a french knot to make an eye, use a satin stitch to sew a solid eye, sew on a small button or use a small seed bead to create an eye for each side or half of the felt lovebird softie toy.
7. Sew the sides of the lovebird felt softie together.
- Thread a large eye sewing needle with embroidery thread or a high-quality 50-weight cotton thread
 .
. - First, sew an anchor stitch, or tie a small knot, then use a whipstitch, running stitch, or blanket stitch to bind both sides of the lovebird together.
- We have discovered that children have the easiest time hand-sewing whipstitch when they are first learning to bind softies together. But because my daughter has been hand-sewing for a while, she and I used the blanket stitch to bind the lovebird softies shown in the photographs.
- Make sure to bind the lovebird together with the wing sides out.
- Leave a 1 to 2-inch opening to add stuffing to each lovebird before sewing it shut.
 .
.8. Fill the lovebird felt softie with wool or organic cotton stuffing or batting.
- We love using wool felt and wool stuffing or organic cotton stuffing to stuff our hand-sewn softies because of the quality of the ingredients. Real and natural materials provide a wonderful sensory experience for the growing and developing child.
- Another option is to recycle and reuse the stuffing from old plush toys that are no longer used or loved. To do this, cut open the stuffed animal plush toy and use the stuffing to fill your hand-sewn felt lovebirds.
9. Finish sewing the felt lovebird softie together by hand.
- Use the same type of hand-sewn embroidery stitch that you began sewing your lovebird with in order to finish your felt lovebird plush toy.
- In other words, if you began binding your lovebird softie together with a blanket stitch, close up the remaining hole using a blanket stitch. If you started with a whipstitch finish with a whipstitch, and if you started with a running stitch, finish with a running stitch. A blanket stitch is shown on the hand-sewn lovebirds in the photographs.

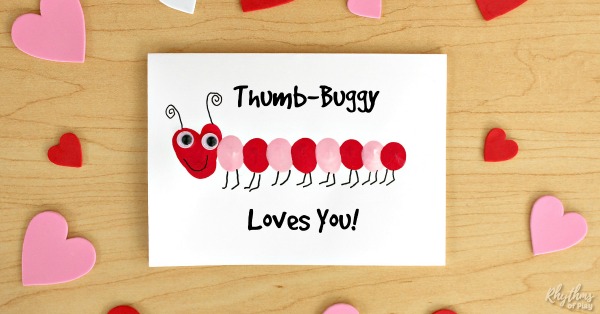
10. Make a homemade lovebug card to go with the gift (optional)
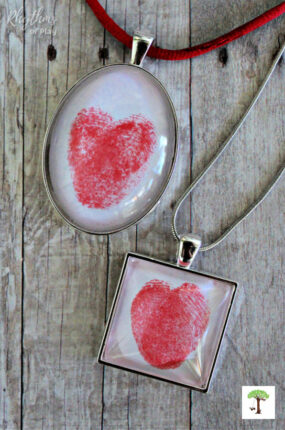
- Use the step-by-step instructions in our fingerprint love bug post to make homemade “Thumb-Buggy Loves You” cards to go with your gift as shown in the photograph below (optional).
- We have lots of titles, slogans, and short phrases you can use to personalize or customize a card for anyone (moms, dads, friends, teachers. etc.) and any holiday (Valentine’s Day, Mother’s Day, etc.) Click the link to see them all!
Related: Thumbprint Heart Glass Magnets
Lovebird Felt Softie Beginning Sewing Tutorial for Children and Adults of all Ages
Learning to sew is a wonderful fine motor activity for the developing child. If your child has never tried hand sewing, start with our simple sewing tutorial using burlap and yarn, or teach your kids how to sew a running stitch by hand.
You can also make your own lacing cards out of sturdy fall leaves. Learn how in our fall leaf lacing beginning sewing project for kids.
You might also enjoy sewing a narwhal plush toy or a felt mouse. Have the kids sew their own pocket pal!
You may also like this collection of easy heart-shaped sewing projects for beginners.
Learn more about Rhythms of Play HERE!
If You Liked This Lovebird Felt Softie Pattern, You May Also Like These Beginning Sewing Projects
- How to Sew a Button Apple Tree
- Slow Falling Hearts Sensory Bottle
- Valentine Keepsake Gifts Kids Can Make
- Keepsake Gifts for Him or Her
- Valentine Love Bugs Craft for Kids


I Love your love birds, they are so sweet
Thank you, Julie! My daughter and I had a wonderful time designing the pattern and sewing them together. 🙂