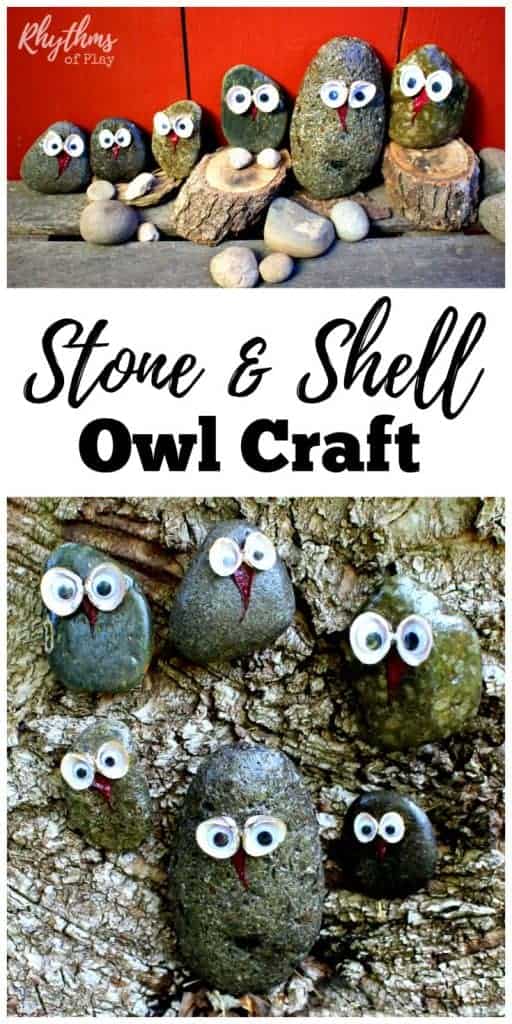
Here’s a simple owl craft made with smooth stones and other items found in nature.
My daughter and I had the idea to make this owl craft with natural materials after we spent the day playing at the creek. We found a bunch of freshwater bivalve shells that we thought looked like the eyes of an owl.
Next, we looked for stones that we thought looked like owls perching on a limb. Once home we put these cute owl crafts together in a matter of minutes.
Related: Painted Rock Ideas
Owl Craft Instructions
You may be able to find most of the natural materials that we used to make these owl crafts in nature, just as we did. Go on a nature hunt to see what you can find. If nothing you find will work, we have listed links to some alternative owl craft materials that can easily be substituted.
Related: Fairy House Painted Rocks
Owl Craft Supplies:
- Mini white clamshells or large googly eyes
- Goggly eyes
- Smooth stones for crafts
- All-purpose craft glue, or glue gun with glue sticks
- Leaf tips – we used the ends of Japanese maple leaves to make each owl beak. More suggestions are listed in the instructions.
- Mod podge (optional)
How to Make Cute Owl Crafts
Step 1 – Clean stones and shells
Make sure the stones, shells, and other natural materials are clean before using them to make this owl craft.
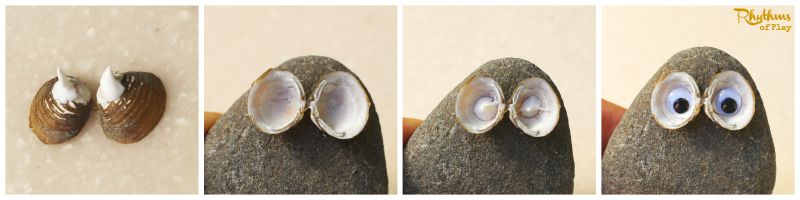
Step 2 – Glue on eyes
Use mini clamshells or large googly eyes to create eyes for the owl craft. First, put glue on the back of each shell or googly eye. Next, glue them onto the stone so that they look like big owl eyes peering out.
If you are using clamshells, place small googly eyes into them. Or, use a paint pen to draw eyes inside the bodies of each shell. (optional)
Step 3 – Glue the beak onto the stone owl craft
We glued the tip of a small Japanese maple leaf onto the stone under the shell eyes to create a beak for our owl craft. Use the end of a plant leaf to create a simple beak, or, use another kind of shell, a seed, a piece of felt, or a paint pen to draw one.
If you choose to use a leaf, cut off the end, put glue on it, and place it onto the stone under the shell eyes to create a beak for your owl craft. Use a cotton swab to help scoot it into position if needed.

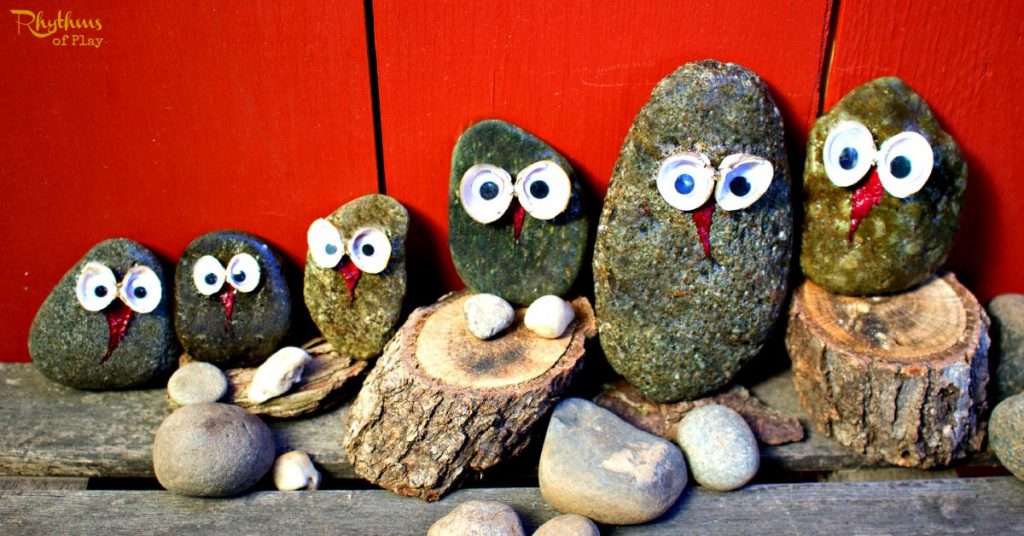
Step 4 – Apply Mod Podge to Owl Craft (optional)
Use a foam brush to apply Mod Podge to seal and protect the owl craft. This step is optional. The stone and shell owl crafts in the photo below were painted with mod podge.
Owl Crafts for Kids
These cute little owl crafts for kids, or adults, look great sitting in gardens, potted plants, and on mantles and windowsills. They also make a lovely addition to nature tables and can be used for pretend play.


So cute!!! I will make many and create a fairy garden with these little owls watching over the garden and gnomes!!!
Thanks, Sue! I’m so glad you like them. I love the idea of putting them in the fairy garden to watch over your garden and gnomes. I’d love to see a picture!