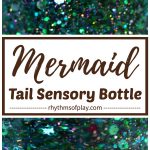
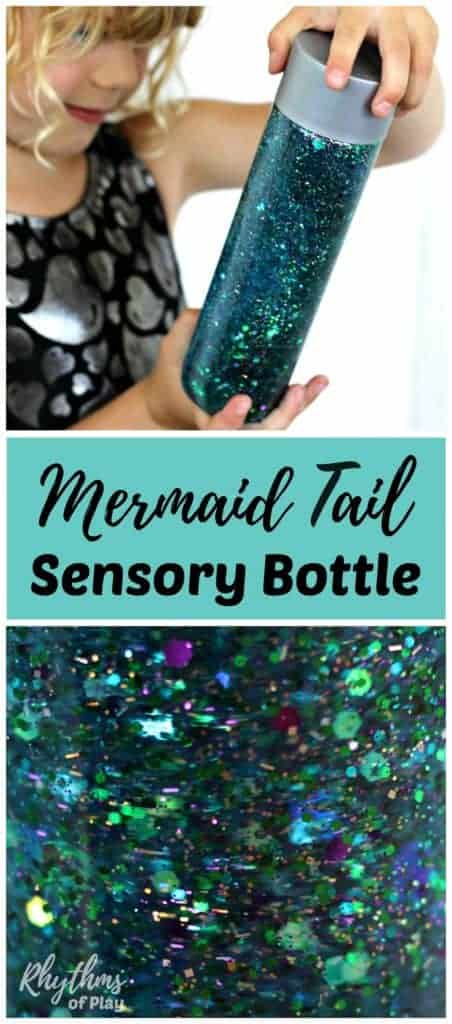
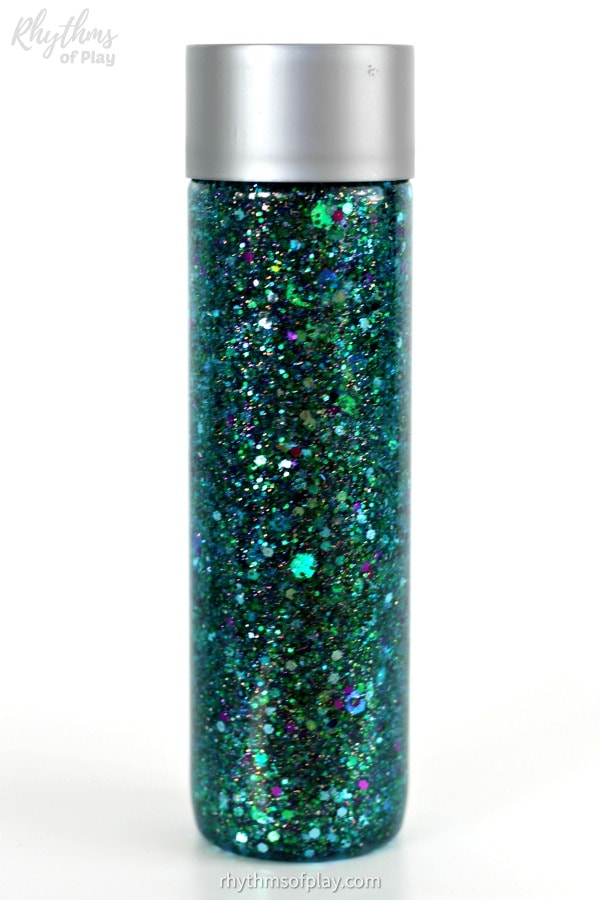
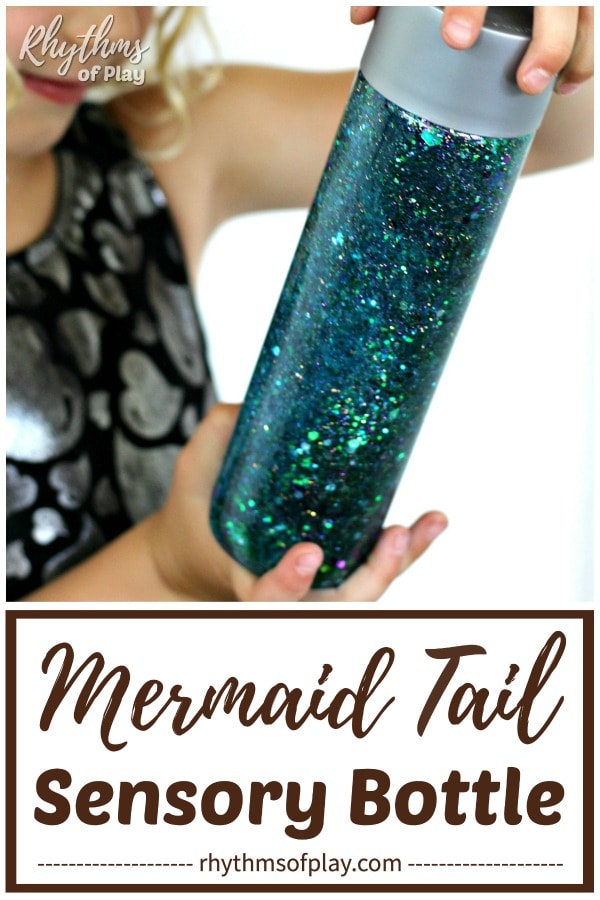
Here’s a mermaid craft for kids of all ages; give this gorgeous glitter sensory bottle a shake to see it swirl, sparkle, and SHINE just like a mermaid’s tail!
Calm-down discovery jars and glitter glue sensory bottles, such as this shimmering mermaid tail sensory bottle DIY, can be used for portable, mess-free, and safe sensory play. This simple mermaid craft can be used to calm an overwhelmed or anxious child and help children develop self-regulation skills, such as managing their emotions and regulating their behavior. DIY sensory bottles are often just as effective in helping relieve anxiety and reduce stress for adults.
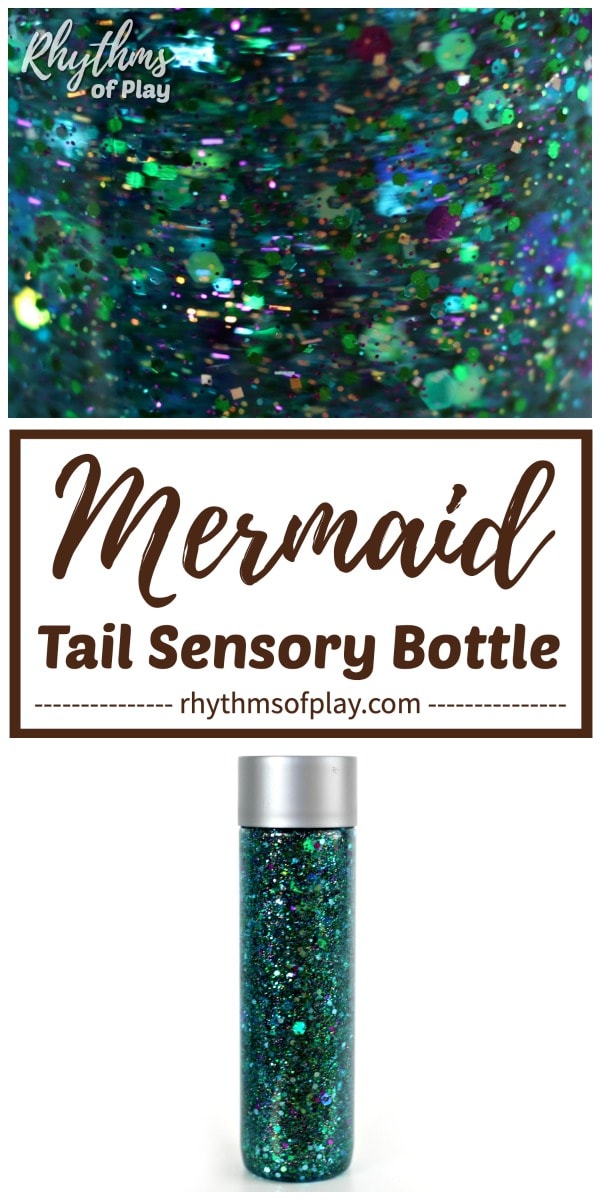
This glitter sensory bottle is one of our family’s all-time favorite sensory bottle DIYs. It shimmers and shines as beautifully as I imagine a mermaid tail would. First published on June 21, 2017, this mermaid tail sensory bottle DIY recipe and tutorial are regularly updated and republished to enhance their content. For more information about sensory bottles and their uses, please read Calm Down Sensory Bottles 101.
Related: Rainbow Galaxy Glitter Sensory Bottle
Glittering Mermaid Tail Sensory Bottle DIY Sensory Toy Uses and Benefits:
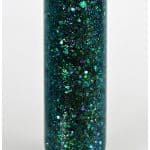
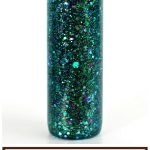
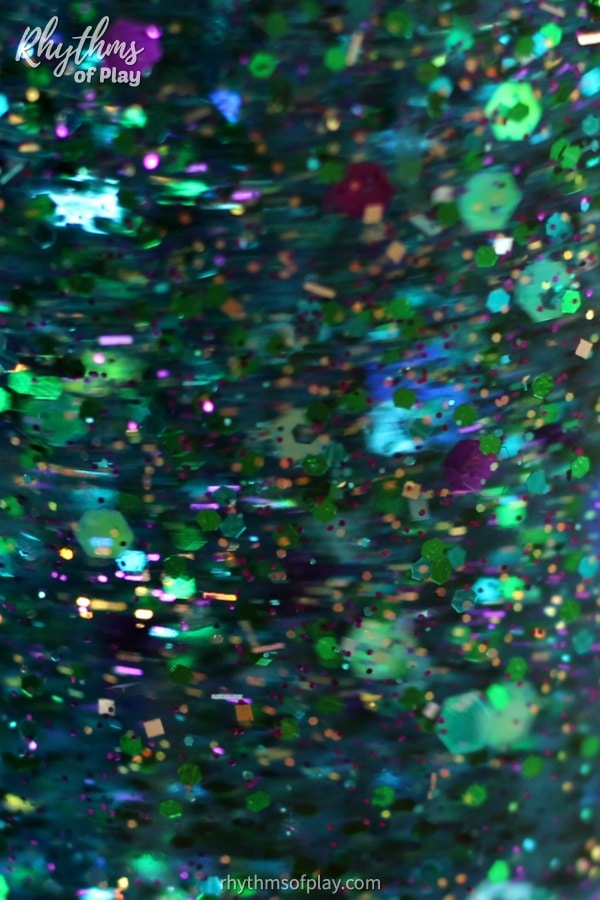
A mermaid tail sensory bottle is a simple DIY sensory play toy for kids. These visually sparkling DIY sensory bottles make a fantastic tool for children with sensory processing issues. Filled with colorful glitter, sequins, and iridescent confetti flakes, it creates a mesmerizing visual experience that can soothe and calm the mind. This makes DIY sensory bottles an excellent tool for helping children of all ages enhance their self-regulation skills.
Even adults can benefit from playing with these simple sensory toys. Watching the swirling patterns and shimmering colors dance within the bottle can promote focus, alleviate stress, and provide a moment of tranquility in a hectic day. My daughter loves using sensory bottles with glitter glue to calm herself and practice meditation, while I like playing with them to ease writer’s block.
They also offer a safe and engaging way for babies, toddlers, and children of all ages to explore different textures and visual stimuli. In addition, glittering mermaid tails, such as the DIY sensory bottle in the photos, are simple homemade toys that make a great party favor for an “under the sea” or “mermaid-themed” birthday party or other special event.
Whether used as a decorative piece, a relaxation tool, or a sensory aid, a DIY mermaid sensory bottle offers a delightful blend of creativity and therapeutic benefits. Learn how to make glitter sensory bottles that shine like a mermaid tail with the step-by-step instructions below. For another glitter bottle recipe, check out this Frozen-Inspired Snowstorm.
How to Make a Glitter Jar Sensory Bottle that Shines Like a Mermaid Tail:
A homemade DIY sensory bottle that resembles a shimmering mermaid’s tail is a captivating tool for relaxation, mindfulness, and sensory exploration. First, gather your favorite mermaid tail glitter sensory bottle craft supplies from the recommendations below. Then, follow the step-by-step instructions in the next section to make gorgeous glittering mermaid tail ocean sensory bottles. You might also enjoy our DIY sensory bottle filled with colorful butterflies.
Mermaid Tail Glitter Sensory Bottle Recipe Craft Supplies:
- Empty water bottle or mason jar.
- I used a recycled plastic Voss water bottle to create the mermaid tail in the photographs.
- Goo Gone (optional).
 Tap or distilled water.
- Distilled water is preferred due to its absence of bacteria and potential for residue buildup, particularly if you have hard water or plan to store the bottles for an extended period.
- Blue glitter glue or clear glue.
- A mixture of holographic chunky (or hexagon), flake, and fine glitter in blues, purples, and greens (choose at least one of the following glitters):
- 32-color holographic chunky glitter flakes set.
- Fine powder and chunky holographic glitter 32-jar set.
- 32-color fine glitter set.
- Ocean blue holographic chunky glitter.
- Peacock blue holographic chunky glitter.
- Light purple holographic chunky glitter.
- Liquid watercolors or food coloring.
- 1-quart measuring cup (optional but recommended; see instructions below)
- Whisk (optional but recommended)
- Rubber or silicone spatula (optional)
- Super glue or hot glue gun (to glue the lid shut.)
 Tap or
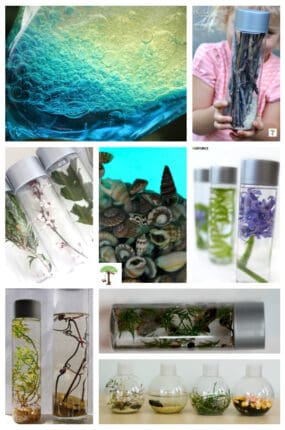
 Related: Nature-Inspired Sensory Bottles
Mermaid Tail Glitter Glue Sensory Bottle Step-by-Step Instructions:
Follow the step-by-step directions below to learn how to make sensory bottles with glitter glue, glitter, and hot water that look like a shimmering mermaid tail. You might also enjoy making a Soothing Sea Shell sensory bottle.
1. Use a mason jar or a bottle from the recycle bin to make this mermaid craft (remove the label if needed):
- Use a mason jar or grab a plastic bottle from the recycling bin to upcycle it into a DIY sensory bottle.
- I used an empty plastic Voss water bottle to create the mermaid tail in the photographs.
- Remove the label and use Goo Gone to remove any sticky residue if needed.
2. Add hot water:
- Pour 1 1/2 cups of boiling water into a glass 1-quart measuring cup.
- I recommend mixing homemade glitter glue sensory bottles in a tempered glass 1-quart measuring cup to prevent the plastic water bottle from melting or the recycled glass jar from shattering when mixing the ingredients for the mermaid tail sensory bottle recipe.
- Boiling water is the best way to make sensory bottles with glitter glue because it helps the glue, water, and glitter mix well.
- Warm or room-temperature tap water doesn’t always help glitter glue sensory bottles mix effectively; glue and glitter can get clumped up and stuck together.
- Glitter bottles don’t move or flow nicely if they have large clumps of glue and glitter stuck together.
- If you want to mix your mermaid tail sensory bottle recipe directly in the calm-down jar, don’t use boiling water unless you mix it in a tempered glass mason jar. Recycled water bottle plastic can warp, melt, and shrink when hot water is poured inside.
 . Recycled water bottle plastic can warp, melt, and shrink when hot water is poured inside.
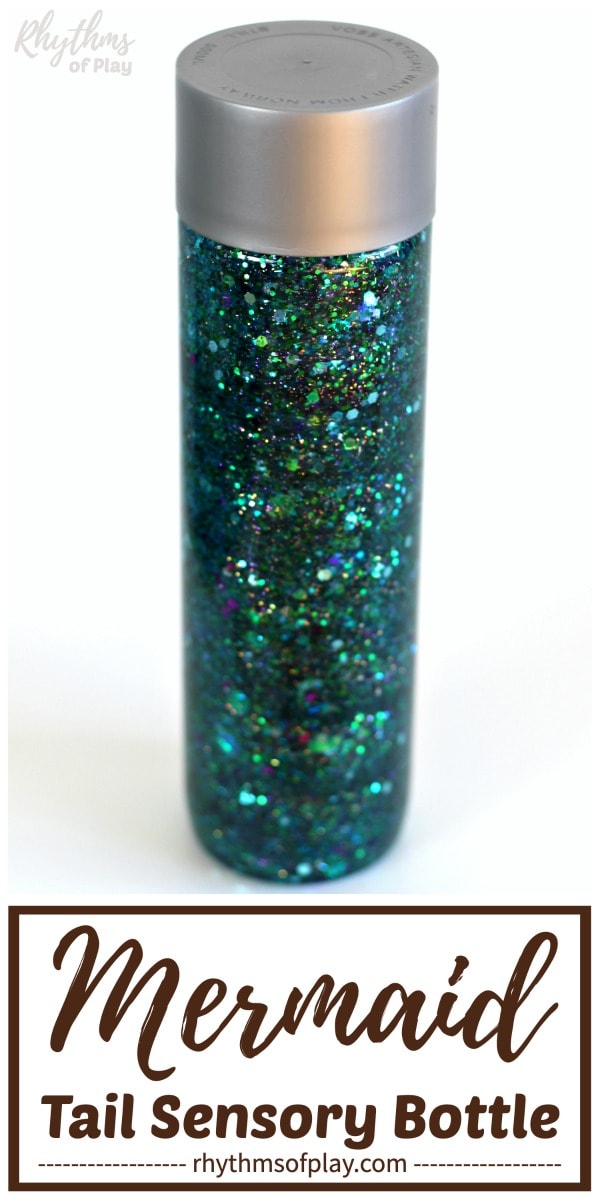
Related: Sunburst Glitter Sensory Bottle
3. Mix in glitter glue or clear glue:
- Squeeze 1/3 of a 6-ounce bottle of blue glitter glue (approximately 2 ounces) or squeeze 2 ounces of clear glue into the hot water and use a whisk to mix well.
4. Add a combination of holographic chunky, flake, and fine glitter to the sensory bottle mixture:
- Use at least one of the recommended glitter mixes from the sensory bottle supply list above.
- I recommend adding pinches and shakes of a mixture of chunky hexagon glitter, flake glitter, and fine glitter in the desired color combination.
- The chunky holographic hexagons and flakes help give the glitter sensory bottle the appearance of mermaid tail scales, while powder and fine glitter fill out the body of the calm-down jar to make it look more like the shimmering tail of a mermaid.
- I added blue glitter glue and a mixture of various blues, greens, and purple glitter in assorted sizes to the mermaid tail sensory bottle shown in the photographs.
- Mix well with a wire whisk while the water is still hot.
- Get creative and have fun making sensory water bottles in various glitter colors and sizes to create gorgeous, glittering mermaid tails for your children or yourself.
 while the water is still hot.
Related: Ringer Game Sensory Bottle
5. Pour the Glue and glitter sensory bottle mixture into the calm-down jar:
- Stir the mermaid tail sensory bottle mixture, then quickly pour it into a recycled plastic bottle or a mason jar.
- If any glitter remains stuck in the glass measuring cup, you may need to use your fingers or a flexible rubber or silicone spatula to guide the glitter flakes into the bottle.
6. Add a tiny drop or two of color:
- Add a drop or two of liquid watercolors or a few drops of food coloring to the sensory bottle mixture to add color, but be careful not to add too much.
- A couple of tiny drops go a long way to giving your glitter sensory bottle a primary color.
- I used aqua blue (a combination of blue and green) to create the sensory bottle shown in the photographs.
- Alternatively, you can add a small drop of blue, green, violet, purple, or any combination of those colors to make a mermaid tail sensory bottle similar to the one in the photographs.
7. Top off the jar and Give the glitter glue sensory bottle a gentle shake:
- Place the lid on the mermaid tail bottle and gently swirl it to see how the glitter mixture looks and moves inside.
- Suppose you need more glitter, liquid watercolors, or food coloring. It’s best to add them before filling the rest of the bottle with warm water, clear glue, glitter glue, or clear liquid hand soap or dish soap.
- Add more clear liquid glue, glitter glue, or clear liquid hand soap to slow down the movement of the glitter inside the bottle or jar.
- Fill the DIY sensory bottle mixture to the top with water to make the glitter move faster inside the bottle or jar.
- Suppose you need more glitter, liquid watercolors, or food coloring. It’s best to add them before filling the rest of the bottle with warm water, clear glue, glitter glue, or clear liquid hand soap or dish soap.
- Scroll down for more DIY glitter sensory bottle tips!
8. Ensure you are happy with the mermaid tail DIY glitter glue sensory bottle before gluing it shut:
- Play with your mermaid tail glitter sensory bottle for a day or two to ensure you’re happy with it before gluing it shut with hot glue or super glue.
- Read through the instructions in step seven above and the troubleshooting tips and FAQs in the next section to determine if you are ready to glue the lid on it.
Related: Rainstick Musical Sensory Bottle
DIY Glitter Sensory Bottle Troubleshooting Tips and FAQs:
DIY glitter sensory bottles, like this mermaid’s tail, are easy to make at home or in the classroom. Here are a few answers to some frequently asked questions (FAQs) about making glitter sensory bottles to help you determine if you’re ready to glue the lid on and create a beautiful ocean-themed sensory bottle. For more troubleshooting tips and everything to know about calming jars, please read Sensory Bottles 101.
Why is my glitter clumping in the sensory bottle?
- One reason glitter can clump is when the glitter and glue are mixed in water that is not hot enough.
- A simple method to reduce clumping is to combine the ingredients in a tempered glass measuring cup and allow the mixture to cool before pouring it into an empty plastic bottle or mason jar, as recommended in the DIY instructions above.
- If the glitter mixture gets stuck in a clump at the top of the empty plastic water bottle or mason jar, add a drop or two of clear liquid dish soap to dissolve the clump and help the glitter mix evenly through the DIY sensory bottle.
How do you thicken water for sensory bottles?
- To make a glitter sensory bottle mixture thicker and more viscous so that the glitter moves more slowly in the bottle and takes longer to drop to the bottom. Add clear glue or clear liquid hand soap to the homemade sensory bottle mixture to “slow” it down.
- If the bottle is still not “full” or “thick” enough, add more chunky confetti or hexagon glitter, flakes, and fine glitter to fill out the contents and make it appear solid when the bottle is tipped from top to bottom or shaken.
Related: Butterfly Sensory Bottle Calm Down Jar
Mermaid Tail Glitter Glue Sensory Bottle DIY
Children and adults will love this gorgeous mermaid tail glitter sensory bottle recipe. Calm-down bottles like this fun sensory bottle are often used for portable, no-mess “safe” sensory play to help soothe emotions and calm an overwhelmed child, as a “time out” timer, or as a meditation technique for children.
Homemade sensory bottles, such as this DIY mermaid bottle, are an effective self-regulation strategy that can be used at home or in the classroom. For more information about sensory bottles and their uses, check out Calm Down Sensory Bottles 101.
Color-changing mermaid pillows also make great sensory toys and calming tools for children from toddlers to teens. Reading books that help children understand their feelings and playing social-emotional games are other great ways to help kids self-regulate.
You may also like this fun collection of under-the-sea ocean art projects for kids. There is even a mermaid template your children can use to paint a mermaid.
Learn more about Nell Regan Kartychok, author, photographer, and creator of this original mermaid craft and Rhythms of Play, HERE!


Can I just add the glue, glitter, and hot water in the VOSS bottle and shake to combine? Is there a purpose to the whisking instead?
Good question Stacie, thank you for asking!
You can just add the glue, glitter and hot water in the Voss bottle (or another recycled bottle), yes, but the water must NOT be boiling or it WILL melt the bottle. Believe me, I’ve done it!
The purpose of using boiling water and whisking it in a quart mixing jar first is to make sure that the glitter does not clump. The long answer is that you can do it either way, but mixing it in the bottle is risky! Good luck!
Question, how did you seal the bottles shut? I have a “silly” group of three year old’s that I have trust issues with. haahaa
Hi Rebekah!
We use the glue listed in the supplies list, and we also find it helpful to wrap a piece of duct tape around the lid to secure it. Glued water bottle lids can break and get destroyed when children try to open them, duct tape can prevent this from happening. Good luck with those silly 3-year-olds!
How much glitter do you use? Did you have trouble with the big pieces falling too fast?
Good question, Esther.
I used the amounts listed in the sensory bottle tutorial above. Use liquid hand soap to keep the big pieces from falling too fast in your sensory bottle, add a little at a time until you like the way it moves.