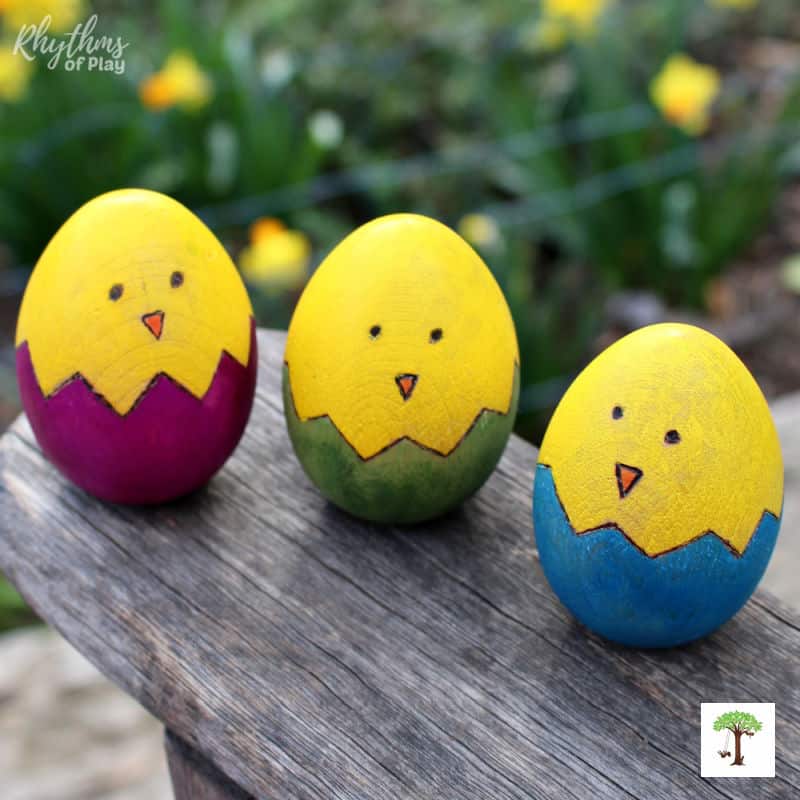
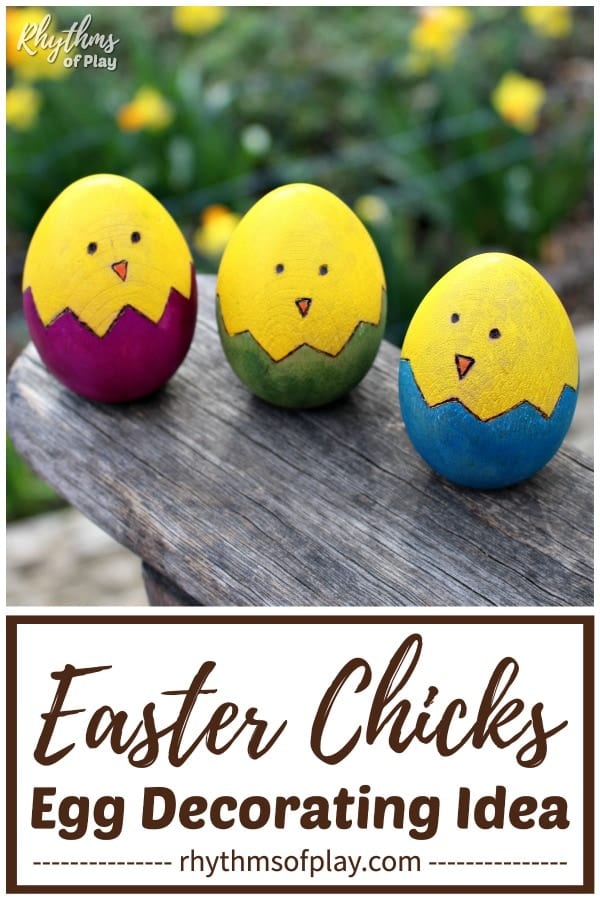
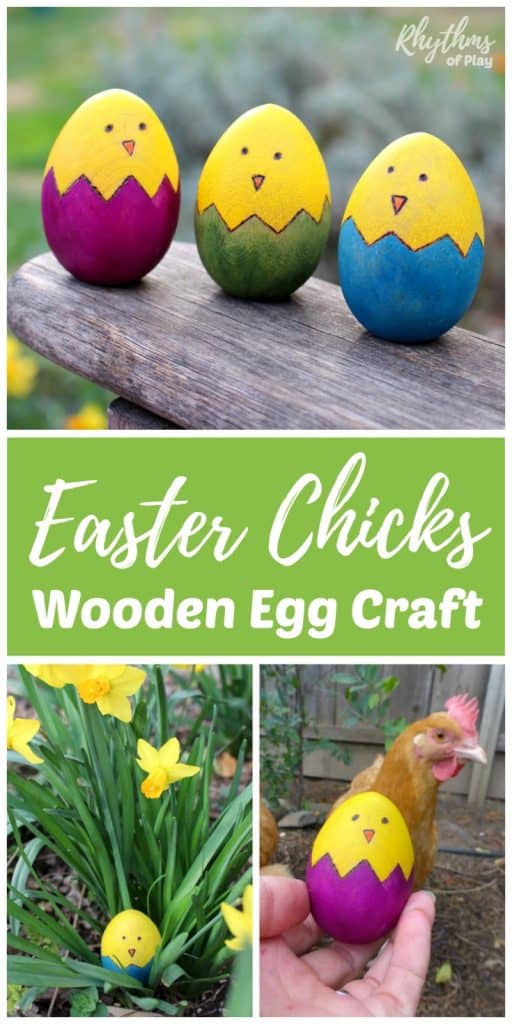
Follow the step-by-step DIY wooden egg-decorating instructions below to make hatching chick Easter egg crafts!
Use this step-by-step Easter egg decorating tutorial to make adorable hatching baby chick crafts with wooden eggs. Wooden Easter egg crafts and decorating ideas, like these cute Easter chicks, are fun for kids or adults to make for Easter or the spring equinox. The step-by-step DIY wood egg decorating instructions below teach how to use a woodburning pen and watercolors (or paint pens) to decorate wooden eggs to look like hatching chicks.
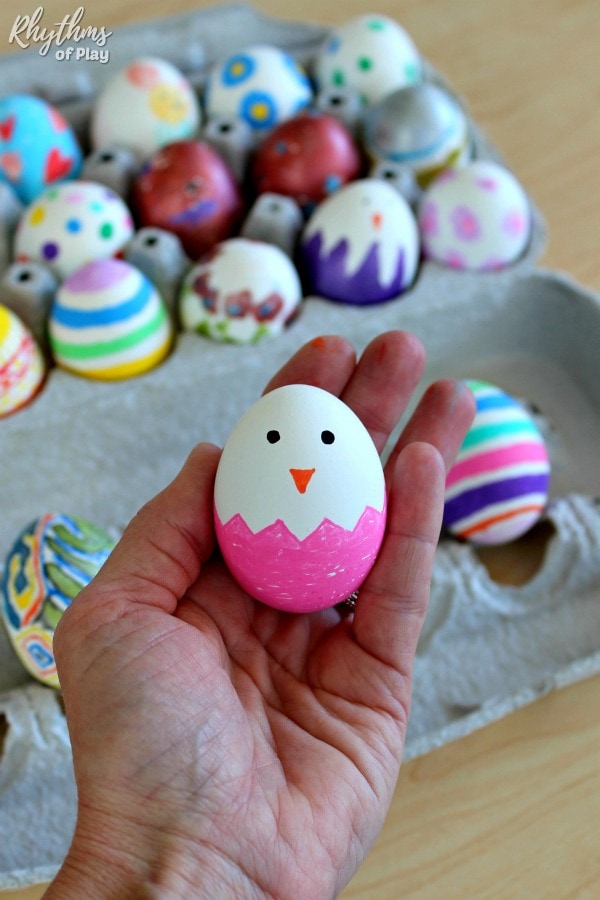
You can also use watercolor markers or paint pens to decorate hard-boiled eggs to look like hatching chicks for Easter. Look at these hard-boiled Easter egg decorating ideas for step-by-step DIY instructions. The post also includes several more hard-boiled egg decorating ideas you can try, or scroll down for the step-by-step wooden egg Easter chick craft tutorial.
This hatching chick wooden Easter egg decorating idea was first published on February 22, 2016, and is regularly updated and republished to improve its content. You might also enjoy these wooden egg decorating ideas and making bead bunny crafts with wooden beads and pipe cleaners.
Easter Chick Wooden Easter Egg Crafts:
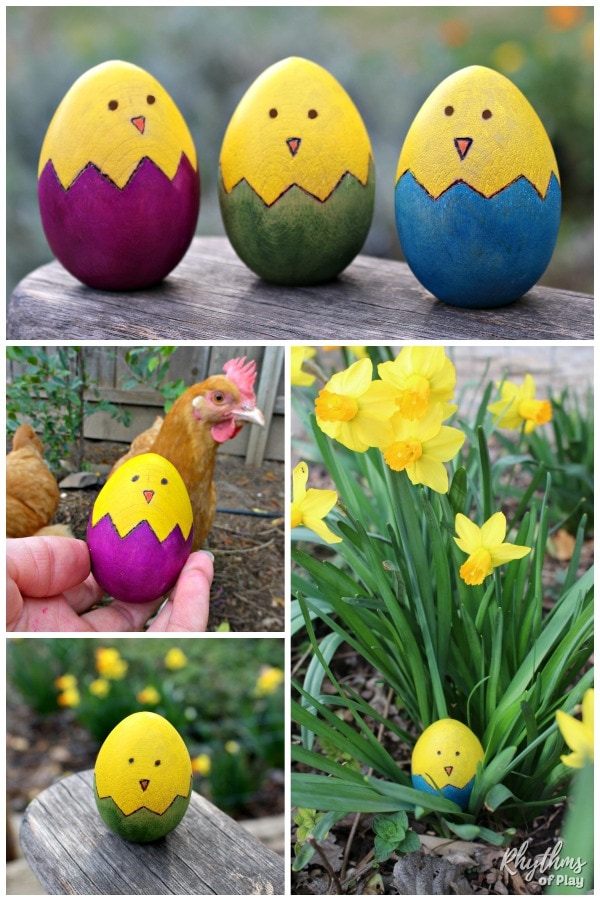
Making and decorating wooden egg crafts is a fun and easy alternative to traditional hard-boiled Easter egg decorating. Easter crafts made with wooden eggs (like these Easter chicks) are fun to hide for an Easter egg hunt, look super cute in Easter Baskets, and make gorgeous DIY spring home decor.
Children of all ages, from toddlers and preschoolers to teens, love to find colorful wooden Easter eggs in Easter Baskets and Easter Egg Hunts on Easter morning just as much as they enjoy finding hard-boiled or plastic eggs. However, wooden egg crafts like these hatching chicks last longer, don’t endanger the environment like plastic eggs, and eliminate sugar from the equation.
These adorable hatching baby chick crafts also make excellent DIY Easter decor! Wooden Easter egg crafts make beautiful keepsakes and heirlooms that can be used for many years and handed down from generation to generation. You might also enjoy these wooden egg crafts, which include several more brilliant ideas for decorating wood eggs at home or in the classroom.
How to Make Hatching Baby Chick Easter Eggs:
The step-by-step tutorial below teaches you how to make hatching spring chick Easter egg crafts in two ways. This colored Easter chick wooden egg craft was originally designed as an easy woodburning and watercoloring project for wooden eggs. But today, you can skip the wood-burning pen and use paint pens.
Step-by-step directions for both versions of this hatching-chick craft idea are provided after the list of materials and tips in the following sections. Or try creating this hatching baby chick design onhard-boiled eggs with kids of all ages. You might also enjoy this list of Easter Traditions and fun things to do for Easter.
Hatching Chick Wooden Egg Craft Supplies:
First, read the tips and step-by-step wooden egg craft instructions below to decide how you would like to make this Easter chick craft. Next, gather your choice of wooden egg craft supplies below:
- Pencil (optional)
- Standing unfinished wooden eggs

- Choose one of the following:
- Dual-tip paint pens
- Temperature-control woodburning tool (Also called a wood burner, wood burning pen, or a woodburning pencil)
- Alternatively, you can try this new wood-burning scorch marker pen.
- Paintbrushes and one of the following, if not using paint pens to color the wooden Easter eggs:
- Sealant with a Foam Brush to protect the wooden eggs and the paint color


Use a Wood Etching Tool or Paint Pens to Make Hatching Chick Wooden Easter Egg Crafts:
Learn how to make hatching baby chicks with a wood-burning etching tool or paint pens with the step-by-step DIY wooden egg decorations below. Please read the tips and recommendations below before scrolling down for step-by-step DIY instructions on how to make both hatching baby-chick egg decorating options.
Making Hatching Chick Wooden Egg Crafts with a Woodburner:
If you are curious, working with a wood-burning pen is as easy as drawing with a hot pencil. It’s also a lot like coloring, and thus an excellent way to relieve stress while creating something beautiful. However, I recommend taking proper safety precautions if you have children around. Woodburning pens are hot and dangerous craft tools.
For this reason, making these cute Easter chick crafts with a wood burner is best for older kids, teens, and adults. Please guide and supervise older children and teens who want to use a woodburning pencil to burn designs into wooden eggs. I recommend practicing on scrap wood before etching wooden eggs. For more wooden egg woodburning ideas, visit How to Decorate Wooden Easter Eggs.
Using Paint Pens to Create Hatching Chick Designs on Wooden Eggs:
Alternatively, try this wooden Easter egg decorating idea using extra-fine-tip paint pens. Because wood etching tools are hot and dangerous tools to work with, preschoolers, kindergartners, and young elementary-aged students should use paint pens (or watercolors and a black paint pen) to decorate wooden eggs with this hatching spring chick design. Alternatively, you can try burning the wood with this scorching marking pen, which uses chemicals rather than heat. The instructions below include step-by-step directions for each type of hatching chick Easter craft option.
Related: Watercolor Surprise Easter Egg Art
Wooden Egg Easter Craft Step-By-Step Tutorial: 2 Ways to Make Colored Hatching Chicks:
Below, you will find step-by-step directions for completing this Easter chick craft in several ways. Your wooden egg craft supplies and preferred decorating technique will determine how you move through the steps below. For this reason, reading the directions before starting this Easter egg craft is recommended, so you understand the steps involved and what to expect when making hatching-chick crafts. You might also enjoy these other adorableEaster Chick Craft Ideas.
1. Sketch the hatching chick designs onto wooden eggs (optional):
- Use a pencil to draw a jagged, cracked egg line around the circumference of the wooden egg.
- Next, make a small triangle for the hatching baby chick’s beak and two dots for the eyes.
- This step is optional. If you prefer to create hatching-chick designs on wooden eggs without sketching them beforehand, skip to the next step.
- If you want to make this wooden egg craft with paint pens and watercolors, I recommend starting with this step and skipping to step three to complete the hatching chick craft.
 to draw a jagged, cracked egg line around the circumference of the wooden egg.
Related: Easter Art Projects Kids LOVE!
2. Draw Easter chick designs with a paint pen or use a woodburning pen to etch the design into each wooden egg:
- Trace pencil designs on wooden eggs or freehand the hatching baby chick design onto each egg with an extra-fine tip paint pen or a woodburning pen, as shown in the photo tutorial below.
- In other words, trace or draw the basic Easter chick design onto the wooden eggs with the craft tool you prefer, a woodburner, a paint pen, or a wood scorch marker.
- If you choose to work with a woodburning tool, I recommend practicing for a bit if you have never used one.
- I also recommend taking proper safety precautions if you have children around. Woodburning pens are hot and dangerous craft tools.
- If older children and teens want to use a woodburning pencil to burn designs into wooden eggs, please provide guidance and supervision.
 or a woodburning pen
 , as shown in the photo tutorial below.
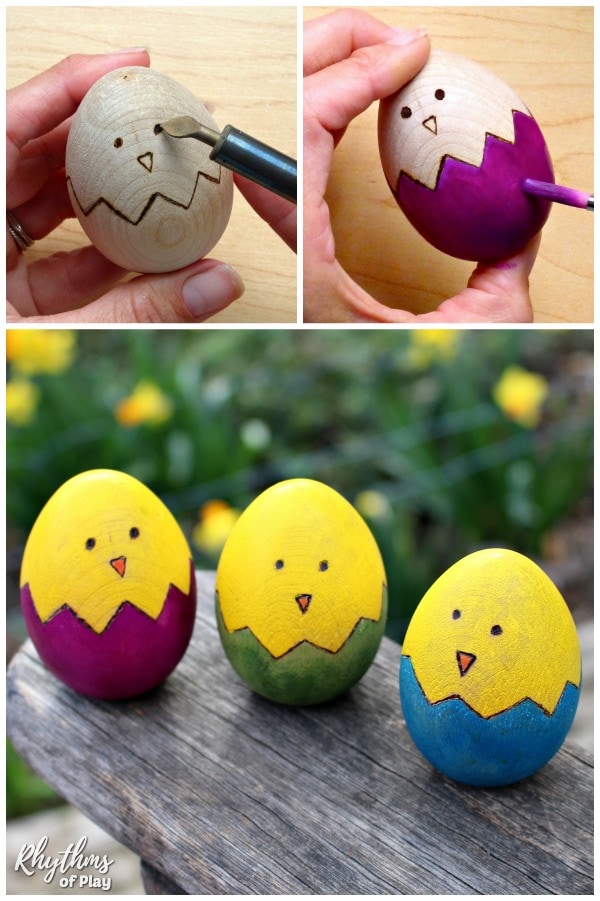
3. Finish the hatching chick Easter egg craft design with watercolors or paint pens:
Use the instructions below to paint wooden eggs to look like hatching chicks. Alternatively, you can complete the Easter egg design on hard-boiled eggs with a paint pen or marker.
- To complete this egg-decorating project, paint your wooden eggs with concentrated liquid watercolor paints, tubes, or a palette.
- Alternatively, you can use paint pens to create the designs and color the wooden eggs.
- In other words, color the hatching chick craft designs using watercolor paints or paint pens.
- Scroll down for the step-by-step tutorials for each art medium.
- If you use a wood-burning tool to create your Easter chick design, I recommend using watercolors to complete your baby chick Easter eggs.
 ,
,  In other words, color the hatching chick craft designs using watercolor paints or paint pens.
How to Paint Hatching Easter Chicks with Watercolor Paints:
- Color the hatching chick design by painting the wooden eggs with concentrated liquid watercolor paints, tubes, or a palette with the DIY instructions below:
- You can use liquid watercolors straight out of the bottle (mix with water for paler colors), squeeze a small amount of watercolor paint from a tube onto a plate, or use a watercolor palette.
- Next, dip your paintbrush in water before dipping it into the watercolor paint.
- Use more water to dilute the color, and less water for concentrated, vibrant color.
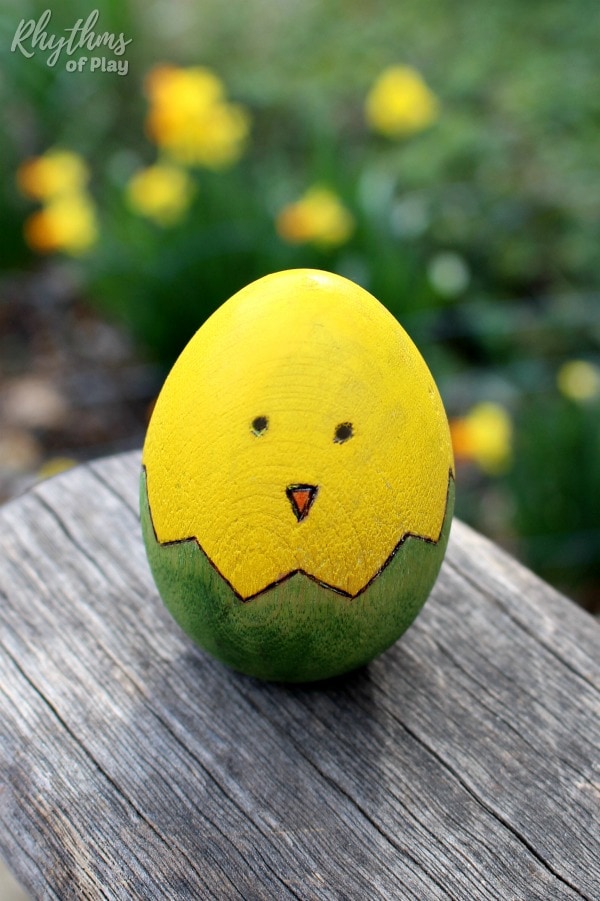
- Paint the wooden egg below the cracked eggshell craft design with the watercolor paint as shown in the photograph above.
- You can use liquid watercolors
- Working with watercolors and wooden eggs is easy. The color soaks right in, displaying vibrant colors and effortlessly filling in woodburning designs.
 straight out of the bottle (mix with water for paler colors), squeeze a small amount of watercolor paint from a tube onto a plate, or use a watercolor palette.
How to Finish Easter Chick Wooden Egg Design with Paint Pens (or Paint Pens and Watercolor Paints):
- If you use a paint pen to create the cracked egg Easter chick design, either use the same color to color the remainder of the eggshell below the cracked line, or a black paint pen to draw the cracked egg shell, and watercolor paints to color the egg shell portion of the craft another color.
- If you choose watercolors, I recommend sketching the cracked egg Easter chick design with a pencil first. Otherwise, painting over the cracked egg design made with a paint pen may cause the colors to bleed. To do this, follow the easy instructions below:
- After sketching the hatching chick Easter egg design with a pencil, paint the wooden egg below the cracked line with watercolor paint.
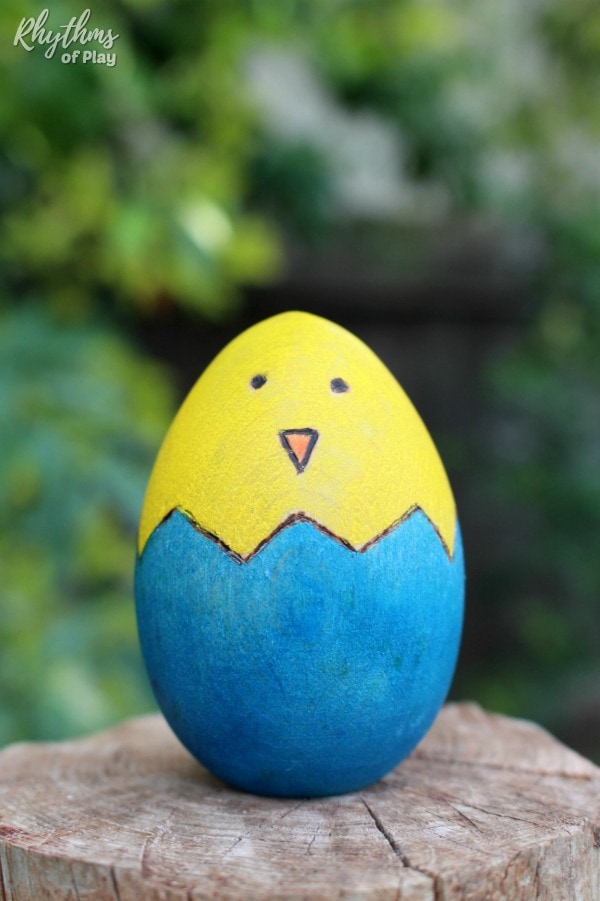
- Next, use a black paint pen or marker to outline the broken eggshell and dot the eyes.
- Finally, draw the baby chick’s beak with an orange paint pen or marker, as shown in the photograph below.
- Find more tips and examples for Easter egg decorating ideas!
4. Seal and protect decorated wooden eggs:
- If you want the color on your decorated wooden eggs to last year after year, we recommend applying a sealant with a foam brush for lasting color protection.
- Please remember that watercolors can bleed and fade if wet, so hiding decorated wooden egg crafts on dewy plants and damp grass on Easter morning can damage them if they are not properly sealed.
- When a sealant is applied over the watercolor paint, the watercolors are less likely to fade or bleed from the wood.
Related: How to Make an Easter Tree Centerpiece
Uses for Decorated Wooden Easter Eggs and Easter Chicks:
- Decorated wooden eggs like these cute Easter chicks are fun spring DIY home decor. Decorate your home for Easter or the Spring equinox by placing wooden eggs on mantles, window sills, and Spring Nature Tables. For more wooden egg crafts and decorating ideas, have a look HERE.
- Fill children’s Easter baskets with Easter chicks and other decorated wooden eggs. Children LOVE to find Easter chick wooden eggs peeking out of Easter Baskets on Easter morning!
- Hide Easter Chicks and other wooden eggs for Easter egg hunts. Decorated wooden eggs are better than plastic eggs filled with candy for our children’s health and the planet! And they can be reused year after year!
- Use colored Easter chicks with wooden egg holders as a DIY baby toy. Putting a wooden egg into an egg cup is a great hand-eye coordination activity for babies from 6 months to 2 years old. I would have never guessed how much babies and toddlers would enjoy this activity, but they do! It kept my daughter busy for long periods.
- Try this Montessori activity with the simple instructions below:
- First, show a sitting baby or toddler how to put the egg in the cup and take it out.
- Next, invite them to give it a try!
- Try this Montessori activity with the simple instructions below:
 as a DIY baby toy. Putting a wooden egg into an egg cup is a great hand-eye coordination activity for babies from 6 months to 2 years old. I would have never guessed how much babies and toddlers would enjoy this activity, but they do! It kept my daughter busy for long periods.
Related: Baby Toys that Boost Development Naturally!
Related: How to Color Natural Brown Eggs
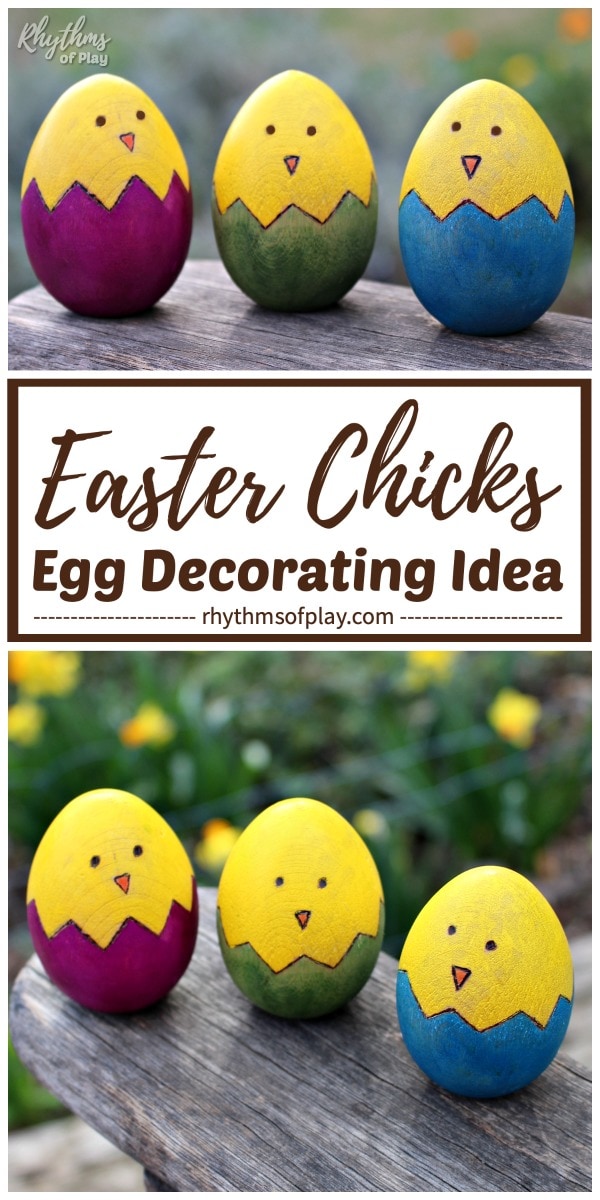
Wooden Easter Egg Hatching Chick Decorations:
This colored Easter chick wooden egg craft is a fun and easy egg-decorating idea for kids, teens, and adults to make for Easter or the spring equinox.
These cute Easter chicks make fabulous DIY spring home decor, look adorable when displayed on spring nature tables, and are a perfect alternative to plastic candy-filled eggs for Easter baskets and Easter egg hunts!
Children of all ages love to find hatching baby Easter chicks in their Easter Baskets as much as they love seeing them on Easter egg hunts. For more fun ways to decorate wooden eggs for Easter, check out this excellent list of DIY wooden Easter egg crafts and decorating ideas.
You might also enjoy these cute baby chick crafts, which include several easy Easter chick craft ideas. And if you have ever wondered how Easter eggs, Easter baskets, and the Easter bunny have become associated with Easter. In that case, we have uncovered some interesting information you can read about in Fun Family Easter Traditions.
Learn more about this Easter hatching chick craft’s author, photographer, and creator, Nell Regan Kartychok, and Rhythms of Play HERE!
If You Like This Wooden Egg Decorating Idea, You May Also Enjoy These Easter Activities:
- How to Make an Easter Tree
- Natural Easter Toys for Easter Baskets
- Easter Art Projects Kids LOVE
- Toilet Paper Roll Birdhouses
- Easter Traditions and Celebration Ideas
- Watercolor Surprise Easter Egg Art


These are adorable! I’ve always wanted to try wood-burning but thought it would be too difficult. I have to admit, you make it sound easy!
Thanks Emma! It is easy! I thought it would be hard too before I gave it a try. It’s easy, fun, and very meditative. I love it! I’d love to hear about your experience if you decide to give it a try!