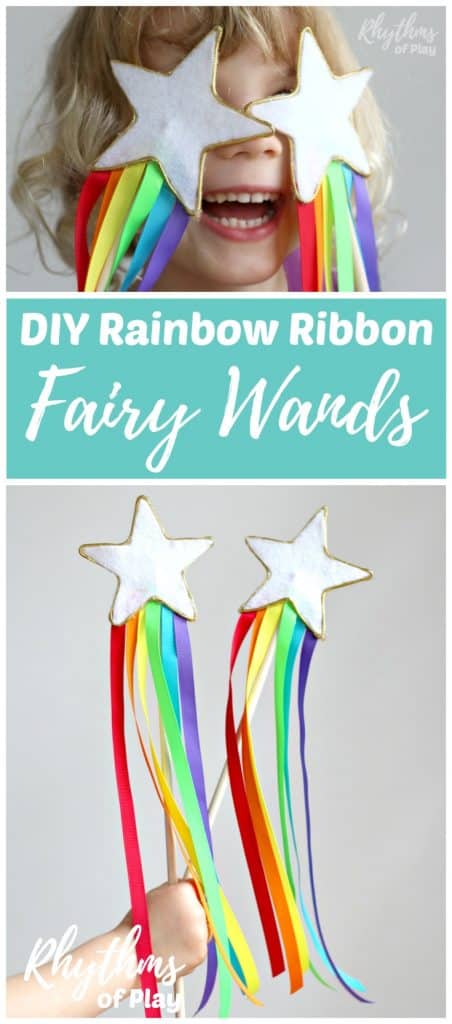
These handmade magic rainbow ribbon wands are fun DIY toys, costume accessories, homemade party favors, team spirit wands, and more!
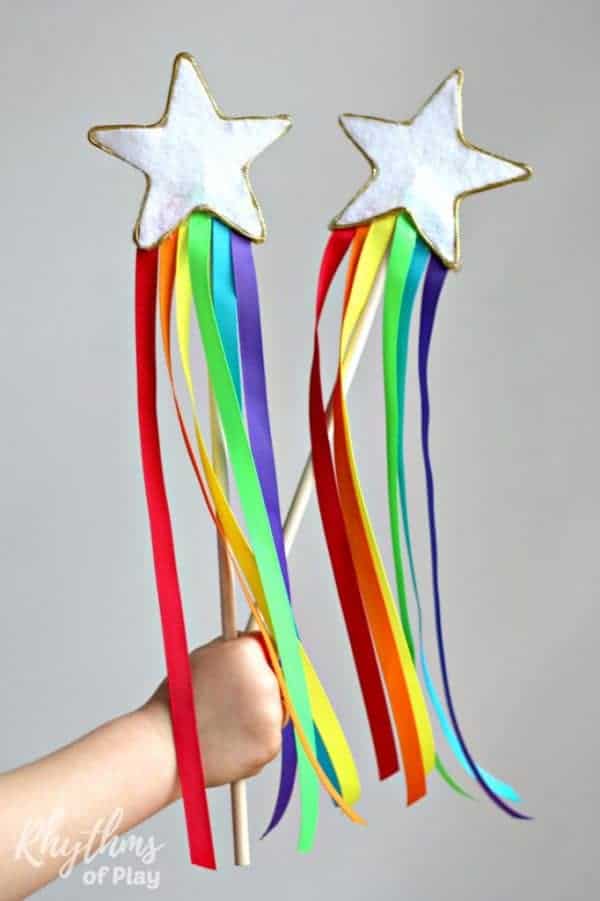
Discover how to make a simple star wand with ribbon to use as a magic wand, fairy wand, imaginative play toy, or costume prop accessory with this easy no-sew craft tutorial. Magic fairy wands, wizard wands, and princess wands are excellent birthday party favors, decorations, costume props, and dress-up toys for dramatic, open-ended, imaginative play. These types of open-ended toys encourage children to imagine, move, and play! This one features a bright white felt star on top and flowing ribbons in every color of the rainbow, but you can use any ribbon colors you like best.
Fairy wands like these, simple homemade crafts, are simple to make at home or in the classroom. Each wand turns out uniquely, just like the crafter who makes it. For example, use the step-by-step instructions below to make a fairy wand with ribbons to match your school or team colors to show your spirit. My daughter and I made some in patriotic colors to celebrate the Fourth of July. If you’d like to try it, please visit this Red, White, and Blue Star Wand tutorial. Or, make magic rainbow wands to use as toys and costume props.
These simple DIY wands are perfect for several different types of Halloween costumes, especially if your children enjoy dressing up and pretending to be fairies, princesses, queens, kings, witches, wizards, magicians, or even cheerleaders as much as my daughter does. My little girl loves fairies and enjoys playing with her fairy garden, and of course, she LOVES to pretend that she IS a fairy in her favorite fairy princess dress. This magic rainbow star wand craft tutorial makes it easy.
Related: DIY Rainbow Peg Dolls
How to Make a Rainbow Ribbon Magic Fairy Wand DIY Pretend Play Toy or Party Favor for Kids:
Use the step-by-step craft tutorial below to make a simple DIY fairy wand for a princess or a magic wand for a magician, sorcerer, or wizard to put in their bag of tricks. How do you make a homemade magic fairy wand, and what do you need to create one? My daughter and I used a pointy star cookie cutter, ribbons in a rainbow of colors, wooden dowel rods, and stiff white glimmer felt to make the magic rainbow star wands shown in the photographs for this post.
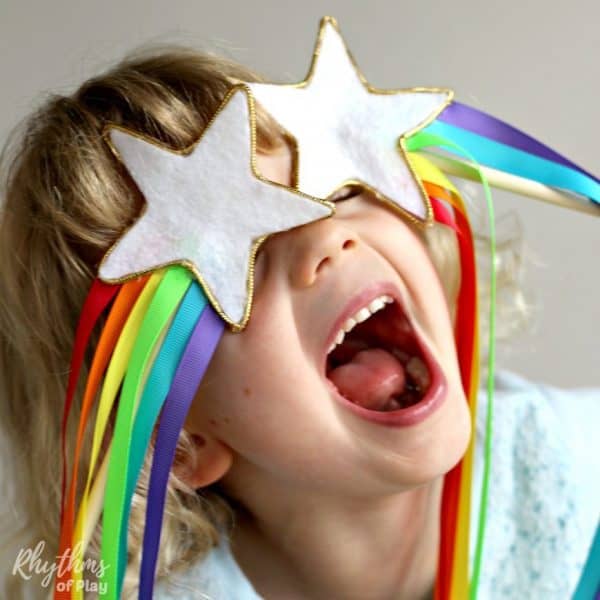
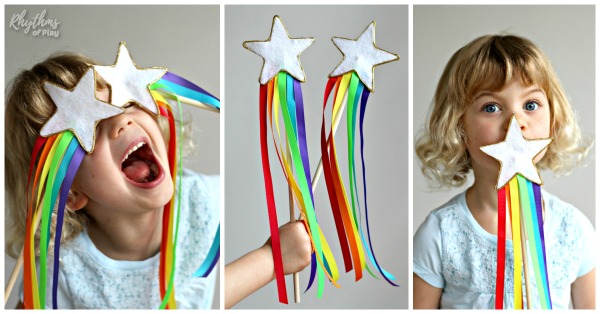
They turned out so well that we decided to make more rainbow fairy wands as favors for my daughter’s magical fairy princess birthday party. All of my daughters’ friends loved them. Just look at how much fun my daughter has playing with her fairy wand toys in the pictures below. First published on February 23, 2017, this magic wand craft tutorial is regularly updated and republished to improve its content and keep it current. For more rainbow crafts and activities, please visit this round-up of Rainbow Art Projects.
Homemade Rainbow Star Wand Materials:
- Stiff white glitter felt or stiff white felt
- You can also use foam or another type of fabric.
- Spray with fabric stiffener, if needed.
- Star cookie cutter or clip art template
- (There is a blank star template you can use in this printable set.)
- Fabric marker (disappearing ink) or fabric marking chalk
 Scissors
- Rainbow ribbon (or ribbons in the colors of your choice)
- Wooden dowels (1/4 X 12 inches)
- Alternatively, you can wash and recycle disposable wooden chopsticks.
- Or, use sticks collected outdoors for the wand handles.
- Sandpaper to smooth any rough edges or sides (optional).
- Gold or silver non-stretch metallic tinsel cord (optional but recommended)
- Low-temp hot glue or a needle and thread

Magic Fairy Princess Wand Step-by-Step DIY Instructions:
Please read through the step-by-step instructions below before starting your homemade wand, so you understand what to expect. Once know the basic process, you can use your creativity to customize your wand however you’d like. You might also enjoy learning how to make DIY Colored Wooden Building Blocks and other toys for Kids.
You will need the following craft supplies to make each DIY magic wand:
- Two felt stars (alternatively, you can use another type of fabric).
- Ribbons in a rainbow order (red, orange, yellow, green, blue, purple) or any colors you choose!
- One wooden dowel rod, a wooden chopstick, or a stick for the wand handle.
- Hot glue or a needle and thread to glue or sew everything together.
- Gold or silver tinsel cord to wrap the felt star at the top of the wand in gold (optional).
Follow the simple step-by-step instructions below to make fairy and magic wands for children in the colors of your choice:
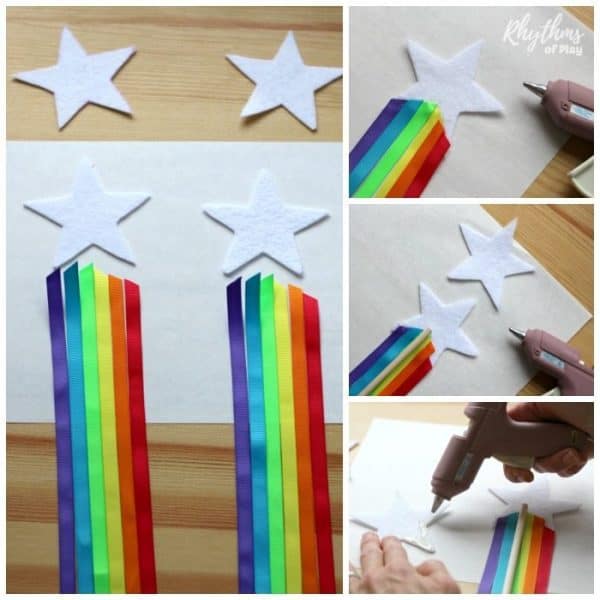
1. Trace and cut two stars for the top of each magic fairy wand craft from felt or another fabric:
- Place felt or another type of fabric on a work surface. Please ensure it is upside down, with the top “right side” of the fabric facing the table and the “wrong side” facing up.
- Use stiff felt, or stiff white glitter felt, to add a bit of sparkle. If your felt or fabric is not stiff, spray it with fabric stiffener before use. (You can also spray it onto ribbon to stiffen it.)
- Next, place a star-shaped cookie cutter or star template onto the white felt or other fabric as shown in the photograph.
- The, trace the star cookie cutter or craft template with fabric chalk or a marker with disappearing ink.
- Finally, cut two stars out of white felt for each star wand craft you are making.
2. Cut ribbon for each star wand craft:
- Use scissors to cut six 12-16-inch (30.5–40.6 cm) pieces of ribbon in a rainbow of colors for each fairy wand.
- I used red, orange, yellow, green, blue, and purple to make the fairy wands with ribbon in the photographs, but you are welcome to use any colors in any combination you like.
- Other ribbon color ideas include matching your school colors, birthday party theme, favorite sports team, or country (like these red, white, and blue ribbon wands, perfect for the US or UK).
3. Glue (or Sew) the strips of ribbon to one of the two felt stars for each Magic Fairy Wand Craft:
- Lay the stars down next to each other with the top of each star pointed up, as shown in the photograph below.
- If using a glitter felt or a two-sided fabric with a “right side” (pattern, glitter, design, or texture) and a “wrong side” (back side). Please ensure the proper side, i.e., the “glitter side,” faces down and the “non-glimmer side” faces up.
- Lay the ribbons below one of the stars for each wand, so they appear to hang from the bottom of the inside of the felt star, as shown in the photo tutorial below.
- Place the lengths of ribbon side by side as close together as possible without overlapping.
- Once in place, use low-temperature glue to adhere them to the bottom inside edge of the star.
- Alternatively, you can use a needle and thread to sew the ribbons to the inside lower edge of one of the stars in each pair.

4. Attach the wooden dowel (or chopstick) to the inside of one of the felt stars in each pair to create the handle for each fairy wand craft:
- Use a wooden dowel rod, a chopstick, or a small straight stick to make each magic wand handle.
- Use a piece of sandpaper to smooth the wood where the chopsticks pull apart, or sand any rough edges on the stick you collect, if you choose either option.
- Lay the dowel rods (wooden chopsticks or stick) onto the back side of one of the stars for each pair. The wooden dowel should sit on the rainbow ribbons inside the star, as shown in the photos.
- Before gluing in place, please ensure that the star’s top is pointed up, and the handle is moving down in the opposite direction.
- Then glue it in place to create the handle for each magic wand craft, as shown in the photo above.
Related: DIY Rainbow Peg Dolls
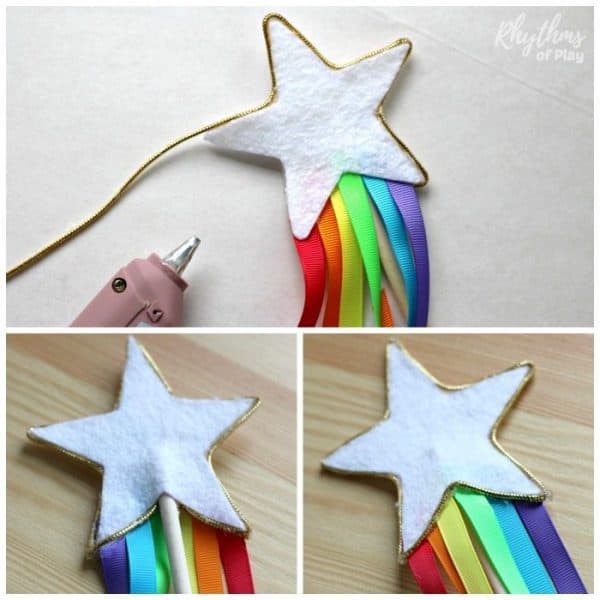
5. Glue (or sew) the felt stars with the wooden dowel and ribbons inside to complete each magic wand craft:
- Glue the felt stars together around the wooden dowel, with the ribbons inside so the star sits at the top of the wand.
- In other words, glue the two halves of the felt stars together, ensuring the wooden dowel and ribbons are inside the completed star to create each rainbow ribbon magic fairy wand.
- Once again, if you use glitter felt or another front-facing fabric, please ensure the correct side faces out before gluing the two halves of the star together.
- Look at the magic wand craft photo tutorials posted within these instructions to see these steps of the fairy wand craft in action.
Related: Best Shamrock and Clover Arts and Crafts
6. Attach the tinsel cord to the outside edge of each rainbow ribbon star wand (optional but recommended):
- Attach the non-stretch gold or silver tinsel cord to the outside edge of the star on each magic fairy wand with hot glue set at a low temperature.
- Alternatively, you can sew a whip stitch around the tinsel cord with a needle and thread to secure it around the edge of the pointed star.
- Using a low temperature is necessary because you will be touching the glue and getting it all over your fingers.
- I recommend teaching children how to use hot glue safely and supervising them as they work, especially if they have never worked with it before.
- Start on the star’s backside and work it around to the front, as shown in the photo tutorial below.
- Next, glue a small section of cord to the back of the star wand, where the gold tinsel cord is missing, as shown in the bottom two photographs in the tutorial.
Related: Ultimate Family Gift Guide
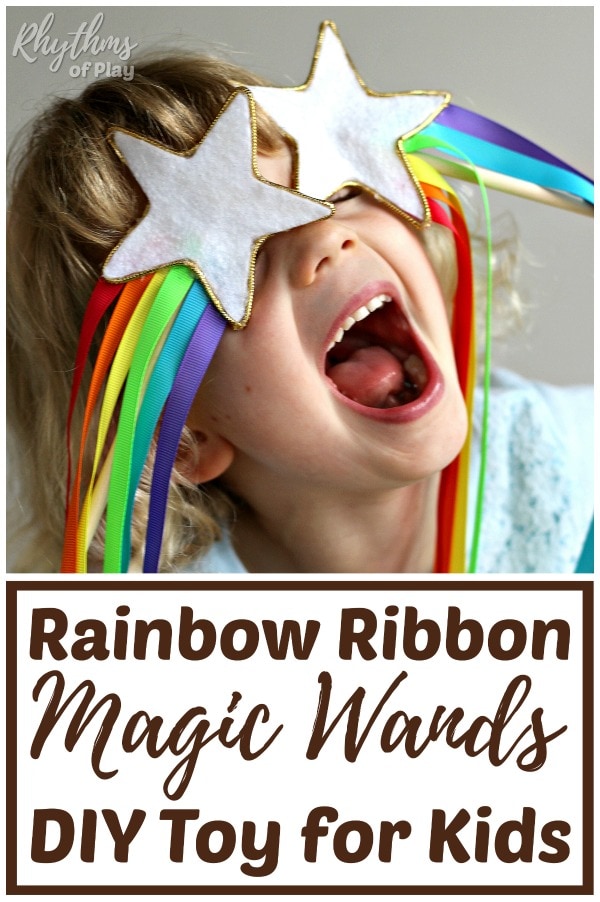
Rainbow Ribbon Magic Wand DIY Toy for Kids
Once the rainbow ribbon wand is complete, the real fun begins. Kids can wave it through the air, dance with the ribbons, or use it for pretend play. The flowing colors inspire movement and imagination.
DIY rainbow ribbon magic fairy wands are fun for kids to use to dress up for Halloween. They can be made to fit several different types of costumes, such as fairies, wizards, magicians, and more.
They also make fantastic props for pretend or imaginative play and great birthday party favors. These simple, handmade wands also make excellent storytelling props for a story basket.
This fairy want isn’t just a craft. It’s a toy, a costume accessory, and a gateway to make-believe. Let it fly, twirl, and shine wherever play takes it. Check out our Patriotic Star Wands for more photos and wand-making tips!
You may also like this collection of rainbow suncatchers to brighten your windows and this fun collection of easy rainbow art projects kids love!
Learn more about Nell Regan Kartychok, author and photographer of this original DIY rainbow ribbon wand craft HERE, and Rhythms of Play HERE!
If You Like This Rainbow Ribbon Wand Craft, You May Also Like
- DIY Rainbow Peg Dolls
- Books That Teach Kids Important Life Lessons
- DIY Rainbow Blocks
- Calm Down Sensory Bottles 101
- DIY Waldorf Square


Hi there, I love these wands and would like to make them for my daughter’s party in a month. A question: were there boys invited to your daughter’s party, and if so, did they like the wands too? Or did you have something else for them in place of the wands? Cecilia
Hi Cecilia! Both girls and boys love rainbow star wands. We also have a red, white and blue star wand tutorial that you can also make to have another option available, or, use ribbons in any color combination you like.
I enjoyed this post and the one on sensory water bottles. I have a great granddaughter who has anxiety isseus and we are trying to come uo with things for her to use. Now we need to find small things that she can take to school. Thank you for some great ideas.
Hi Sandy, I’m so glad you enjoyed this DIY wand-making post and our sensory bottle post. Regarding taking things to school, we have a pocket pet mouse that you can make with your daughter, and there are many wonderful fidget toys available today. But please ensure it’s okay with her teacher to bring them to class. Usually, teachers are accepting of this practice when the child has sensory or anxiety issues.
Nell