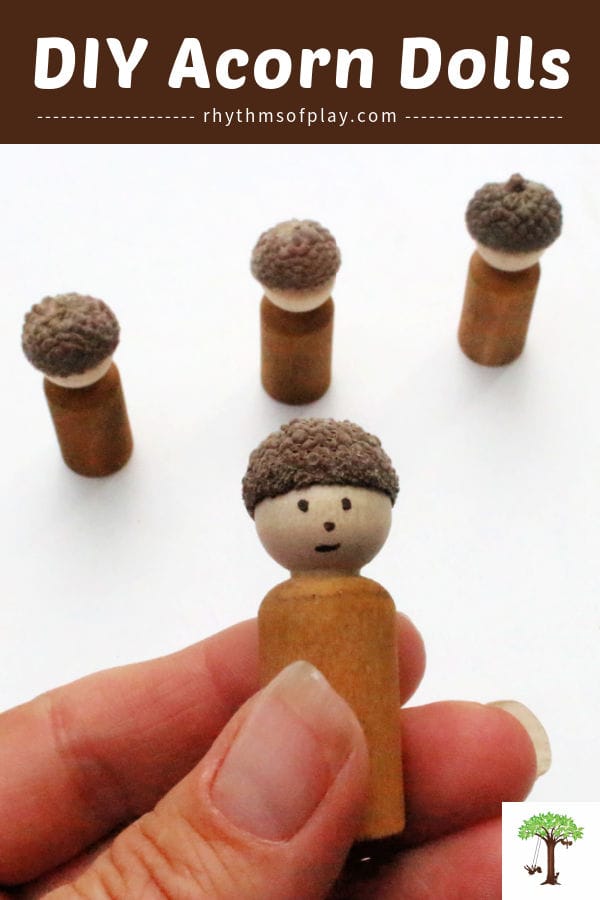
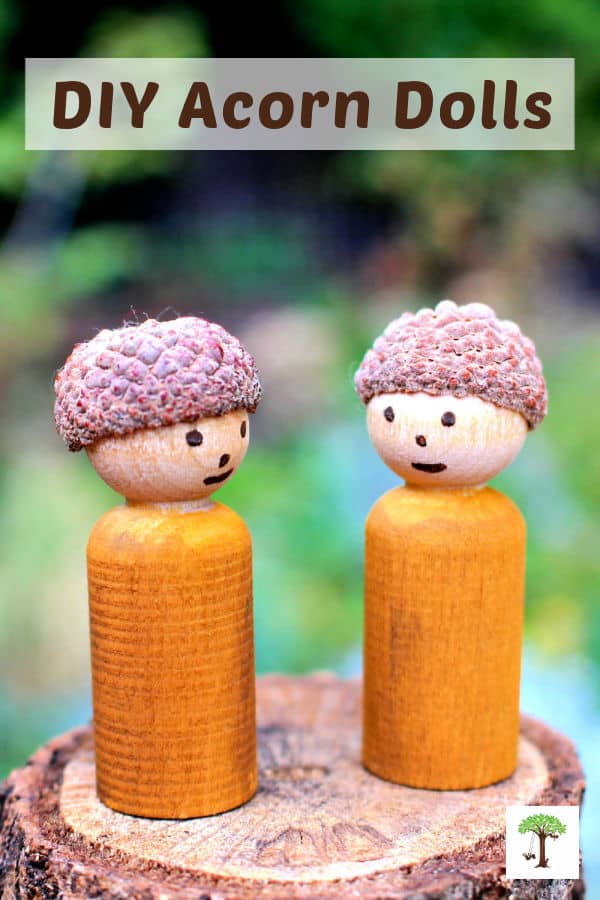
Discover how to make acorn dolls with acorn caps, wooden peg dolls, and paint with this step-by-step craft tutorial.
This simple acorn craft tutorial shows how to make acorn dolls–an adorable, nature project that brings the magic of the forest right into your hands. Whether you’re a parent looking for a creative activity to do with your kids, a teacher creating a seasonal nature display, or a crafter drawn to whimsical, woodland-themed decor, acorn dolls offer a fun way to combine natural materials with your imagination.
No prior experience is needed to make these adorable acorn dolls. Beginner and experienced crafters of all ages will enjoy this simple acorn craft. Using just a few basic supplies–wooden peg dolls, paint, and real acorn caps–you’ll learn how to create tiny character-filled figurines perfect for storytelling, play, or decoration.
These handmade dolls are unique DIY wooden toys and simple homemade gift ideas for children. You might also like THIS set of wooden peg dolls painted in a rainbow of colors. Children also enjoy making their own DIY peg doll crafts for pretend or imaginative dramatic play. If you have children with an autumn birthday, these cute wooden peg doll crafts make great homemade party favors! First published on August 28, 2015, this post has been updated to enhance its content. You might also enjoy using acorn caps to make DIY Acorn Marble Necklaces.
DIY Acorn Dolls: Adorable Homemade Wooden Toy for Kids
DIY Acorn Peg Dolls are a simple acorn craft and a great homemade gift idea for kids. Creating acorn dolls is not only fun, but also an educational activity. It encourages children to interact with the natural world, sparking their curiosity about the seasons, trees, and the ecosystems in which they live. Making these adorable acorn dolls helps improve fine motor skills, hand-eye coordination, patience, and creativity. You might also enjoy this list of fall nature crafts for kids and adults.
There are many uses for these simple wooden toys and decorations. For adults, especially those interested in Waldorf or Montessori education, acorn dolls provide a tactile, nature-inspired crafting experience that encourages imaginative play and storytelling. Teachers and homeschoolers often use acorn dolls in educational settings to illustrate folktales, cultural traditions, or lessons about nature and the seasons.
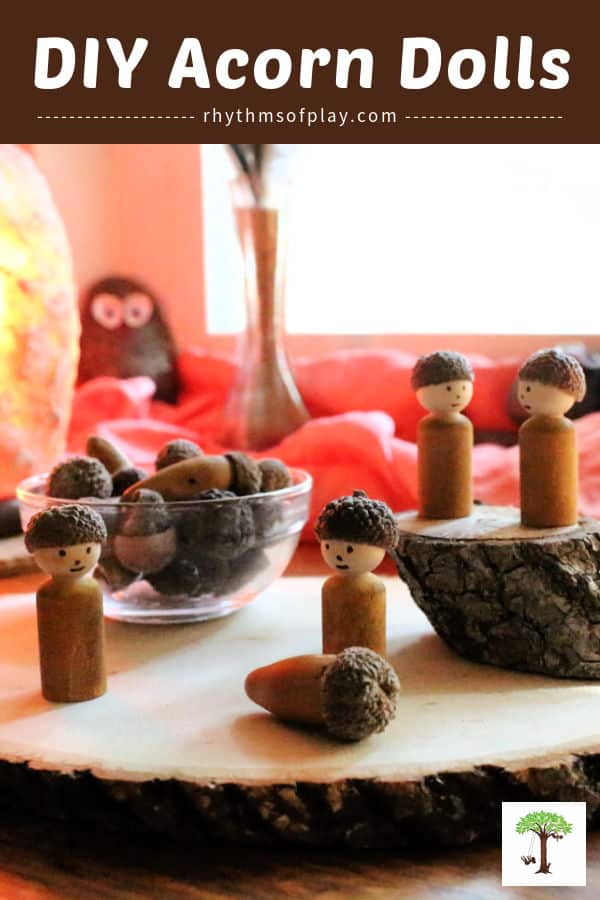
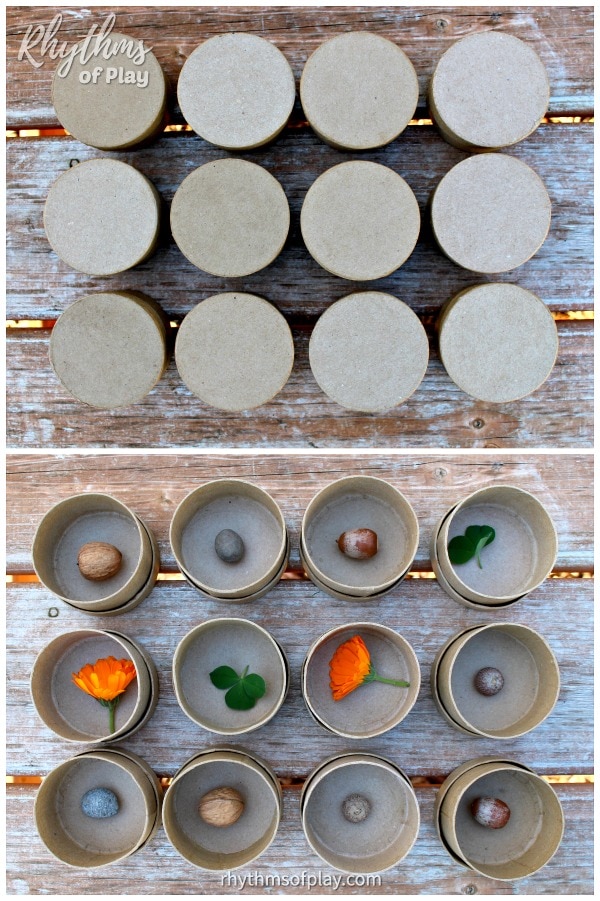
These adorable, handmade toy dolls are fantastic props for children to use in pretend or imaginative dramatic play. In imaginative play, acorn dolls can act as characters in tiny worlds, fairy gardens, or seasonal nature displays such as a fall nature table, as shown in the photograph below. Kids can spend hours creating stories with them, which encourages storytelling and emotional development.
Homemade peg dolls with acorn caps also make cute, rustic DIY autumn home decor. They are whimsical, rustic decorations for autumn, Thanksgiving, or harvest festivals. Display them on mantles, window sills, dresser tops, and side tables to add warmth and natural beauty to your home or classroom. Acorn peg dolls also make meaningful, handmade gifts and homemade party favors for a child’s birthday. Because each one is unique, they carry a personal touch that store-bought toys often lack. Learn how to make these simple crafts with the step-by-step acorn doll craft tutorial below.
How to Make Acorn Dolls:
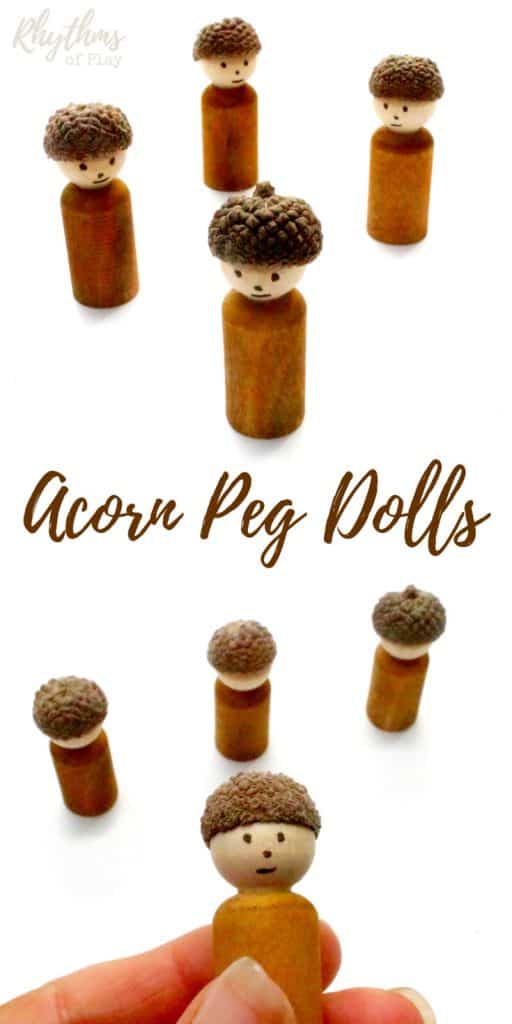
Creating acorn dolls is a fun activity that combines nature and simple materials to make charming wooden toys. Acorn doll crafts are created by pairing real acorn caps with small wooden peg dolls and a touch of paint, resulting in adorable dolls with a rustic, fairy-tale charm that appeals to both children and adults.
To make them, start by collecting acorn caps from around oak trees. Once cleaned, these caps become whimsical hats for the simple wooden peg doll bodies. Next, paint them brown to resemble tiny acorn people. Alternatively, you can paint them in various forest tones, autumn colors, or any color you like.
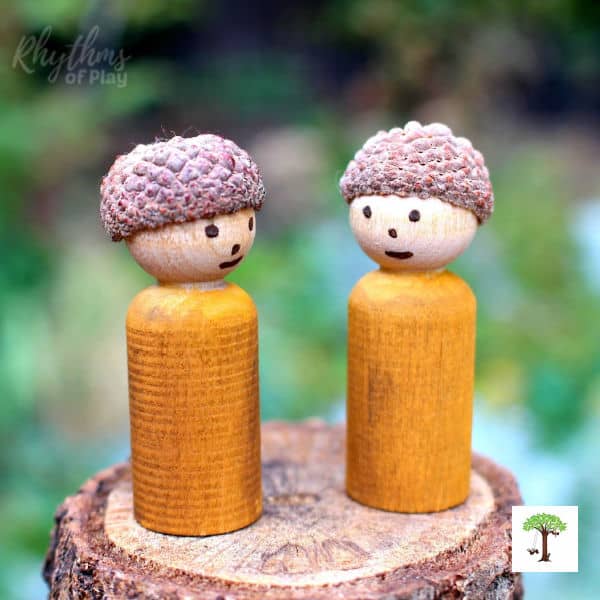
The acorn dolls in the photographs are painted to match the yellowish-brown colors of the valley oak acorns from which their caps were plucked; however, woodsy brown, forest green, autumn orange, deep crimson red, or muted purple also make lovely color options for acorn dolls. Then glue the caps onto the head of the wooden peg dolls.
Finally, create an optional face. Once painted, each doll can have its own distinct personality–whether it’s a forest sprite, a tiny gnome, or a miniature villager. Or leave their faces blank like a Waldorf doll to allow each child who plays with them and each person who gazes upon them to give them expression.
To start this enchanting woodland craft adventure, begin by gathering your preferred craft supplies from the recommendations below. Then scroll down for the complete step-by-step acorn peg doll craft tutorial.
Acorn Doll Craft Materials:
- Acorn caps

- Gather acorn caps on a nature hunt, or purchase them.
- Wooden peg dolls:
- This package contains more wooden peg dolls than you need for this project.
- Use the remainder to make other peg doll crafts. Several more homemade peg doll project ideas are listed at the bottom of this acorn doll tutorial.
- Watercolors or Acrylic paint (choose from the following options):
- Any watercolor paint can be used to create acorn dolls; you can also use food coloring.
- Watercolor paint set (Includes brushes and fine tip marker, etc.)
- Watercolor paint tubes:
- Use burnt or raw umber (brown) or a mixture of burnt or raw umber and yellow ochre straight out of watercolor paint tubes for a rich, concentrated color.
- The acorn dolls in the photos were painted with a mixture of raw umber and yellow ochre, directly from the tubes of watercolor paint, without the addition of water.
- Use burnt or raw umber
- Liquid watercolors:
- You can paint the peg doll bodies or dip them directly into a container filled with liquid watercolor paints. Mix purple and yellow to create brown, or use any color you like.
- Read through the step-by-step instructions below for directions and examples.
- Acrylic paint can also be used to paint the peg doll bodies if desired.
- Unlike watercolor paints or food coloring, acrylic paint does not allow the wood grain to show through.
- To see examples, Fall Fairy Dolls, Winter Fairy Dolls, and Rainbow Peg Dolls are painted with acrylic paint.
- Paintbrushes
- These will not be needed if you choose to dip the peg dolls in liquid watercolor paint.
- These will not be needed if you choose to dip the peg dolls in liquid watercolor paint.
- Adhesive to glue the acorn cap onto the wooden doll (select one of the following):
- Tools to create a face for the acorn doll if desired (choose from the following options):
- (Optional) Sealant or varnish to seal and protect acorn dolls (select one of the following):
- Mod Podge
- Mod Podge Outdoor and a foam brush
- DecoArt Varnish and a foam brush


 (brown) or a mixture of burnt or raw umber and
  straight out of watercolor paint tubes for a rich, concentrated color.


Materials for Cleaning and Sanitizing Acorn Caps:
- You will need the following supplies to clean and sanitize the acorn caps:
- Plugged sink, bowl, or wash bin
- Tap water
- Liquid dish soap
- Vinegar
- Toothbrush or a bristly paintbrush
- Colander (optional)
- Towels
- Baking sheet or shallow baking dish
- Parchment paper or foil
- Oven
DIY Acorn Peg Dolls Wooden Toy Step-by-Step Directions
Please read the step-by-step instructions below before starting this wooden DIY toy project so you understand the steps involved and know what to expect. A list with several other DIY project ideas you can make with wooden peg dolls follows these instructions.
1. Collect or purchase acorn caps:
- Look for acorns near oak trees, purchase them here, or find them at a local craft or hobby store.
- Acorns and acorn caps can often be found lying in the grass or on the forest floor near the base of oak trees and under their branches.
- Gather acorn caps from the ground in a clean, dry area, preferably from under oak trees that haven’t been treated with chemicals.
- Look for intact caps without cracks or deep holes. It’s fine if they have a little dirt or discoloration; you’ll clean them in the next step.
- Collect acorns or just the caps you need; often, the caps have been left behind by animals that eat them, such as squirrels or deer.
- Remove the cap and leave the acorn behind to grow into a mighty oak or feed hungry animals if you can.
- If not, acorn caps can easily be removed when you clean them in the next step.
2. Clean and Sanitize Acorn Caps:
- Preparing acorn caps for crafts is a simple step to ensure your creations are clean, durable, and free from pests or mold.
- Acorn caps picked straight from the ground may carry dirt, tiny insects, or moisture that can cause issues later.
- Begin by discarding any acorns that are broken, decaying, or have visible signs of rot or mold.
- If not already removed, separate the acorn caps from the acorns by prying them apart with the tip of your finger or a small knife. (Alternatively, you can do this when washing them in the next step.)
- Clean and prepare acorn caps before using them for crafts like acorn dolls with the instructions below:
How to Clean and Sanitize Acorn Caps:
- Wash the acorn caps:
- Place the acorn caps in a plugged sink, bowl, or wash bin filled with warm water, a few drops of dishwashing soap, and a splash of vinegar. (About 1-2 tablespoons per quart of water.)
- Gently stir them to loosen any dirt or bugs.
- Allow them to soak for about 20-30 minutes.
- Use a toothbrush or a bristly paintbrush to scrub off any remaining dirt or debris.
- Rinse the acorn caps thoroughly with clean water to remove soap and vinegar residue. Use a colander if you have one available to help with this step.
- Place them on a towel and pat dry with another towel.
- Allow them to air dry for at least 1 hour before baking to remove surface moisture. This will prevent them from steaming or cracking in the oven.
- Bake the acorn caps to sanitize and harden:
- To ensure the acorn caps are free from insects, larvae, or mold spores, spread them out in a single layer on a baking sheet or shallow baking dish lined with parchment paper or foil to prevent burning.
- This step also helps harden the caps slightly, making them more durable for crafting, such as creating hats for acorn dolls.
- Bake them in a 200°F (about 95°C) oven for 1 to 2 hours.
- Leave the oven slightly cracked to allow moisture to escape.
- Stir them every 15-20 minutes to ensure they dry evenly and keep an eye on them so they don’t overbake or burn (remove them from the heat if they begin smoking, cracking, or burning).
- Please turn off the oven, remove the acorns from the stove, and let them cool completely before proceeding to the next step.
- Throw away any acorn caps that are burned, broken, or otherwise destroyed.
3. Paint the wooden peg doll body:
- You can choose between a few different methods to paint the wooden peg doll bodies to make the acorn peg dolls shown here.
- Any acrylic or watercolor paint can be used to create acorn dolls; you can also use food coloring.
- Try the painting techniques described below to color each wooden peg doll craft:
- Use watercolor paint straight from the tube to paint the wooden peg dolls, achieving a rich, concentrated color.
- When creating the wooden peg dolls shown in the photographs, I first layered the watercolors by painting with yellow ochre, as Valley Oak Acorns are typically yellowish-brown where we live, and I wanted to paint them to match.
- Then I painted over the yellow ochre with raw umber when the watercolor paint was still wet.)
- Another super-easy option is to use liquid watercolor paint to color or dye each wooden peg doll. Mix purple and yellow to create brown, or use any color you like. Follow the steps below if you want to use this watercolor painting technique:
- Dip a paintbrush into the liquid watercolor paint and use long downward strokes to paint the peg doll from the neck.
- Or fill a 4-oz canning jar or another small container with liquid watercolor paint and dip the body of each wooden peg doll into the liquid watercolor solution to dye the wooden bodies.
- Or use a simple watercolor paint set and a paint brush to paint the peg dolls the color or colors of your choice.
- Alternatively, you can paint them with food coloring or acrylic paint:
- Unlike watercolor paints or food coloring, acrylic paint does not allow the wood grain to show through.
- To see examples of what acrylic paint looks like on wooden peg dolls, look at Fall Fairy Dolls, Winter Fairy Dolls, and Rainbow Peg Dolls.
- Use watercolor paint straight from the tube to paint the wooden peg dolls, achieving a rich, concentrated color.
- Don’t paint the heads yet. Instead, allow the wooden peg doll bodies to dry before proceeding to the next step.


 and dip the body of each wooden peg doll into the liquid watercolor solution to dye the wooden bodies.
4. Glue the acorn caps onto the wooden peg dolls:
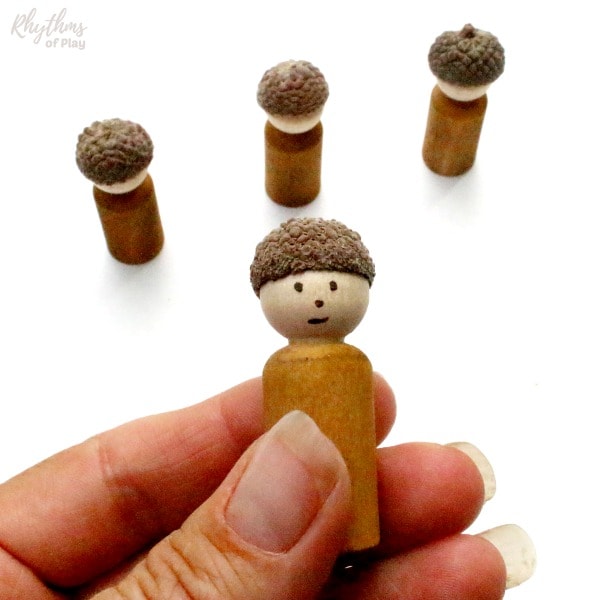
- Use hot glue, wood glue, or craft glue to attach the acorn caps onto the heads of the wooden peg dolls to make this acorn craft, as shown in the photograph below.
- I recommend using wood glue or a strong, multi-purpose craft glue if you are making these acorn crafts with young children.
- Place a drop of glue inside each acorn cap and then quickly put the acorn cap onto the wooden peg doll’s head to secure it in place.
- Press down gently on the acorn cap to squeeze out any air bubbles and ensure it is firmly attached to the wooden peg doll.
 or craft glue
 to attach the acorn caps onto the heads of the wooden peg dolls to make this acorn craft, as shown in the photograph below.
 if you are making these acorn crafts with young children.
5. Paint a face onto each acorn peg doll craft:
- Use a paint pen, a permanent marker, or dip an incredible nib into the acrylic paint color of your choice to draw a simple face onto each wooden peg doll craft.
- Simple faces and faces left blank allow children and adults gazing at or playing with the acorn dolls to create the emotional expression for the doll in the moment.
- The acorn dolls in the photo below show a tiny dot of paint for the eyes and nose, and a small line for the mouth.
- In other words, the doll is neither happy, sad, nor angry, allowing the expression to change according to the child’s will during play.
- Please visit the Rainbow Peg Doll DIY project tutorial or these Fairy Dolls for more detailed instructions on how to paint different types of simple faces on a peg doll.


6. (Optional) Seal and protect wooden acorn dolls:
- This step is optional, but it can protect your finished acorn doll crafts from moisture and wear, especially if they are colored with watercolor paint or food coloring, will be handled often, or used in outdoor displays. Sealing them also makes them easy to clean without causing the watercolor paint to bleed.
- Use a foam brush to paint a layer of clear drying sealant or a matte varnish for a longer-lasting, slightly glossy finish.
- Please note: The acorn dolls in the photos were not sealed before the pictures were taken; however, I later sealed them to protect the acorn caps and the wooden dolls and prevent the watercolor paint from bleeding or fading.
Related: The Best Building Blocks for Kids
Acorn Peg Doll Wooden DIY Toy for Kids and Rustic DIY Home Decor:
Acorn peg dolls are an acorn craft and DIY wooden toy gift idea for kids. Or, invite children to help you make these adorable wooden peg doll crafts with the step-by-step instructions included in this DIY tutorial. Making handmade toys for pretend or imaginative play with kids is a creative activity that all ages enjoy. These simple acorn crafts are a great way to bring families, classrooms, and communities together, whether during a rainy day activity, a classroom project, or a local craft fair.
Acorn peg dolls also make unique rustic DIY home decor that adds a touch of natural whimsy to any space. Little acorn people look super cute when displayed on mantles, window sills, nature tables, shelves, and fairy gardens. They are also a simple prop you can use in a story basket for storytelling. For more amazing craft ideas, look at this list of fall nature crafts, or scroll down to see a list of wooden peg doll crafts for kids.
More Peg Doll Crafts to Make with Wooden Peg Dolls
If you purchase the recommended wooden peg dolls to make this fun acorn craft, you will have enough dolls remaining to make a few more wooden DIY toys. Once you’ve finished this fun acorn craft for kids, try the other excellent DIY peg doll project ideas listed below:
- DIY Rainbow Peg Dolls
- Monarch Butterfly Peg Dolls
- Peg Doll Boat Craft
- Fall Fairy Peg Dolls
- Winter fairy Peg Dolls
- Elf Peg Doll Ornaments
- Angel Peg Doll Ornament
- Easy Wooden Peg Doll Nativity Scene
If you Enjoyed This Acorn Craft, You May Also appreciate:
- Acorn Marble Necklace Nature Craft
- DIY Rustic Acorn Marble Ornaments
- Nature Crafts and Nature Art Activities that use Natural Materials
- Fall Bucket List of Fun Autumn Activities


I love these guys! They look like fun! <3
Thanks Ashleigh 🙂
These are super cute! We’ve actually just been out on an acorn hunt too 🙂
Thanks Jess! We love going acorn hunting. We have a huge oak tree in our backyard so we don’t have to go looking very far. You will love this craft. It is so easy 🙂
Hi there, I log on to your new stuff on a regular basis.
Your writing style is awesome, keep up the good work!
Thanks Barbara!