Sorting rocks and classifying them according to color, shape, size, and other physical characteristics makes it easy for toddlers, preschoolers, and kindergarteners to explore geology.
Sorting and classifying rocks is an easy science activity for toddlers, preschoolers, and grade school students. In geology, rocks are classified into igneous, sedimentary, and metamorphic rocks. This earth science activity does not classify rocks in this way. Instead, other classifications make it easy for young children, such as toddlers, preschoolers, and kindergarteners, to complete this beginning geological science activity. You might also enjoy Stone Stacking STEAM and Human Sundial Shadow Science Experiment.
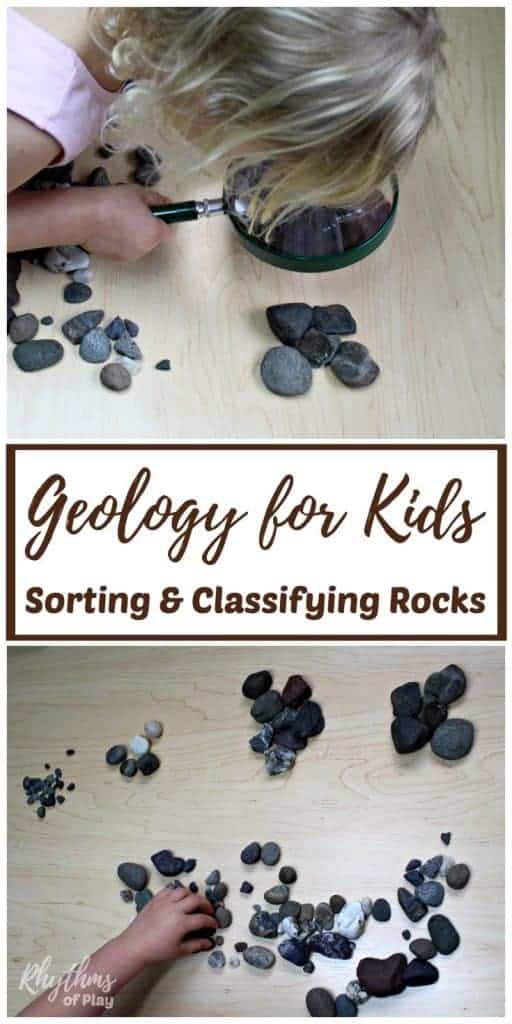
How to Sort and Classify Rocks and Stones: Basic Geology for Kids
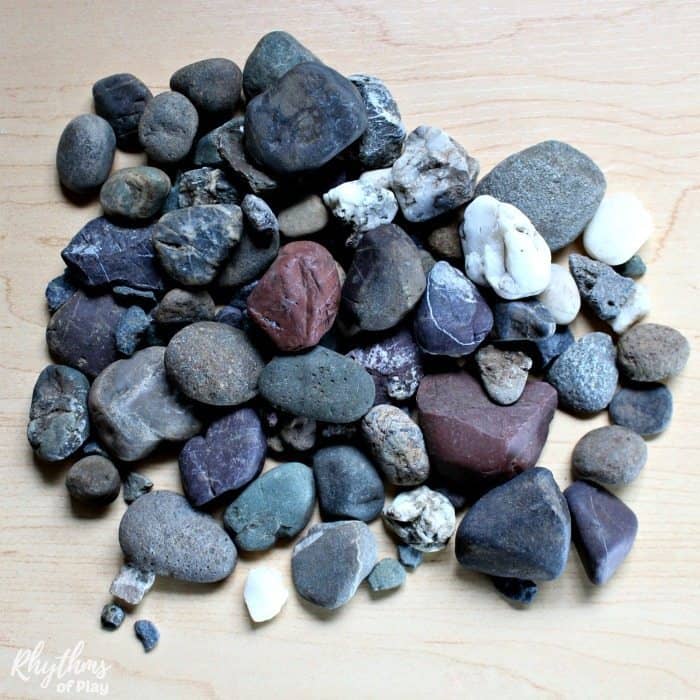
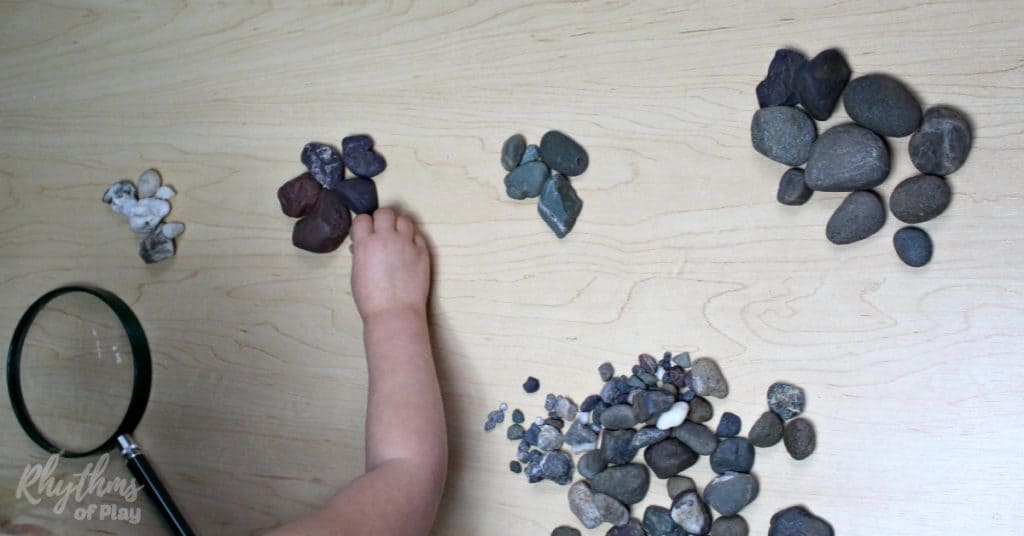
Start by going on a nature hunt to collect rocks for this activity. Nature hunts are another fun and educational activity to do with your kids. Invite the kids outside in search of rocks and stones to sort and classify. Do your best to find a collection of different sizes, shapes, textures, and colors for the best results.
Materials for Sorting and Classifying Rocks:
- A varied collection of rocks
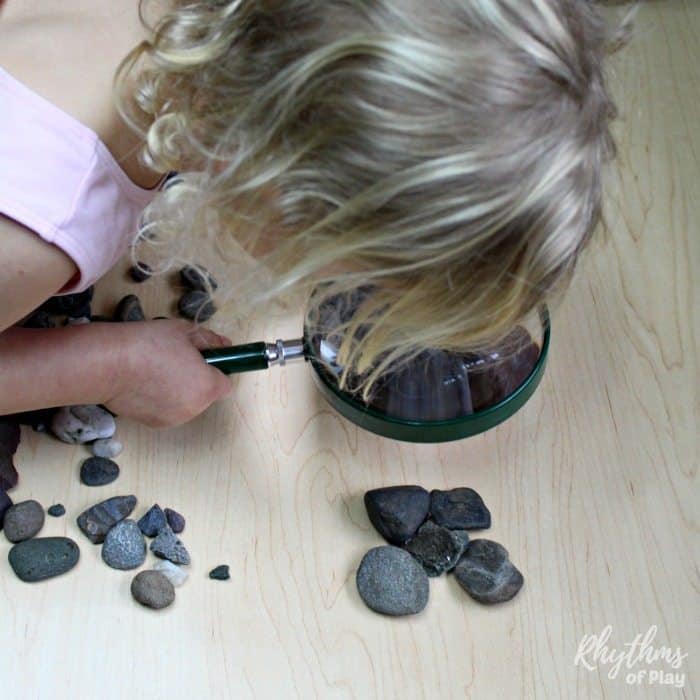
- Magnifying Glass (optional)
- Rocks & Minerals Feild Guide or Everything Rocks and Minerals by National Geographic Kids (optional)
- Science notebook (optional)
Step-by-Step Instructions for Sorting and Classifying Rocks
1. Put rocks or stones on the work surface:
- Place a varied collection of rocks on a table or work surface.
2. Observe–Look for similarities and differences:
- Instead of showing the child(ren) how to sort rocks and stones, ask them if they see any differences.
- If they are stumped, encourage them to investigate them more closely by touching them, looking at them through a magnifying glass, etc.
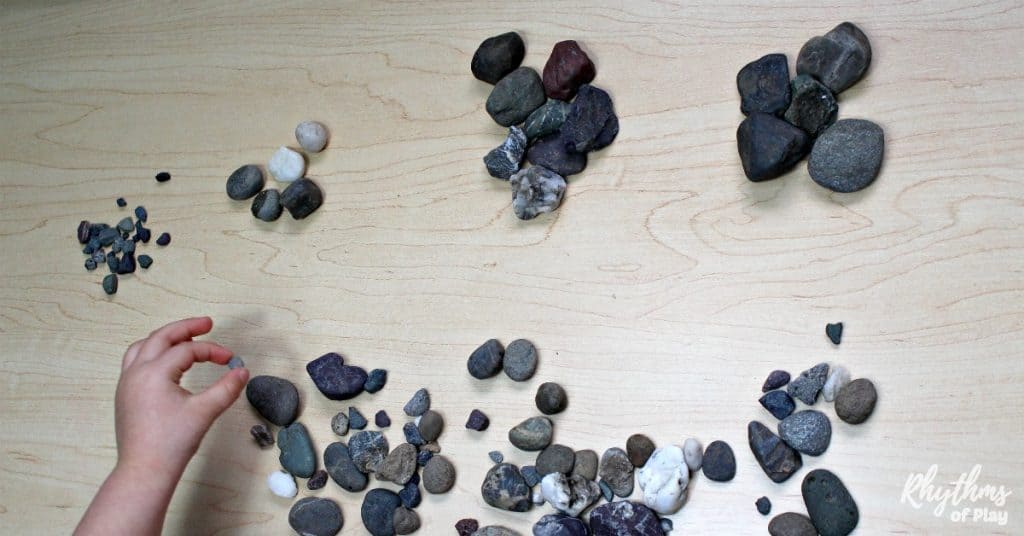
3. Sort the rocks and stones:
- Sort the rocks and stones based on the answers obtained during the observation.
4. Add in some math:
- First, ask children to count the number of rocks placed in each category.
- Next, have them count how many stones there are in each category.
- For example, your child might say there are 6 white rocks, 7 red rocks, 5 green rocks, and 10 gray rocks.
- Write this down in your science notebook or on paper for them.
- Once you have finished sorting and classifying the rocks, ask the kids to create graphs of their results to extend the activity.
4. Place the rocks back into a pile and ask what other differences they see:
- Sort the stones again based on their answers and repeat the steps above.
- You don’t need to sort every last rock each time.
- Depending on their classification, some rocks may be challenging to sort.
5. Repeat the Steps above until you run out of ways to sort and classify Stones.
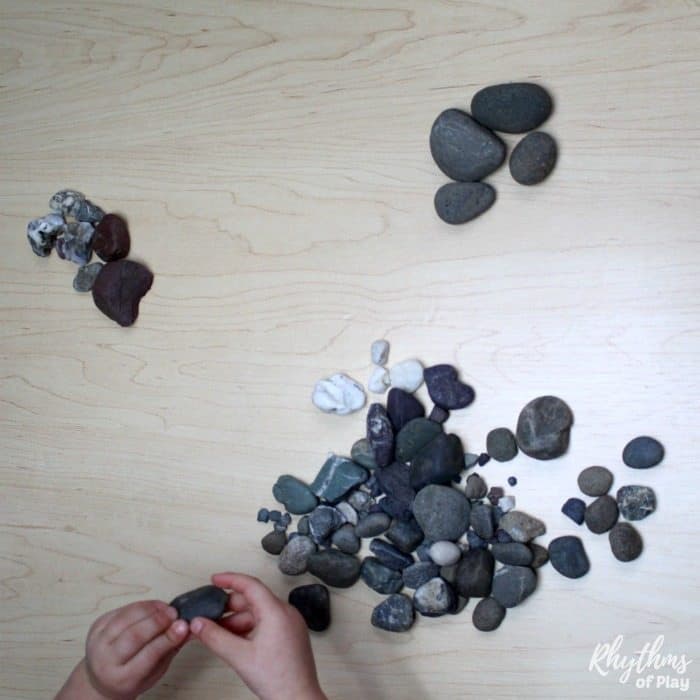
Sorting and Classifying Rocks Process
For this activity, my 3-year-old daughter sorted and classified rocks based on size, color, texture, and shape. See the photos below.
Sorting and Classifying Rocks by Size:
My daughter sorted extra small (pebbles), small, medium, and large rocks. Learning to sequence using natural items such as rocks is an everyday forest school learning activity.
You don’t have to bring nature home to practice sorting and classifying. My daughter and I also enjoy sorting by size when we go on nature walks. We don’t collect the rocks when we do this. Instead, we point to pebbles, rocks, and boulders when we see them, calling out what they are.
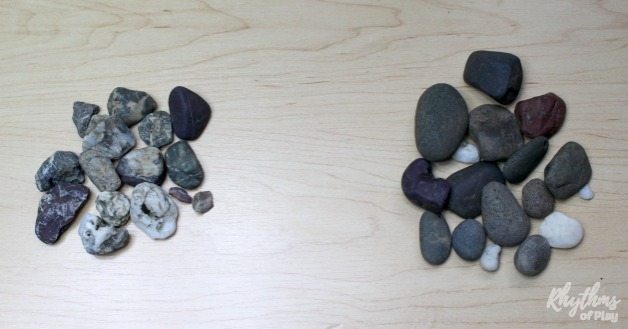
Sorting and Classifying Rocks and Stones by Color:
The colors you sort will depend on the rocks you collect. My daughter could sort white, red, green, and gray stones.
Next, she sorted the rocks by whether they were one color or had more than one color.
Sorting and Classifying Stones by the texture:
My daughter sorted smooth and bumpy or rough rocks. If they were rough, they were put into the rough category, even if they had smooth sections. This is a great sensory activity.
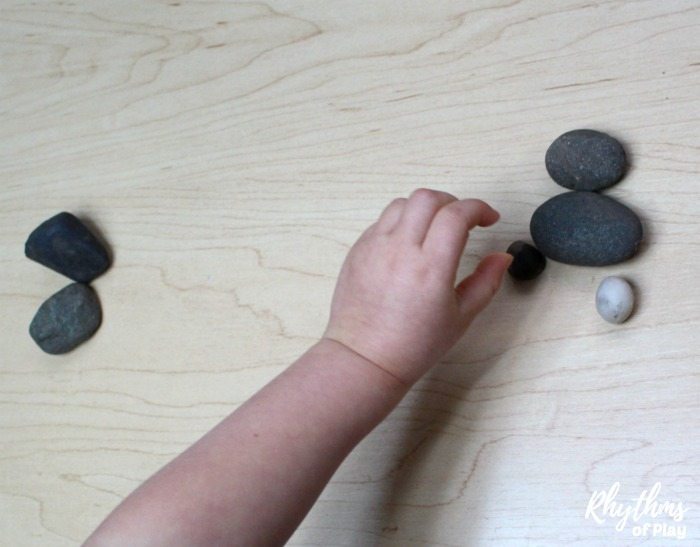
Sorting and Classifying Stones or Rocks by Shape:
My daughter sorted square and round rocks.
Activities such as sorting and classifying rocks encourage children to focus attention on the characteristics of the objects: visual appearance, textures, weight, dimensions, color, relative size, etc. Counting the results is an easy way to add math to make it a STEM activity.
Children make decisions based on the information they perceive when doing this activity. This decision-making activity helps establish new nerve pathways in the brain, which can lead to higher learning.
This post is a part of the 28 Days of STEM Activities for Kids Blog Hop. Click on the link to see all the other unique hands-on STEM activities for kids!


I loved this post! Not just for the specific ideas on how to sort rocks, but also the broader approach of “Instead of telling your child(ren) how to sort the rocks, ask them if they see any differences in the rocks.” Fabulous. I referenced this in a post I wrote on sorting / classification as a key science skill – https://inventorsoftomorrow.com/2017/01/20/sorting/ and in my post on our Geology class where we studied earth, earthquakes, and rocks in my kids’ science class: https://inventorsoftomorrow.com/2017/01/30/rock_science_for_kids/
So glad you approve! It’s always best to allow kids to do the learning… supporting and guiding when appropriate or necessary. 😉
hi
Thanks for taking a moment to say hi, Irina. 🙂
Hi
Hi Irina, is there something that I can help you with?