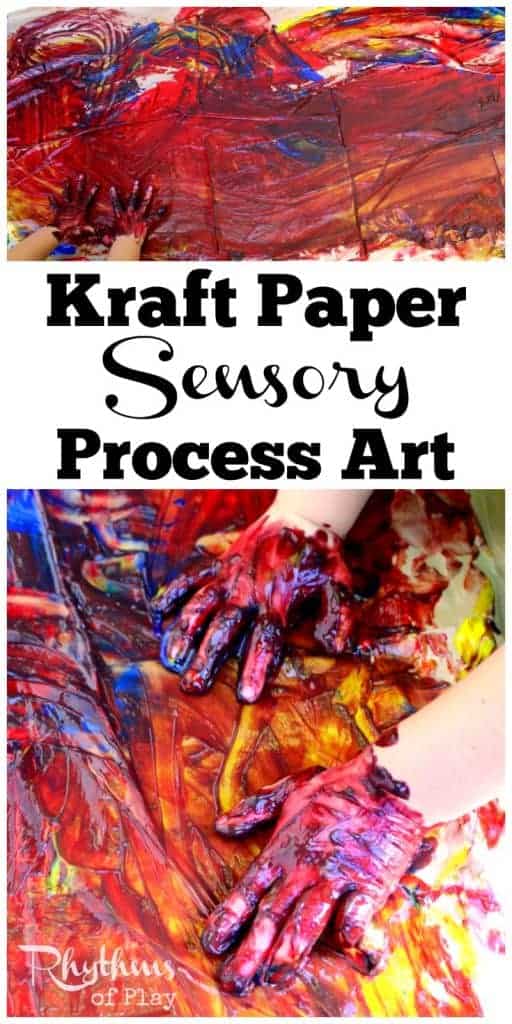
Fingerpainting is a wonderful way for toddlers to develop the sensory system and experiment with art materials.
Fingerpainting is a great first sensory process art project for toddlers and preschoolers. Invite young children toddler age and up to make their first forays into the art world with a large piece of brown kraft paper and a few colors of fingerpaints.
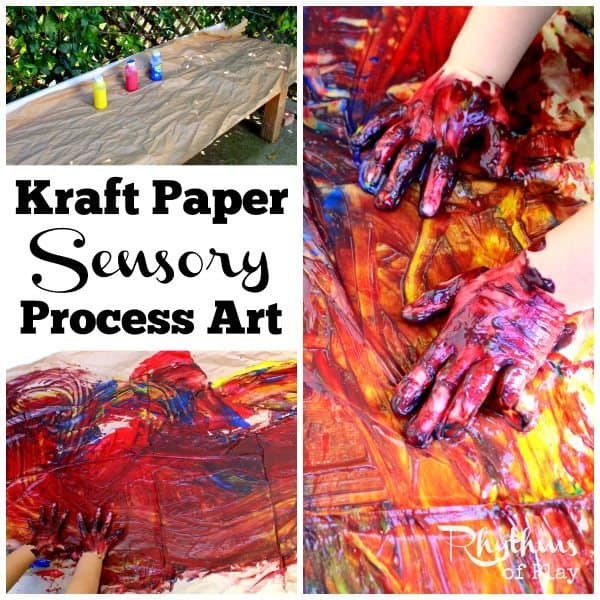
Fingerpainting is a great way to allow young children to practice using art materials while developing their sensory systems. Crafts are a great way to strengthen fine motor muscles and make gifts, but kids need plenty of opportunities to create their art without an end product in mind. This fingerprinting process art project for toddlers can provide the chance to do just that.
Fingerpainting For Toddlers and Preschoolers
In this open-ended sensory art activity, children will use packing or kraft paper and their hands and fingers to create art–no paintbrushes needed. Creating art with our hands turns art into a sensory experience not to be missed! Toddlers and preschoolers love fingerprinting because there is no right or wrong way to do it!
Allow your child to use the materials placed on the table in front of them in whatever way they wish. Engaging in open-ended process art will give your child the opportunity to explore their creativity, practice using art materials, and develop their tactile sensory system.
Fingerpainting Sensory Process Art Supplies
- Kraft or brown paking paper (we re-used some packing paper from a large package that we received for Christmas)
- Finger paints
- Art smock
Kraft Paper Sensory Process Art: Preparation
Roll out a large piece of packing paper or kraft paper and place it on a work surface. This fingerpainting process art project is a fantastic activity after receiving a large package containing a large amount of packing paper. If you are working with a class, you will more than likely need a roll of brown kraft paper.
Make sure you are working on a surface that you don’t mind getting messy. For example, re-used packing paper sometimes has perforations in it. The finger paints are washable, but I doubt you want them smeared all over the dining room table.
We used our DIY Outdoor Art Table & Mud Kitchen pictured below. I folded a towel to put in the sink to create a level surface for my daughter to paint on.
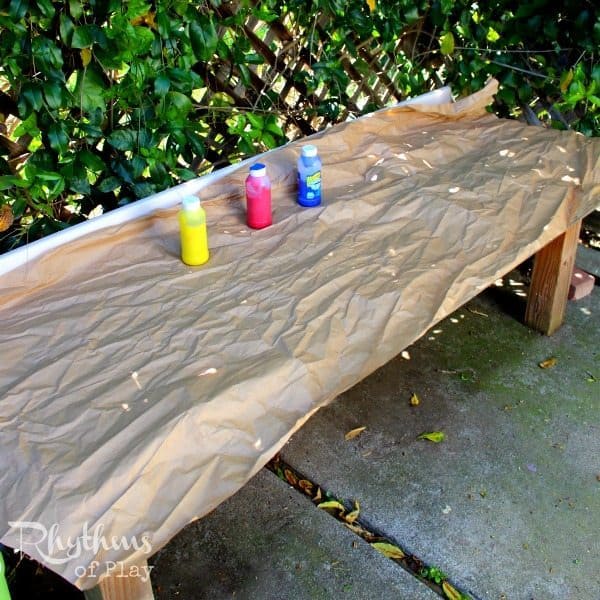
Allow your children to select their colors. Choosing colors is a big part of the process in process art. Sometimes I limit my daughter to a certain number of colors, and sometimes I allow her to use as many as she likes. When children choose their colors, they will have more respect and appreciation for our art supplies.
For this activity, I asked my daughter to choose three colors. She chooses blue, yellow, and red. I was excited to see that we were in for some color mixing fun!
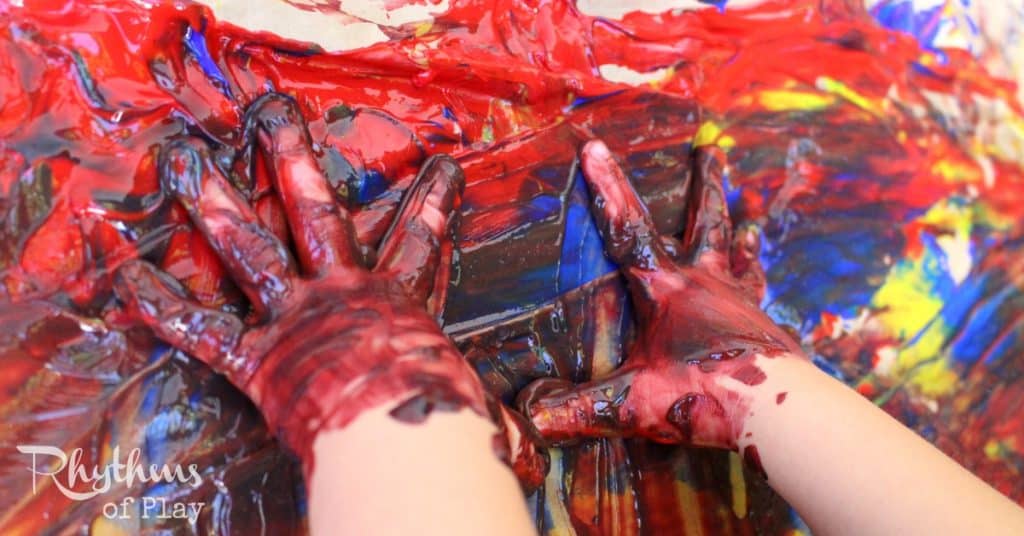
Part of the fun of this process art activity is allowing your kids to squeeze out the paint however they want to. It is another aspect of the process that they get to experience. Did I mention that things might get messy?
Kraft Paper Process Art: Directions
Place an art smock or painting apron on your child and allow them to have fun creating kraft paper sensory process art. Again, there is no right or wrong way to do this. Present the materials and have your child play and make whatever they want.
You can also use tempera paints and paintbrushes instead of finger paints for this process art activity, but you would lose the sensory element.
When commenting on your children’s work, focus on their effort and describe what you see instead of the artist. Use phrases such as, “Wow, you worked hard to make this,” or “I love all the red and blue.” You can also ask them to tell you about their art by saying something like, “Tell me about what you’ve made.”
Kraft paper sensory process art is a fun project for kids to practice using art materials while developing their sensory systems. Children can experiment with their creativity as they create art. You can use new or re-used recycled kraft or packing paper for this DIY art activity idea!


Thanks for sharing the knowledge on using craft paper for fingerpainting. I can’t wait to try it with my son!
Thank you Beldara! I hope he has fun using a big sheet of kraft paper to fingerpaint!