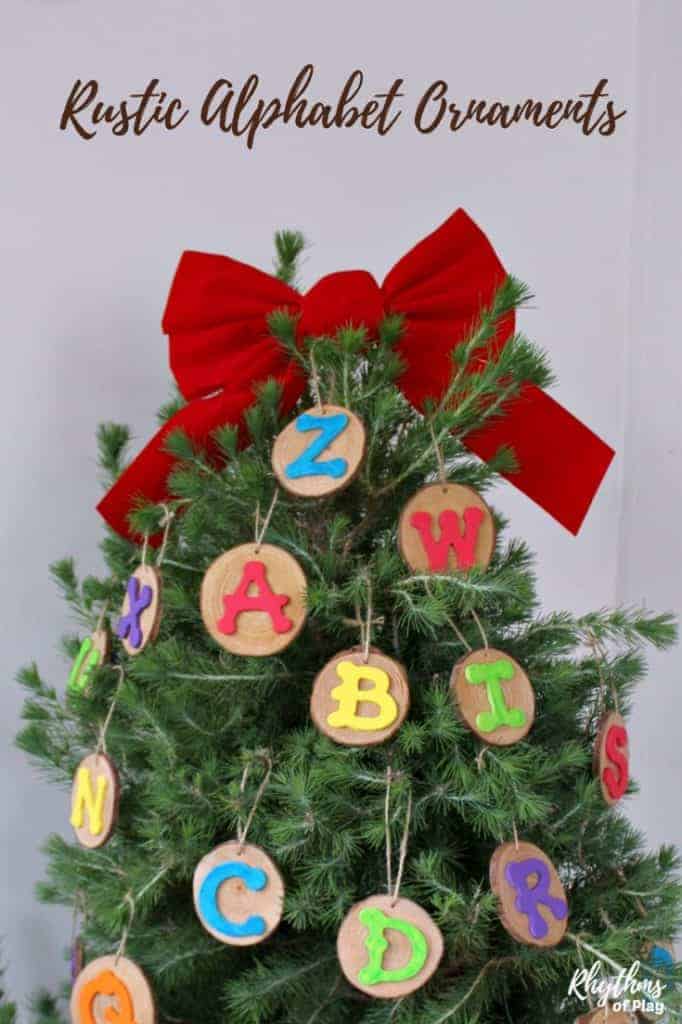
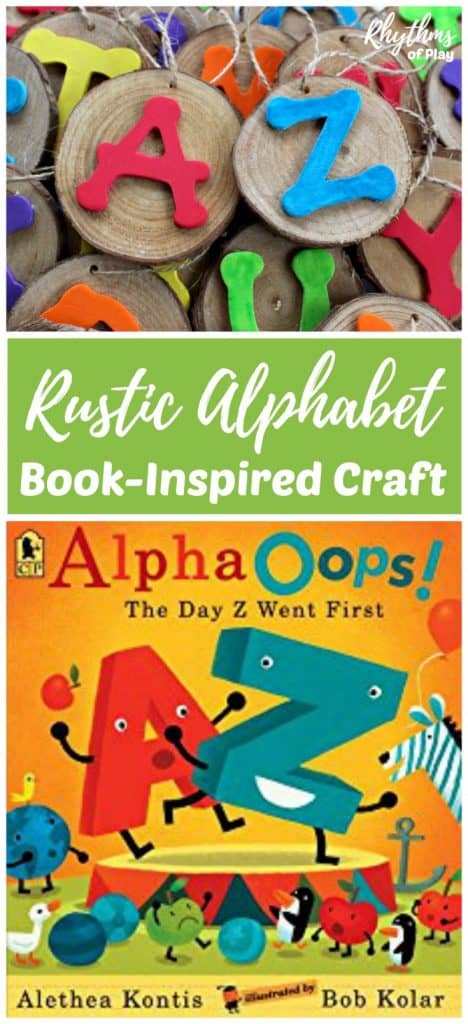
Creating rustic alphabet wood slice ornaments is a book inspired nature craft and literacy activity for kids. Have fun connecting with the kids making and decorating the Christmas tree with ABC ornaments this holiday season.
Creating a new homemade Christmas ornament every year is a fun family tradition for kids and adults. For more meaningful Christmas tradition ideas for a magical holiday click HERE!
Related: Christmas Ornaments Kids Can Make

Rustic Alphabet Wood Slice Book-Inspired Kid-Made Ornaments
There is nothing more satisfying than decorating the Christmas tree with homemade ornaments made by the kids every year.
Our rustic alphabet wood slice ornaments have been inspired by our love of nature, and the children’s book, “Alpha Ooops! The Day Z Went First.” More of our favorite homemade Christmas ornaments can be found HERE.

Alpha Oops is a cute story about the day that Z got tired of always going last and demands fair and equal treatment. Almost every letter has a different opinion about how the alphabet should be arranged. Decorating the Christmas tree with rustic alphabet wood slice ornaments will keep the alphabet as mixed up as this fun book for kids!
Related: Beaded Name Necklace Literacy Activity for Kids

Related: Rustic Acorn Marble Ornaments
Rustic Alphabet Wood Slice Ornaments Materials
- Pre-drilled wood slices
- Wooden alphabet letters
- Tempura, acrylic or watercolor paint
- Paintbrushes
- Glue gun with glue sticks or craft glue
- Twine (included with pre-drilled wood slices)
Related: Christmas Gifts Kids Can Make Your Family Will Love!
How to Make Rustic Alphabet Wood Slice Ornaments
Making rustic alphabet ornaments is a fun and easy literacy activity for kids. Crafting the ABC’s is a great way for kids to become more familiar with the letters that make up the alphabet and exercise the fine motor muscles in the hand to prepare for writing.
Related: Rhinestone Pinecones Ornaments
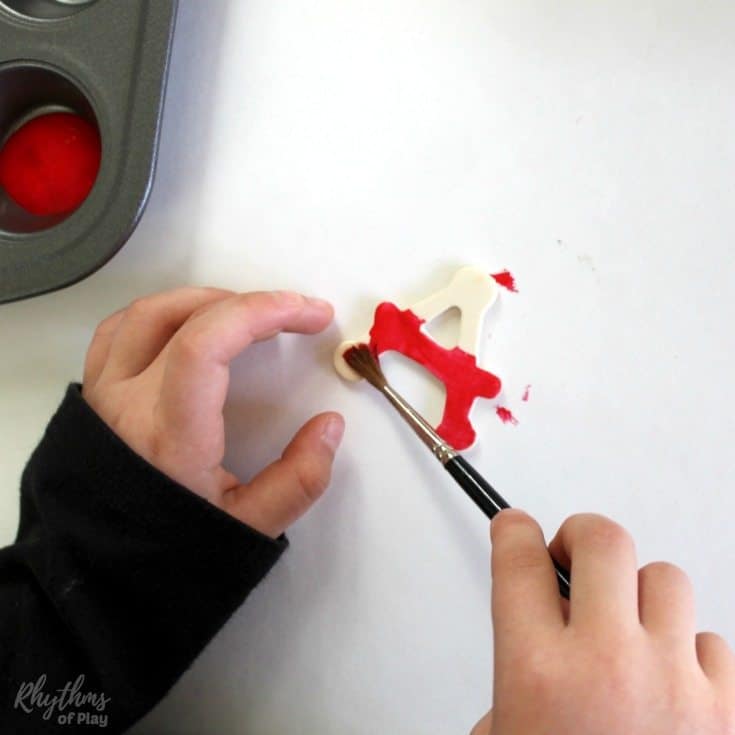
1. Paint Wooden Alphabet Letters
Invite the kids to paint the wooden alphabet letters for the wood slice ornaments. Use a solid color or any other color combination you would like. We used red, green, blue, yellow, orange, and purple tempera paint for this project.
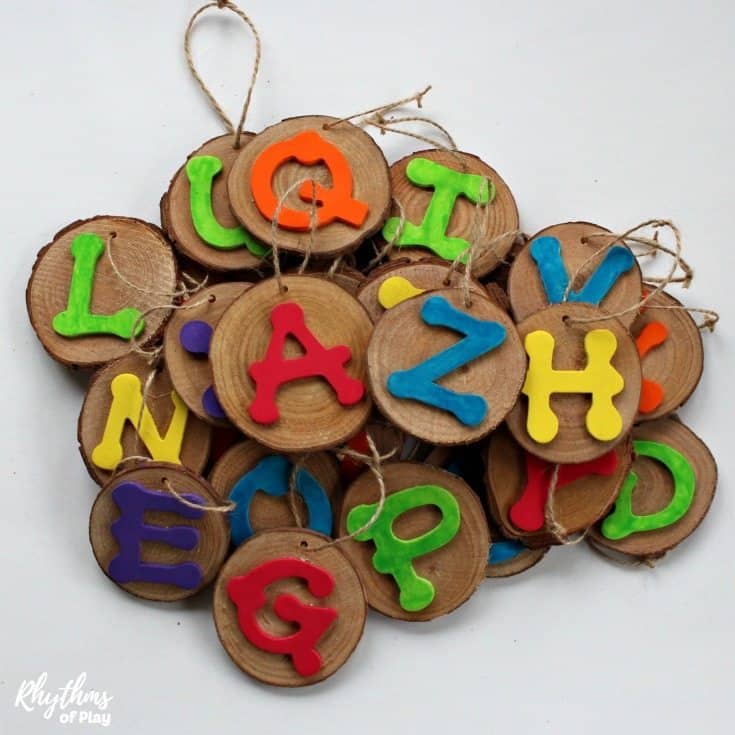
2. Glue Alphabet Letters to Wood Slices
First, find the wood slice that fits each letter the best. Use a glue gun or craft glue to attach one wooden alphabet letter to each pre-drilled wood slice. Be careful not to cover the hole with the alphabet letter when you attach it.
Young children should use craft glue to make this project while older children can use a glue gun under direct supervision. Glue guns are hot and dangerous tools. Make sure you teach children how to handle them safely if you will be allowing your child to use one.
If you need to drill a hole in each wood slice, make sure to leave about 1/2 inch above each letter.
Related: Alphabet Bead Necklace Kids Make
3. Make a Hanger
If you are using pre-drilled wood slices this will be super simple. It will still be easy if you are using unfinished wood slices but you will need to take the extra step of drilling a hole in each wood slice. Tie a section of twine through the hole to each wood slice so you can hang them on the Christmas tree. This is a good opportunity for kids to learn and practice tieing knots.
Related: Rustic Walnut Shell Manger Christmas Ornament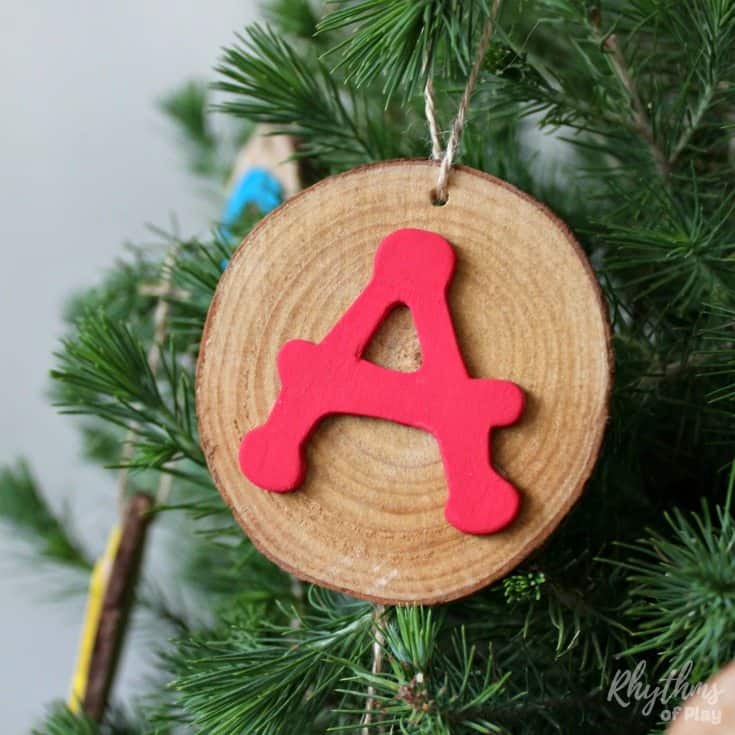
Make some rustic alphabet wood slice ornaments to spend quality time connecting with the kids this season. Be sure to check out the more of our favorite kid-made ornaments HERE. You may also like our Ultimate Gift Guide with DIY and Readymade ideas for the whole family.
For more meaningful Christmas tradition ideas for a magical holiday click HERE! To learn more about Rhythms of Play click HERE!
This post is a part of the 10 Days of a Kid-Made Christmas. Be sure to check out THIS fingerprint snowman wood slice by Messy Little Monster, THIS cute little button star ornament by Fireflies and Mudpies, THIS snowflake ornament by The Natural Homeschool, and THIS Whoville Christmas Tree by Mum in the Madhouse. To see all of the other amazing kid-made ornaments and gifts click HERE!


What a great book to go along with these Nell – love it!
Thanks, Melissa! My daughter and I had a blast making them 🙂