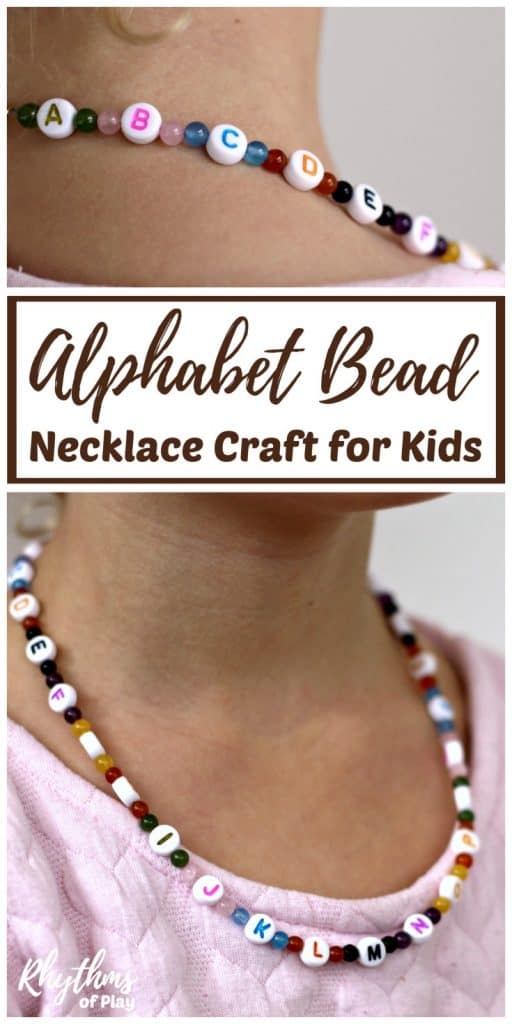
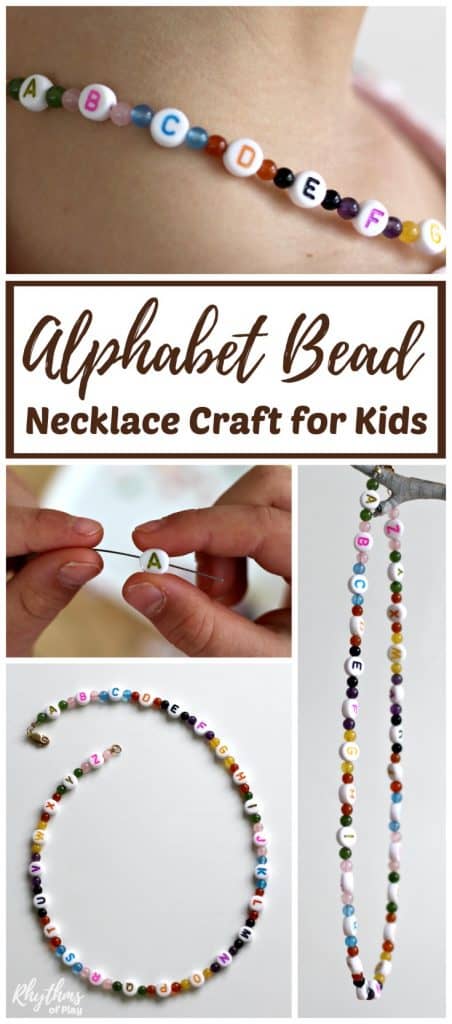
Alphabet Bead Necklace Craft and Literacy Activity for Kids
Have the kids make an alphabet necklace to learn the alphabet and prepare to write. Stringing ABC beads is a great way for kids to develop the fine motor muscles in the hand needed for writing.
Once finished these necklaces make it easy for kids to have the alphabet on hand whenever they need it. Having the ABC’s around your neck comes in handy when your learning how to read and write!
Related: Beaded Name Necklace Literacy Activity for Kids
This post contains affiliate links for your convenience. Thank you for choosing to support this blog!
Alphabet Bead Necklace Craft for Kids
Don’t worry, it’s easy to help your kids make an alphabet bead necklace. Once you know how to start and finish jewelry, you can make almost any bracelet or necklace!
Related: Mom or Mum Necklace Gift Idea Kids Make
Alphabet Bead Necklace Materials
Alphabet Necklace Material Options:
- Monofilament bead cord OR Flexible beading wire OR Stretch cord
- Crimp pliers AND Crimp beads OR Bent nose jewelry pliers AND Mixed metal clamshell knot covers
- Barrel clasps OR lobster clasps and jump rings OR toggle Clasps, ETC.
- Wire nippers OR scissors
- Bead board (optional)
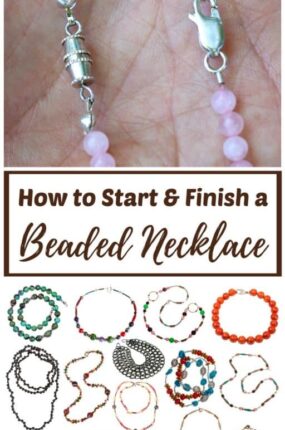
There are three simple ways to start and finish a necklace for this project. Infinity, using crimp beads and pliers, or clamshell knot covers. Click on THIS link for the directions. The materials needed above are also listed with the tutorials.
Bead Options for Stringing Alphabet Necklace
We used 8mm round gemstone beads for this project. 8mm Faceted beads would work just as easily.
10mm round gemstone beads may be better for your child if they have never strung beads before. These multicolored lava-rock gemstone beads come in multiple sizes including 8mm and 10mm as another option.
There are a lot more gemstone options and other beads you can use besides gemstones than I have listed below. Most of these links have more than one gemstone option available. Click through to see them all.
Alphabet Bead Options for Necklace
There are tons of different kinds of alphabet beads to use for this alphabet necklace craft for kids. I have placed them in a few categories below to make it easy to find the type you would like to work with.
Round Plastic Alphabet Bead Options:
- Multicolor on white (These are the kind we used)
- Black on white
- White on black
- Black on silver
- Translucent rainbow colored
- Black on gold
Square Plastic Alphabet Bead Options:
- Black on white
- White on black
- Multicolored on white
- White on multi-colored
- Black on multicolored
- Multicolored on black
- Colorful
- Black on silver
- Black on Gold
Ceramic, Wood and Sterling Silver Alphabet Bead Options:
- Wooden – black on white (These are 10mm beads and are a tad bigger than most. Perfect for little hands.)
- Ceramic – multicolor on white
- Ceramic – black on white
- Sterling silver ‘A’ (more letters can be found HERE)
How to Make an Alphabet Necklace
Stringing beads is a great way for kids to practice fine motor skills and develop the fine motor muscles in the hand. Creating patterns, reciting the alphabet as they work, and counting out beads will create even more learning opportunities.
Young children will need help starting and finishing their beaded alphabet necklace. There are three simple ways to start and finish a beaded necklace. Click on the link to find all three easy to follow tutorials.
Read through the all of the directions below before beginning your beaded alphabet necklace.
Related: DIY Mother-Daughter Necklace Set Gift Idea
1. Invite Child to Find the Alphabet
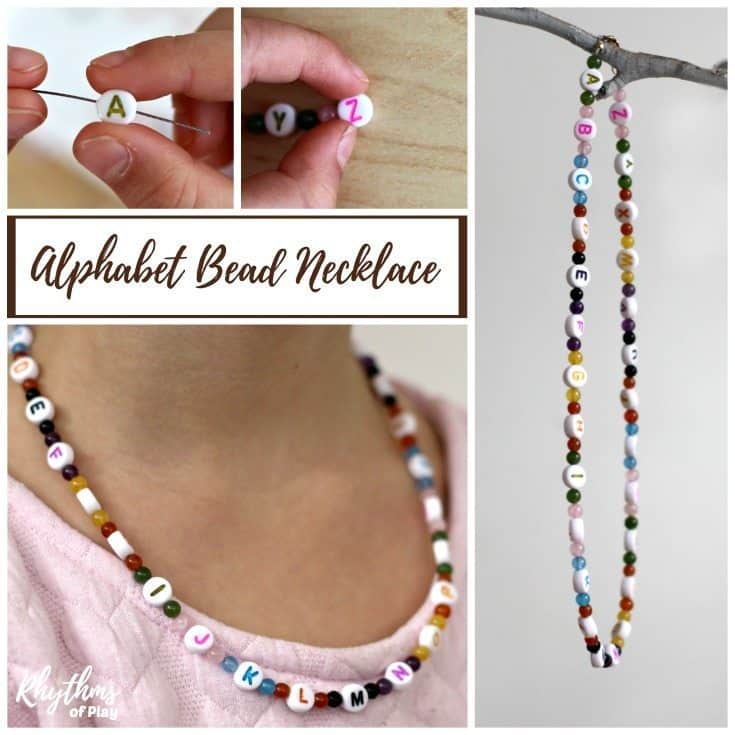
Place all of the alphabet beads in a bowl or other container. Invite your child to find the alphabet in the bowl by pulling each one out one by one starting with the letter ‘A.’
My daughter loved this easy alphabet activity! She sang the alphabet each time she looked for the next letter to help remember which came next. It was super cute and kept her busy while I got everything else ready.
Related: Rustic Alphabet Book-Inspired Nature Craft
2. Gather the Remaining Materials for the Necklace
Choose the types of beads and the type of clasp that you would like to use. Use one type or multiple types of beads. Several options are listed above.
3. Decide How You Will String Beads
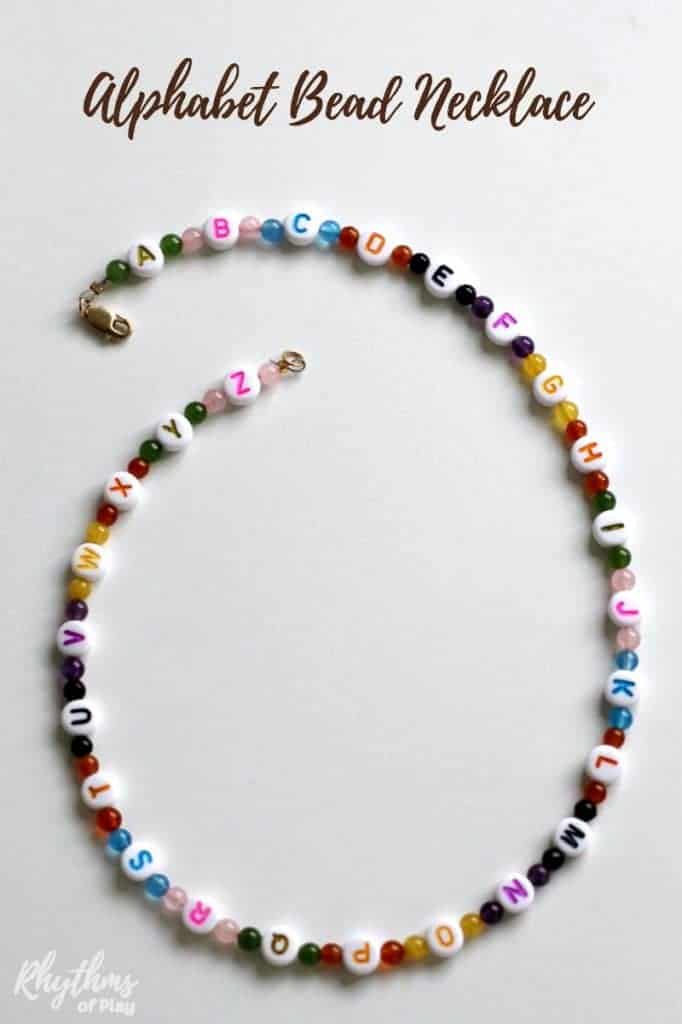
The type of necklace you design will depend on types of beads and materials that you decide to use. If you are using more than one type or color of bead you will need to decide on the pattern that you will string. Placing beads in patterns on a bead board makes it easy to test ideas.
For example, my daughter decided to use round white plastic multi-colored alphabet beads. We worked together to determine the beads to use with them and the pattern that she would follow. I helped her design her own necklace by asking her simple questions about which beads to use and what she liked. She made all the decisions and did all the work, all I did was guide her and assist her in her work when needed.
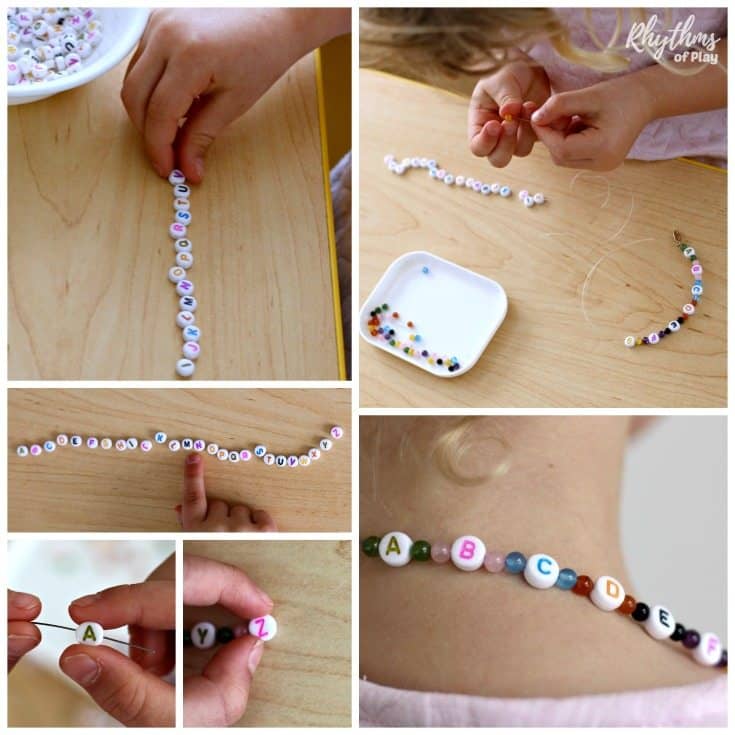
4. Start Necklace
Assist your child with starting their beaded alphabet necklace using one of THESE methods.
5. String Beads onto the Necklace
Keep an eye on your child to make sure they are putting the letters on in the proper direction so they can use their alphabet necklace as a learning tool when it’s finished.
6. Finish Necklace
Complete the necklace using the same method you started with. Directions for 3 different ways to start and finish necklaces can be found HERE.
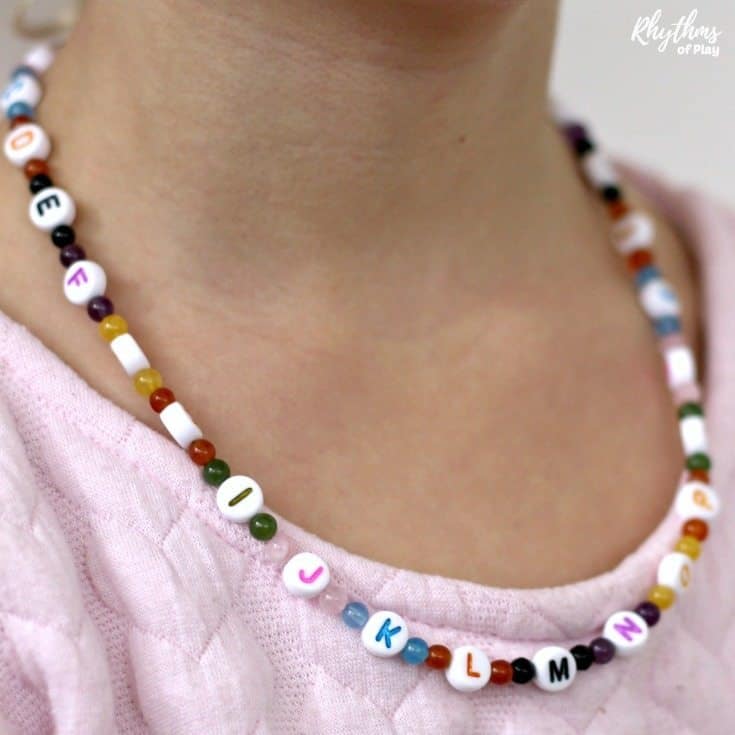
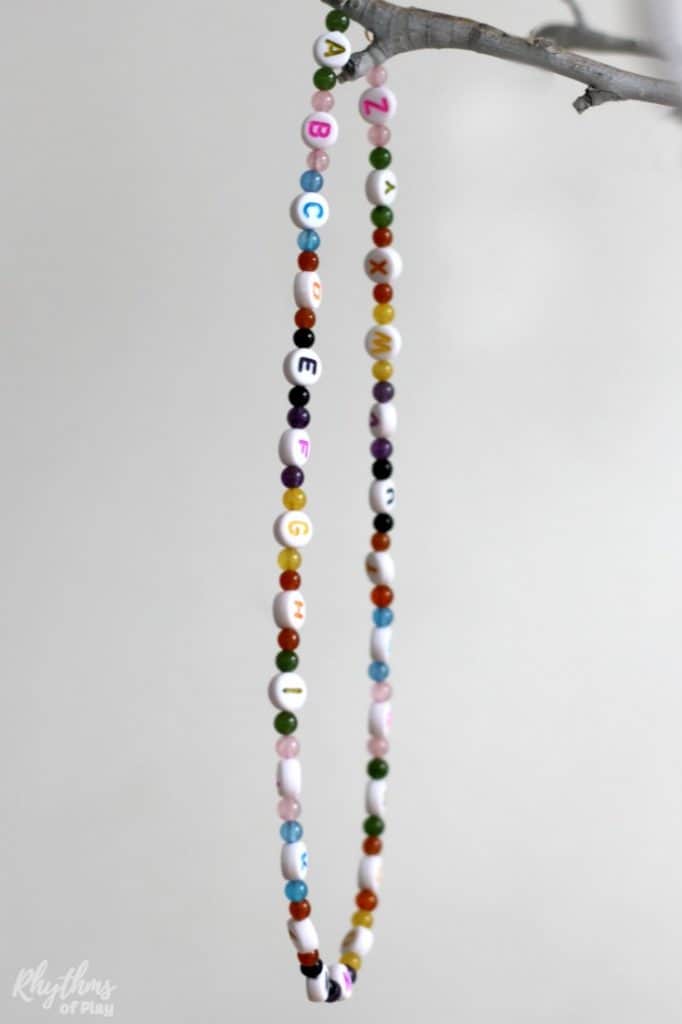
Once finished these are a great way for kids to wear their A, B, C’s and learn the alphabet.
Having the alphabet around your neck comes in handy when you can’t remember which way the “E” goes–if “K” is before “L” or how to write an “M.”
You get the idea. 😉 Make one with the kids today!


This is really an interesting idea for making a DIY Alphabet bead necklace. This is looking pretty. Thanks a lot for sharing this tutorial.
Thanks! I’m so glad you like it!