
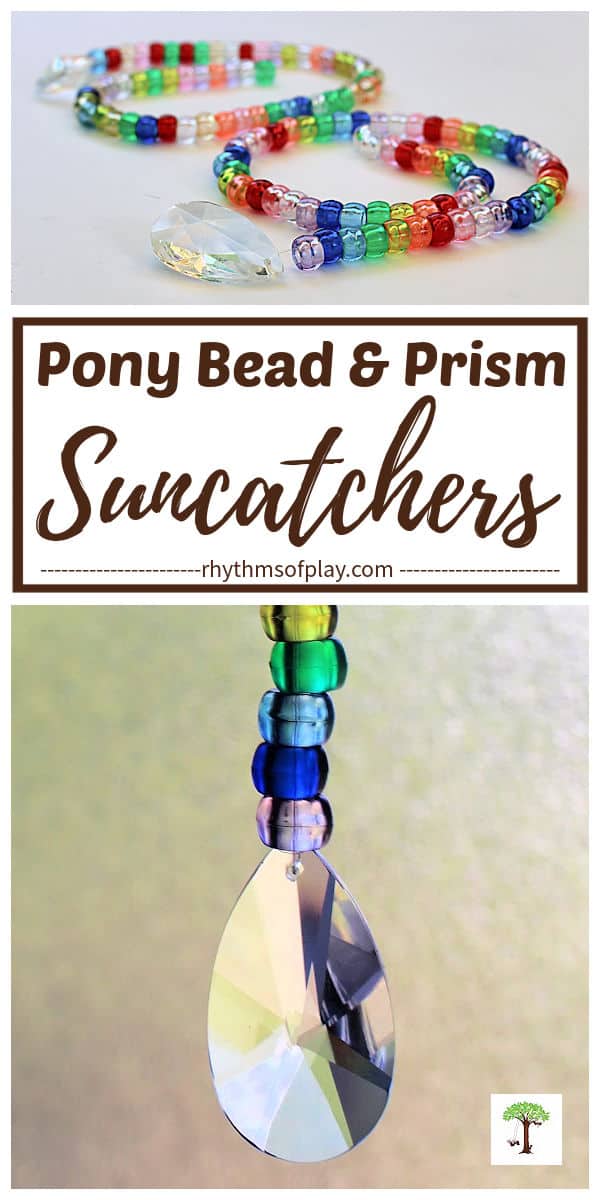
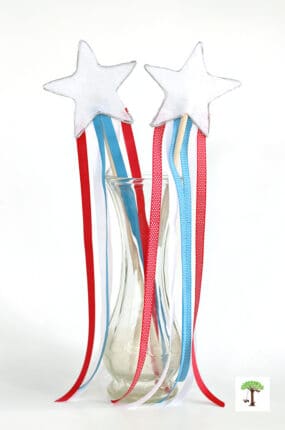
Here’s a fun pony bead and prism suncatcher craft and fine motor activity that doubles as a hand-beaded DIY gift idea kids can make!
Here’s a pony bead suncatcher craft that makes it easy for toddlers and preschoolers to make a gorgeous hand-beaded hanger for a crystal prism. Hand-beaded crafts like these easy pony bead suncatchers can help children of all ages develop their fine motor skills and help them develop color recognition. You might also enjoy this list of rainbow arts, crafts, and painting ideas for kids.
Hand-beading a pony bead suncatcher craft is also a great way for toddlers, preschoolers, and kindergarteners to work with patterns and learn early math concepts. My daughter is almost three and she loved making the pony bead suncatcher crafts shown in the photographs below. You might also enjoy this list of rainbow suncatcher crafts.
Pony Bead and Prism Suncatcher Crafts and Gift Ideas
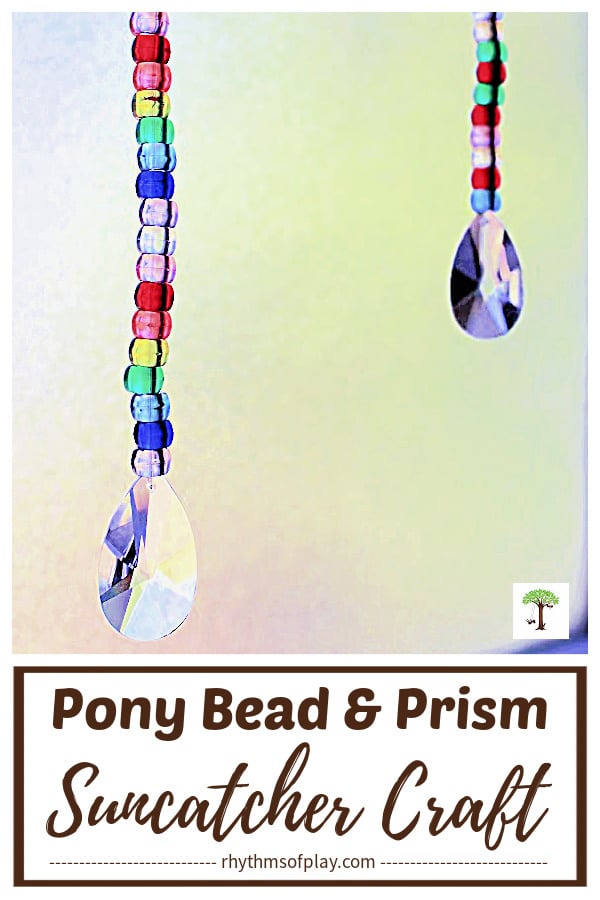
Hanging a beautiful prism on a hand-beaded line is a fun craft and an easy gift idea kids can make for parents, grandparents, and teachers. Chrystal prisms on beaded strings look beautiful hanging from the review mirror of a car.
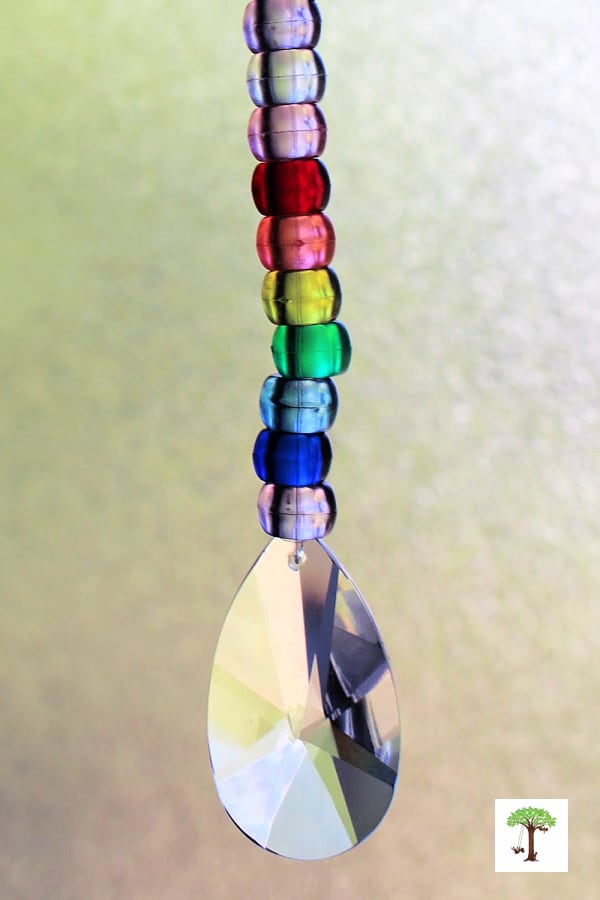
The best thing about pony bead suncatchers with a prism is that they cast gorgeous rainbows everywhere when the sun or another source of light hits them. And this makes them fun to hang in windows because a pony bead suncatcher craft can really liven up your DIY home decor. Hand-beaded suncatcher crafts with a prism also make a great pull chain for curtain shades, ceiling fans, and lights.
Please don’t offer this craft to toddlers and preschoolers that are still mouthing objects or are not ready to handle small parts or plastic needles. As an alternative, you can use a 3-inch piece of pipe cleaner instead of a needle to do this craft. Or learn how to use a crimping bead and pliers to make hand-beaded hangers for crystal prisms with the step-by-step instructions here–>hanging heart prism suncatcher crafts.
Pony Bead Suncatcher Craft Supplies
- Multicolored transparent pony beads in a rainbow of colors
- Prism(s) or something else to hang – We used crystal teardrops for this craft tutorial, or try crystal balls
 or icicle crystals.
 - Monofilament fishing line
- Plastic sewing needle (or fold a small section of pipe cleaner in half and twist it a few times to create a makeshift needle with an opening at the folded end large enough to string a piece of fishing line through.)
- Push pins to hang pony bead suncatcher crafts (optional).
How to Make Suncatchers with Pony Beads
This pony bead suncatcher craft tutorial explains how to make a hand-beaded hanger for a crystal prism without the need for more advanced jewelry-making tools. Use the step-by-step instructions below to show young children how to string beads with a plastic sewing needle or a pipe cleaner.
Step-by-step Pony bead Suncatcher Craft tutorial
Please read through the step-by-step instructions below before making your first hand-beaded hanger for a crystal prism so you know the steps involved and what to expect. For a more advanced pony bead suncatcher craft for older kids, teens, and adults, please see the instructions to make DIY hand-beaded suncatcher crafts.
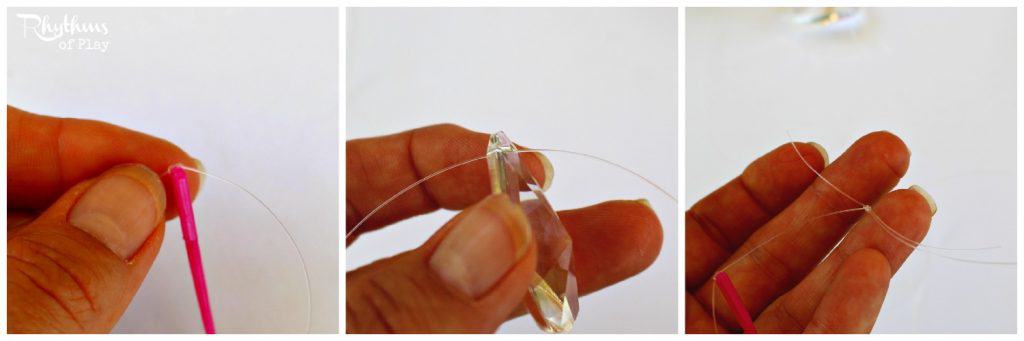
1. Put a crystal prism on the monofilament line to start the pony bead suncatcher craft.
- First, cut a section of monofilament line two to four feet long.
- Next, tie one end of the line to a plastic darning needle or pipe cleaner, or learn to use a crimp bead and crimping pliers to make this craft as shown–>HERE.
- Place the prism on the other end of the monofilament line.
- Tie the free end of the monofilament line to itself near the needle to make a double strand. (This will hold the needle in place and make it easier for toddlers, preschoolers, and kindergarteners to bead because the knot won’t get stuck in the middle of the beads.)
- Make sure you start with a longer strand of fishing string than you think you need so you have enough monofilament line to cut off the knot and the needle when finished beading. (We’ll show you how to retie the line and lock it all in place in step four. Scroll down to see a more detailed explanation of this step.)
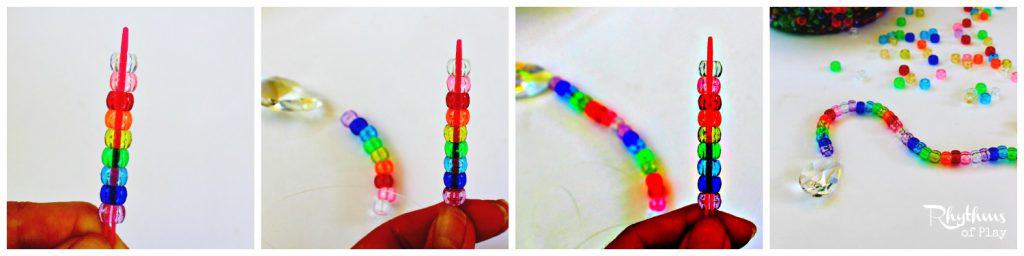
2. Invite kids (toddlers, preschoolers, and kindergarteners) to string Pony Beads onto the line.
- First, string each pony bead one by one onto the needle or the piece of pipe cleaner.
- Next, pull them all at once, or one by one down to the prism sitting at the bottom of the strand of the monofilament line.
- If your toddler or preschooler has never strung beads demonstrate it for them first. Young children learn best by watching and learning from others. In other words, show them what to do more than tell them what to do.

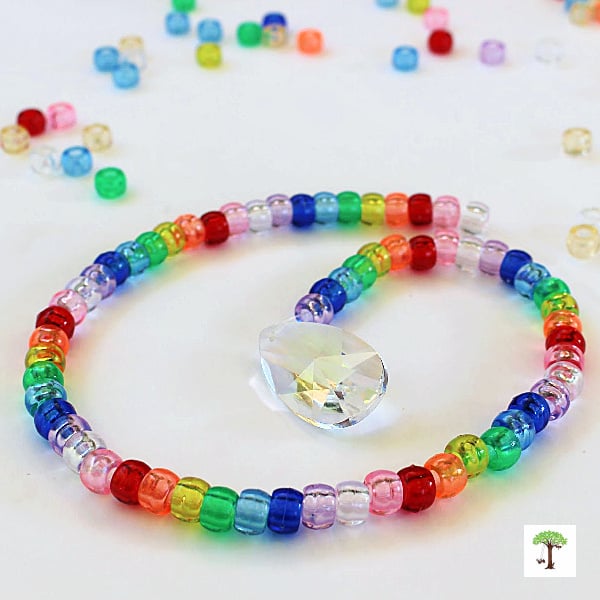
3. String pony beads on the line randomly or create a pattern.
- Show children how to work on a pattern by placing the pony beads on the needle first, or string pony beads onto the line randomly.
- A random pattern and a simple rainbow pattern with pony beads are shown in the photographs for this post, but there are many other color and pattern variations you and your child can try at home or in the classroom.
- Another rainbow pattern idea is to invite toddlers, preschoolers, or kindergarteners to work on numerical color patterns. For example, you can use; 1 yellow, 2 orange, 3 red, 2 orange; repeat. Allow your kids to have fun and get creative!
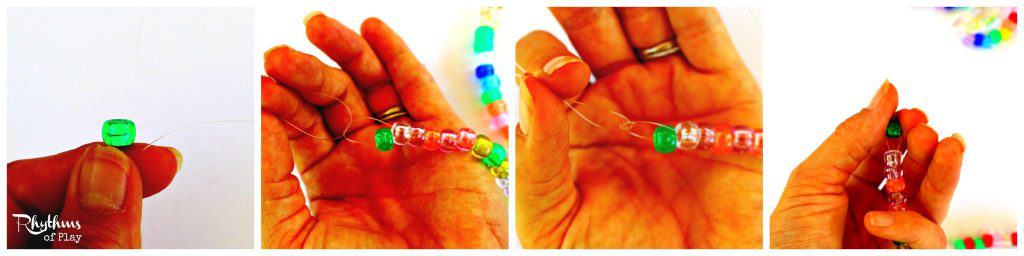
4. finish pony bead and prism suncatcher craft.
- Cut both strands off below the knots and hold on tightly to both strands of the fishing line.
- Place a single bead on only ONE of the strands of the monofilament line. (This final pony bead will act as a break to stop the other pony beads from falling off the double-lined hanger for the suncatcher. This will make a lot more sense when the pony bead suncatcher craft is finished.)
- Next, tie the strands of the fishing line together and ensure that the square knot is at least 1/2 to 2 inches from the remaining beads. [You will need room to hang it on a pushpin or nail, or tie it directly onto a shade pull or lampshade.]
- Tie the knot 3-4 times to make sure it’s a super strong double or triple square knot.
- Cut off the extra monofilament line about 1/4 inch from the knot.
Pony Bead Suncatcher Craft for Kids
Making pony beads and prism suncatchers is a fun craft for kids. Kids can practice color recognition, fine motor skills, patterns, and early math concepts such as counting the number of beads in a pattern. They are lovely to hang and enjoy or give as gifts.
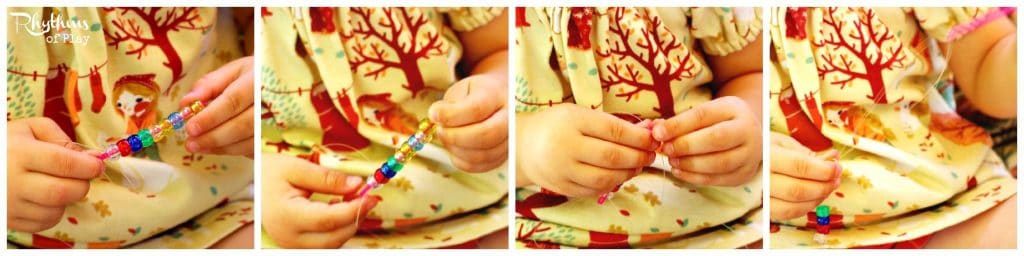
Young Children watch, learn and imitate
After watching me do this, my daughter started placing several beads on her needle before pulling them down to the prism. The most interesting thing about this is that I never mentioned this in my verbal instructions, nor did I tell her to do it. She was only imitating what she saw me doing. This demonstrates the power of modeling in action. If you’re curious, she’s wearing a DIY jersey knit peasant dress that her grandma made her. Click on the link to learn how to sew one for someone you know.


These are soooo pretty!
I’m dropping by from A Little Bird Told Me link party. This is such a great idea! I think it is wonderful. I’m putting it on my list of activities to do with my grandkids.
I have a link party that I’m trying to grow. I invite you to share this idea (and a couple of others) at my Grandma Ideas Sharing Time link party at http://grandmaideas.com. My readers would LOVE this idea, too! The party goes from Wednesday through Friday at midnight. I hope to see you there.
All the best,
Nina
Thanks Nina! I’m so glad you like it. We are pleased with how pretty they look hanging in our window. Thanks for inviting me to your link party. I’ll hop on over there in a bit.
These are so beautiful!
My daughter has one a friend made her, and has been wanting to try her hand at making them. Definitely going to give it a try.
Thank you! I’m so glad you like them. My daughter made another one today that I will be sharing soon. She no longer needed the needle so I will be posting another technique for starting and finishing them in a few days. Stay tuned!