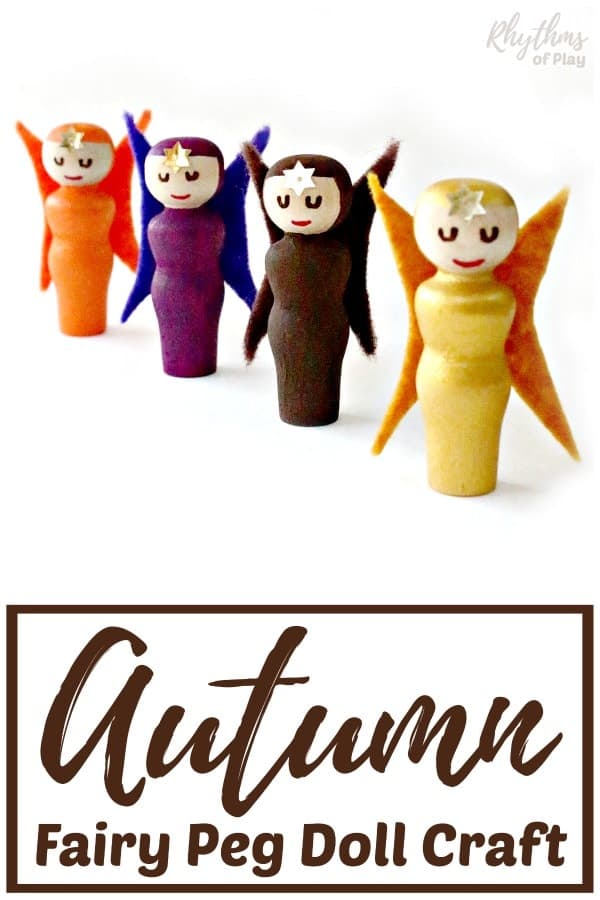
Here’s a cute fall craft that makes a sweet homemade gift idea for kids and the young at heart–make some fairy peg dolls today! (First published in 2016; this post is updated and republished to improve the content.)
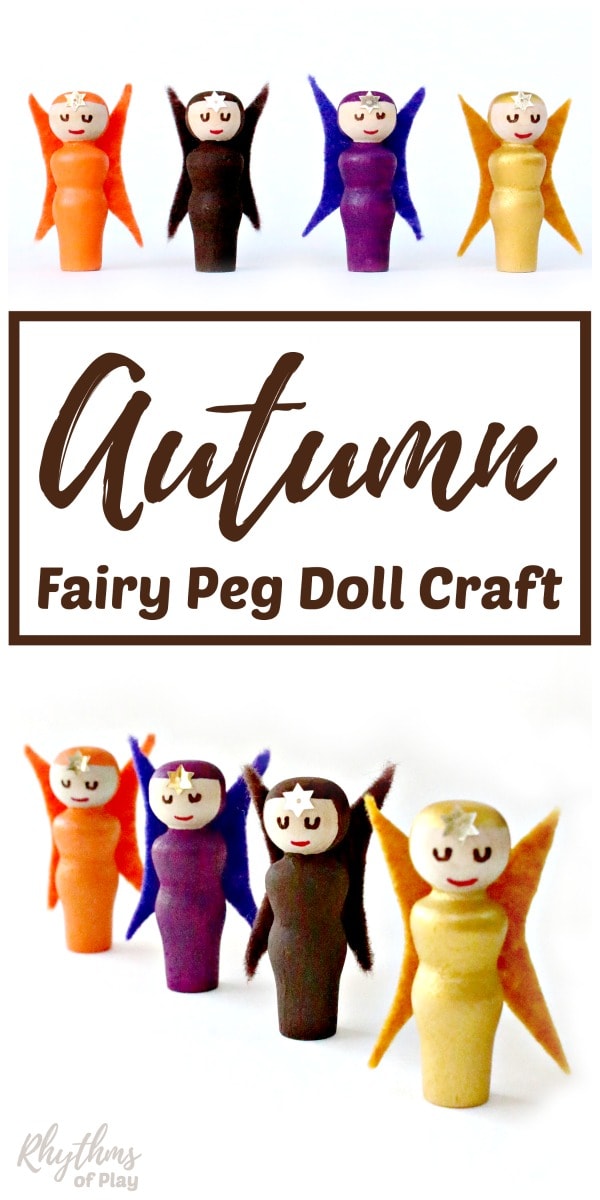
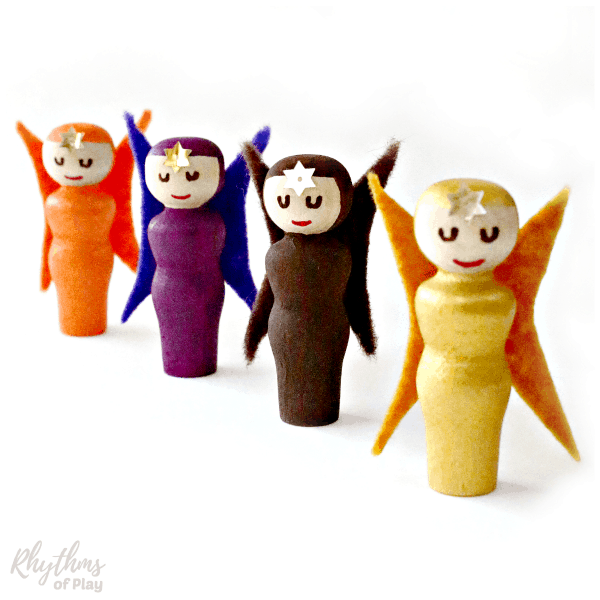
Here’s a set of fairy peg dolls in an assortment of autumn colors that make a sweet fairy craft or DIY toy for kids. These cute little DIY fairy dolls are an easy homemade gift idea for children. Fall fairies also make cute DIY home decor. They add a touch of the magic autumn and its firey hues to your home when used to decorate windowsills, mantles, shelves, nature tables, and fairy gardens.
Related: Acorn Peg Doll Craft
Related: DIY Rainbow Peg Dolls Handmade Toy for Kids
Autumn-themed Wooden Fairy Doll Crafts for Kids
Crafting autumn-themed peg doll fairies with a child can be a delightful and educational activity. These charming wooden dolls provide an excellent canvas for creativity and imagination, allowing children to explore the season’s beauty that makes autumn a magical time of year.
Whether painting them in rich autumnal colors, crafting tiny wings of felt, or dressing them in cozy fabric scraps, these wooden fairy doll crafts can help children develop fine motor skills, attention to detail, and an appreciation for the changing seasons.
Making fall fairy dolls is also a fantastic opportunity for adults and children to bond while sharing stories and knowledge about autumn and its traditions. These adorable peg doll fairies can serve as decorative items and imaginative play companions, igniting children’s creativity.
These little autumn fairy dolls are also perfect for pretend or imaginative dramatic play. My daughter hasn’t stopped playing with them since we made them. She loves to fly her fairy peg dolls around the house and play with them in her fairy garden. We have even made a few painted rock fairy houses for them. Click on the link to learn how to make your own!
How to Make Fall Fairy Peg Dolls
First, gather the wooden fall fairy doll craft supplies from the list below. Then follow the step-by-step instructions in the next section to make the cute wooden fairy dolls shown in the photographs for this post.
You might also enjoy making winter fairies. Or use the step-by-step peg doll craft instructions below to make spring and summer fairies for even more fairy fun! You might also enjoy learning to make a winter fairy garden.
Fall Fairy Peg Doll Craft Supplies:
- Wooden peg dolls
– This set has more wooden peg dolls than you need to make this simple fairy craft idea. A few more peg doll DIY toy ideas for kids are at the bottom of this post.
- Acrylic paint
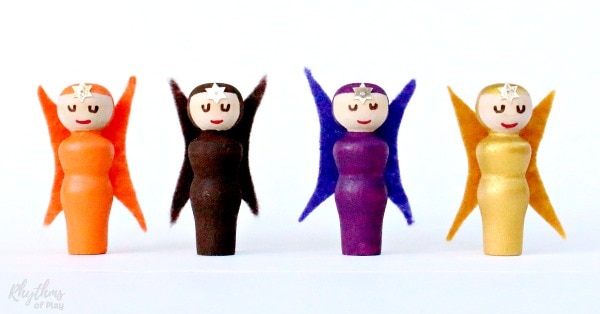
– The fairy dolls in the photographs are painted with gold, orange, espresso, and plum acrylic paint.
- Paintbrushes
- Mod Podge and a foam brush
(optional)
- Paint pens
– Or small paintbrush or incredible nib dipped in acrylic paint.
- Choose one of the following:
- Wool felt
- Blended wool felt
- Acrylic felt
Or another fabric of your choice.
- Wool felt
- Small sewing scissors
– Sharp sewing scissors make cutting thicker fabrics such as felt much easier. But don’t cut paper with them, or it can dull the blades.
- Glue gun with glue sticks or craft glue
- Gold or silver star sequins
(Optional–not for children under three years of age.)


Fall Fairy Peg Dolls DIY Toy for Kids Step-by-Step Directions
Read through the directions before making DIY fairy peg doll crafts. Also, see the step-by-step peg doll craft photo tutorial following the instructions.
Related: The Best Fall Art Projects for Kids
1. Paint the Wooden peg doll bodies.
- Use acrylic paint colors in fall or autumn tones to paint the wooden peg doll bodies.
- When working with young children, we recommend taping off the heads with painter’s tape before inviting them to paint them in an assortment of fall colors.
2. Paint the fairy’s head.
- Look at the head of your peg doll and decide which part you want to be the face of the fairy.
- Paint a line from shoulder to shoulder. Don’t worry if it’s messy.
- Paint the back of the peg doll head.
- Square off the head by painting across the forehead of the wooden peg doll.
- Touch up and paint the neck of the peg doll and any other areas that need cleaning up around the fairy’s face.
3. Paint the fairy peg doll face.
- Use a red colored paint pen
to paint a simple upturned line for the fairy’s mouth.
- Mark two sets of two dots with a brown or black paint pen to create the eyes of your fairy craft.
- Connect each set of two dots with a U to make the eyes for each fairy doll.
- Alternatively, you can make dots for the eyes. Or look at the step-by-step instructions for Angel Peg Dolls and DIY Rainbow Peg Dolls to learn how to paint a slightly different face on your peg doll fairy crafts.
4. Use Mod Podge to seal and protect your fairy craft. (Optional)
- Use a foam brush to apply Mod Podge to the entire fairy doll craft to seal and protect the wooden peg doll. Mod Podge goes on white and dries clear.
5. Cut out wings for fall fairy craft.
- Cut out a 2-inch by 1 1/2-inch rectangle of felt. [dark brown, gold, purple, and orange felt fairy wings are shown in the photographs.]
- Fold the felt rectangle in half lengthwise.
- Mark off a 1/2-inch section in the middle of the rectangle.
- Cut from the top mark to the top opposite corner and from the bottom to the bottom opposite corner.
- Open your fairy wings and place your thumb in the middle. Make the wing curve by cutting from the bottom corner toward your thumb. Once you reach the center, cut toward the top corner. Repeat on the other side.
6. Glue fairy wings on a Wooden Peg Doll.
- Place a drop of glue in the middle of the homemade fairy wings.
- Or, use a glue gun (with glue sticks) or glue dots to attach the fairy’s wings onto the painted wooden peg doll.
- Place the peg doll’s upper back into the glue.
7. Glue Star Sequin to the forehead of a fairy doll DIY toy for kids (optional).
- If desired, glue a gold or silver star sequin to the middle of each fairy’s forehead.
- Please be aware that the stars often fall off, are dangerous for kids under three years old, and are therefore not practical for imaginative play. But they add a fun little sparkle to your fairy craft if you are into that sort of thing, especially if you display the autumn fairy doll crafts or add them to your DIY fall decor.
Related: Craft Stick Peg Doll Boat
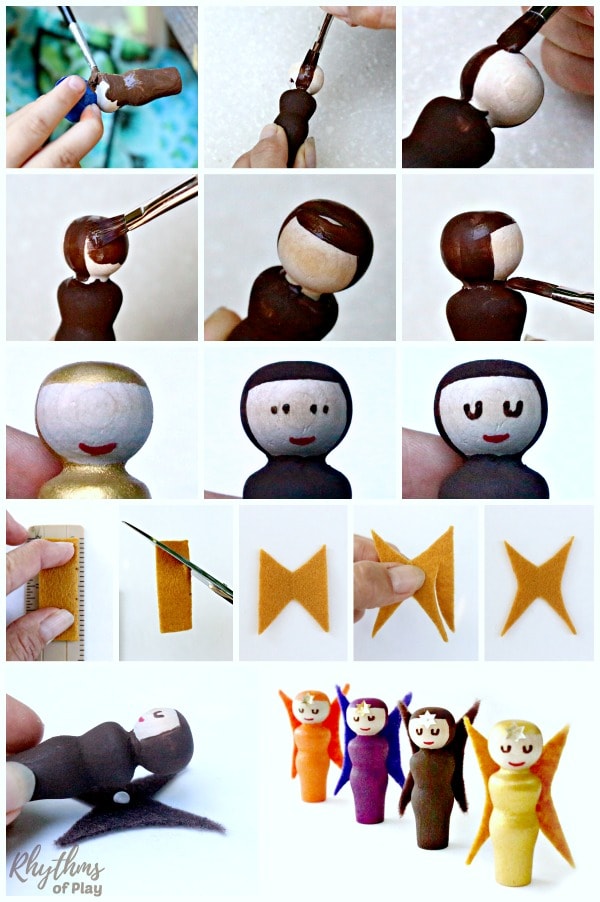
Fairy Peg Dolls DIY Toy for Kids Step-by-Step Photo Tutorial
The photos below show how to make these cute wooden peg doll crafts. Read the step-by-step instructions above for the complete tutorial.
Fairy Craft Homemade Gift Ideas for Kids
These cute little fall fairies are surprisingly easy to make. Invite the kids to help you make this sweet fairy craft at home or in the classroom.
Fall fairy peg dolls are an easy fairy craft and DIY toy for Kids. Fairy peg dolls make a lovely handmade gift idea, and children love to use these cute little fairy peg dolls for pretend or imaginative dramatic play.
Fall fairies also make simple DIY home decor. Fall peg dolls look cute when displayed on mantles, shelves, nature tables, and fairy gardens!
For more fall fun, check out our fall bucket list for the best autumn EVER!
Learn more about Rhythms of Play HERE!
More Peg Doll Toy Ideas for Kids
If you purchase wooden peg dolls
- Winter fairy Peg Dolls
- Acorn Peg Doll DIY Toy for Kids
- DIY Rainbow Peg Dolls
- Monarch Butterfly Peg Dolls
- Peg Doll Boat Craft
- Elf Peg Doll Ornaments
- Angel Peg Doll Ornament
- Easy Wooden Peg Doll Nativity Scene


I love how easy these instructions are for someone who isn’t naturally crafty!
Thanks so much for sharing that Jennifer. I’ve been wondering if my tutorials are easy to understand. These really are a lot easier to make than they look. Give it a try 🙂