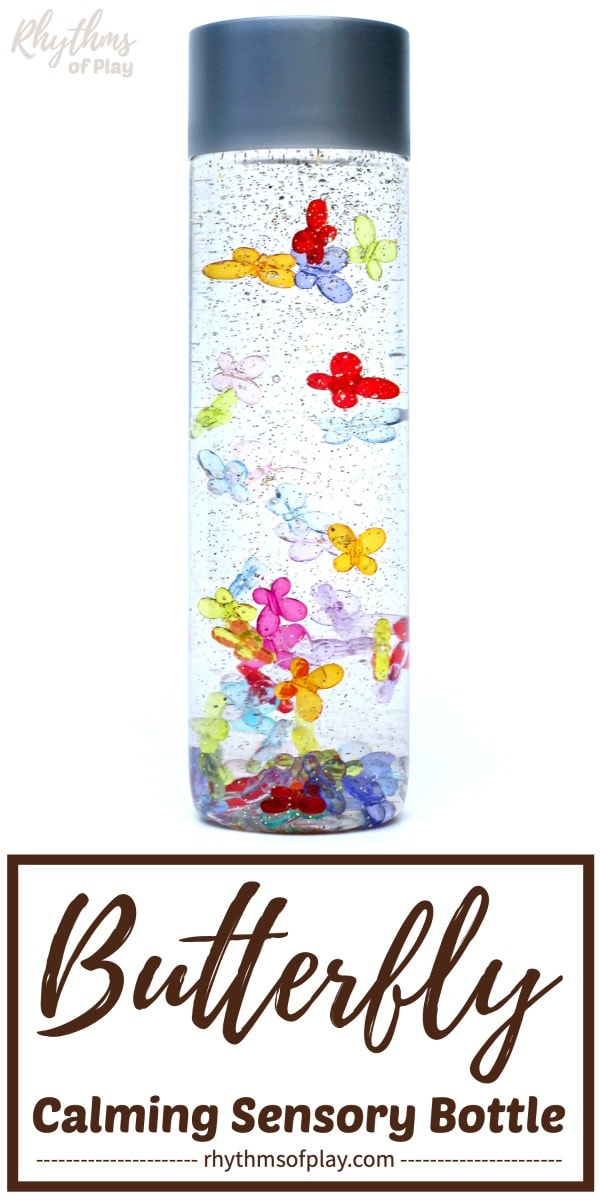
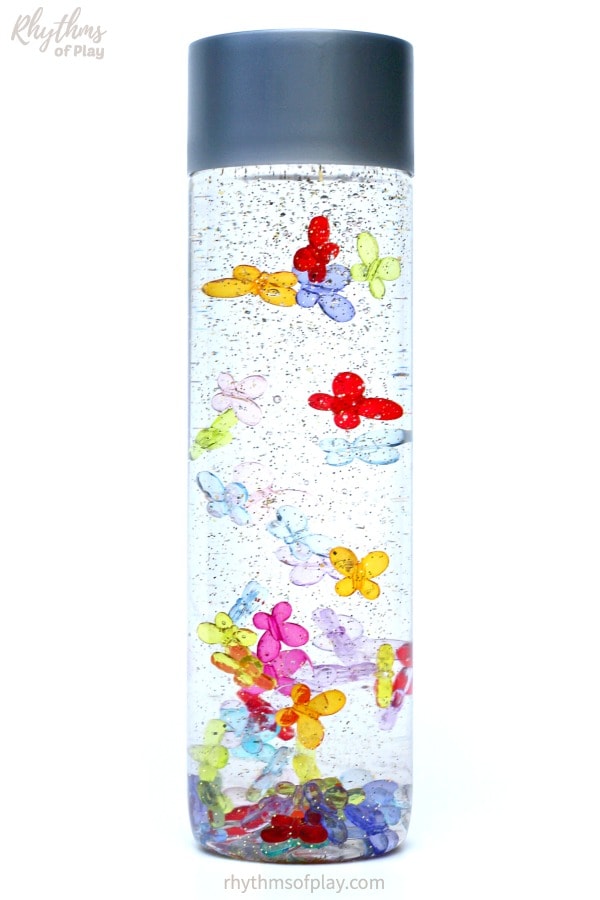
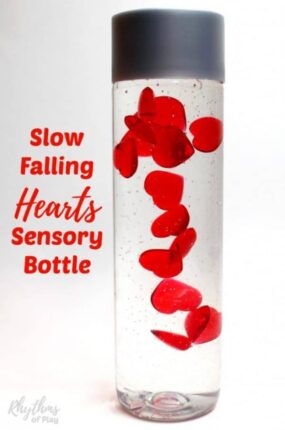
Tipping this DIY butterfly sensory bottle gently from top to bottom keeps the colorful rainbow of butterflies flying through it.
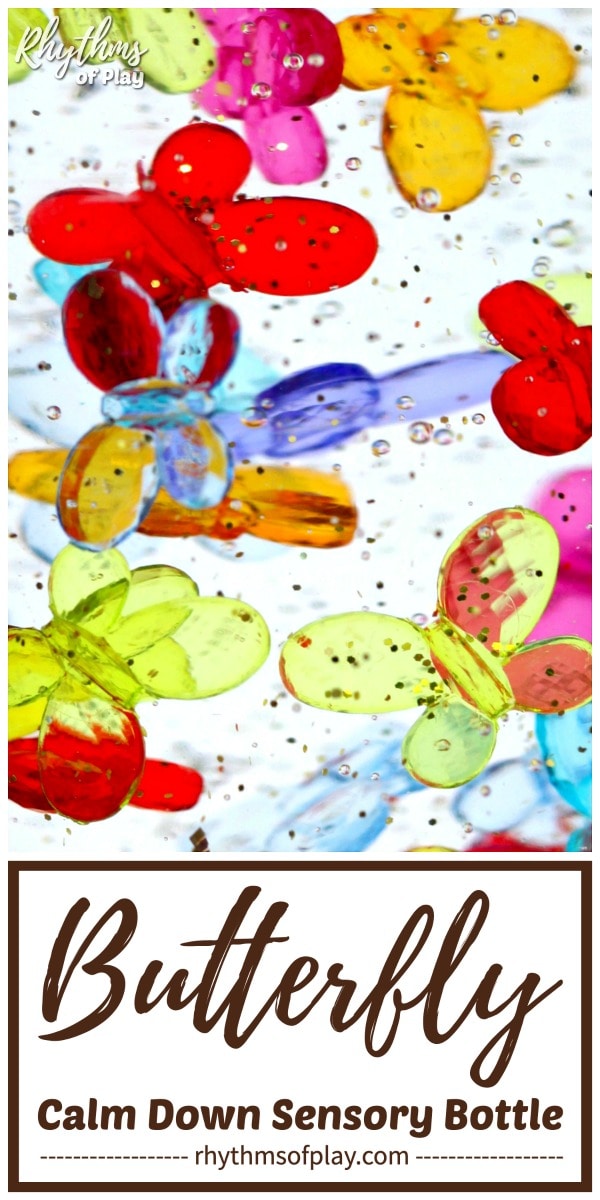
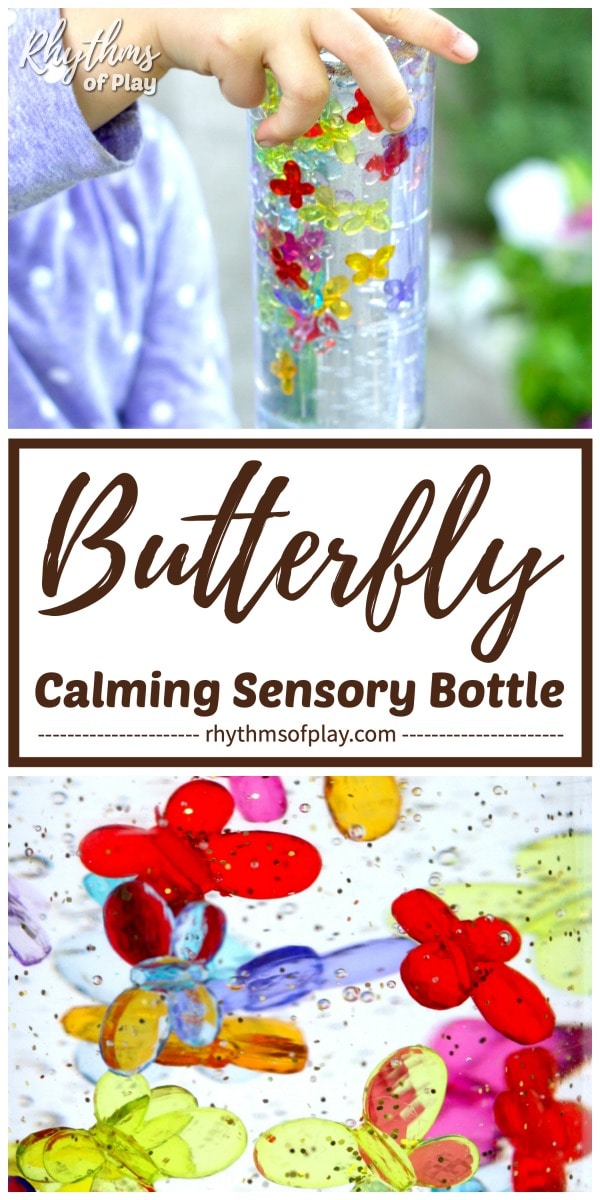
Here’s an easy butterfly sensory bottle DIY calm-down jar craft filled with beautiful butterflies. Use this step-by-step butterfly DIY sensory bottle tutorial to make gorgeous calm-down bottles that can be used as a calm-down tool to help children learn to self-regulate, a science teaching tool, a meditation aid, and a timeout timer. For more information about sensory bottles and their uses, visit Calm Down Sensory Bottles 101.
Or use homemade sensory bottle crafts like this butterfly calm-down jar for no-mess safe sensory play for toddlers too young to play with small pieces and parts unsafe to touch. For example, the tiny little butterflies flying in this calm-down jar are too small for babies and toddlers to play with. But not when safely inside a DIY sensory bottle! First published in May 2016, this butterfly craft post has been updated and republished to improve the content. You might also enjoy making this sparkling mermaid tail sensory bottle craft.
Related: DIY Butterfly Tree
How to Make a Butterfly Sensory Bottle Calm Down Jar:
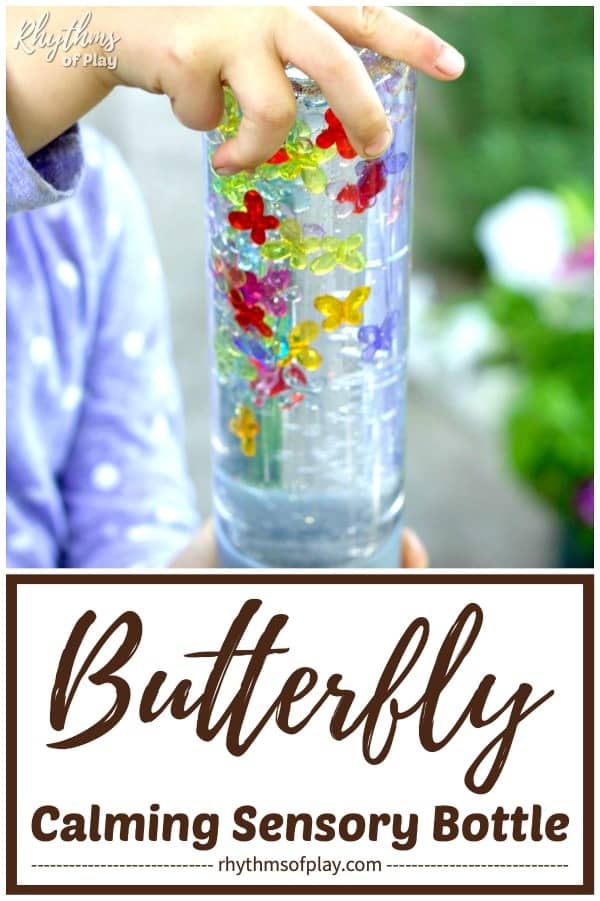
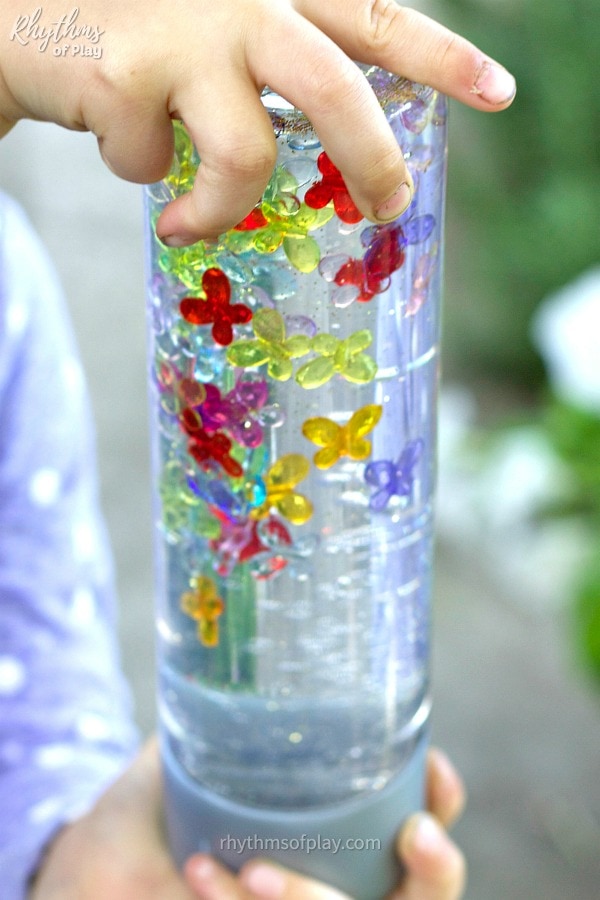
This DIY sensory bottle is super easy to make, is fun to play with, and can help soothe my spirited daughter in a snap. She enjoys tipping the bottle upside down and right side up again to watch the butterflies drift to and fro inside like they are floating in the wind. Isn’t it gorgeous!? You might also enjoy our see-through rainstick sensory bottle step-by-step DIY tutorial.
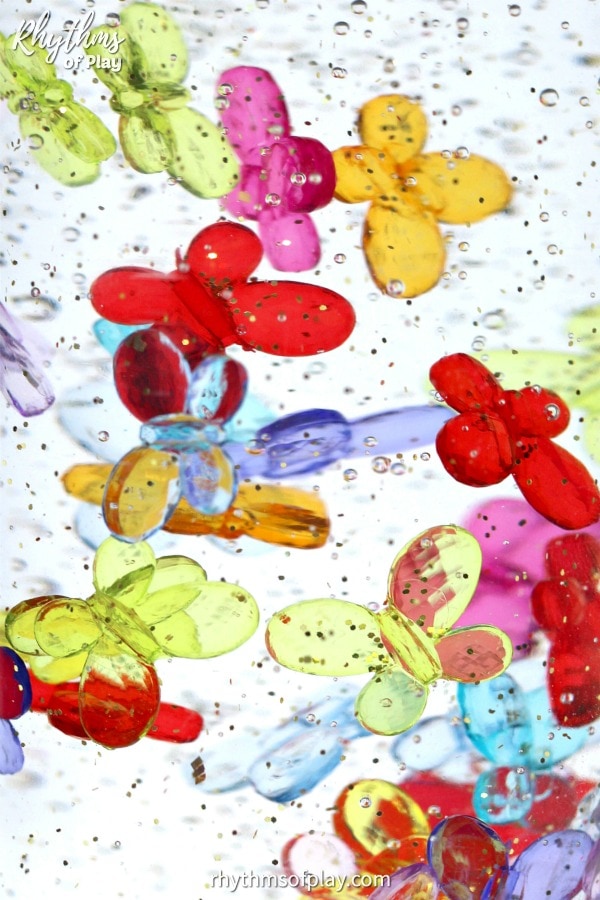
Making a DIY sensory bottle filled with butterfly beads that mimic the natural beauty of butterflies floating in the wind can be a delightful and therapeutic activity. You’ll need a clear plastic bottle, butterfly-shaped beads, water, glitter, and clear liquid hand soap, glue, or glycerin to make one.
Ready to make this soothing, calm-down jar filled with butterflies for kids and adults of all ages? First, fill the bottle halfway with water. Next, add the butterfly beads and optional gold glitter. Finally, fill the remainder of the DIY sensory bottle with clear liquid hand soap, glue, or glycerine to slow the movement of the butterfly beads. Seal the bottle tightly, and voila!
This sensory bottle with butterfly beads is a mesmerizing visual aid for calming or soothing an overwhelmed or anxious child. It works just as well for adults! My daughter is playing with this soothing sensory bottle in the photograph below. Scroll to the next section for the step-by-step butterfly sensory bottle DIY tutorial. You might also enjoy this list of nature sensory bottle DIYs you can make.
Related: Glittering Mermaid Tail Sensory Bottle
DIY Butterfly Sensory Bottle Recipe Materials:
Please read the step-by-step sensory bottle instructions before choosing your supplies so you know the steps involved and what to expect. Because you can make this butterfly sensory bottle craft using a few different types of butterfly beads and supplies, reading the instructions before purchasing your sensory bottle recipe materials will help you make a more informed choice about which to choose. Once you understand the basics, gather your favorite materials from the butterfly bottle craft supplies on the list below:
- New or recycled water bottle
 or mason jar
 - Goo Gone (optional)
- Water (distilled is best)
- Acrylic butterflies; Use any of the following butterfly beads:
- Crystal faceted butterflies
- Multicolored transparent butterfly beads
- Butterfly pony beads for crafts and jewelry-making
- Gold glitter (optional)
- Choose one of the following agents to increase viscosity:
- Super Glue
 (optional)
 - Duct tape (optional)
 or
or  Water (
Related: See-Through Rainstick Musical Sensory Bottle
DIY Butterfly Sensory Bottle Recipe with Step-by-Step Directions
Make a gorgeous DIY butterfly calm-down jar featuring colorful butterflies flying around inside with the instructions below. First, gather the sensory bottle craft supplies you like best from the list above. Next, follow the step-by-step instructions to make this butterfly calming tool.
1. Clean the recycled bottle or mason jar.
- Peel off the sticker on the recycled bottle.
- Use Goo Gone to remove any sticky residue that remains.
2. Add water to the sensory bottle or calm-down jar.
- If you use clear liquid hand soap or glycerine, pour 1/2 cup of water into the bottle or mason jar.
- Or, start by putting 3/4 to one cup of water into the clear plastic water bottle or mason jar using clear glue instead of liquid hand soap or glycerine to make this flying butterfly bottle.
3. Put butterflies into the bottle or jar.
- Drop ten to thirty acrylic butterflies into the recycled bottle or mason jar.
 into the recycled bottle or mason jar.
4. Add glitter (optional).
- Sprinkle in a few shakes of fine gold glitter.
- To make this homemade sensory bottle, start with less glitter than you think. It is almost impossible to remove glitter, but it’s easy to add more if needed.
5. Pour clear liquid hand soap into the bottle or Jar.
- Fill the remainder of the bottle with clear liquid hand soap (or glue) while ensuring the water is to the top so that no air remains inside the butterfly sensory bottle DIY.
- To do this:
- Work over a sink and keep pouring the hand soap into the sensory bottle until the bubbles at the top overflow and fall down the sides of the butterfly calm-down jar.
- Next, screw the cap on and rinse and dry the butterfly sensory bottle before moving to the next step.
6. Give the butterfly sensory bottle a gentle shake and a swirl.
- Place the lid on the bottle and gently tip it from top to bottom.
- Warning: If you shake a butterfly sensory bottle made with clear liquid hand soap too hard, the contents will take a few hours to mix and settle, and the bottle can be a bit murky for a while. Use clear glue or glycerine to avoid this.
- It’s normal for calm-down bottles with liquid hand soap and water in the recipe to be cloudy for several hours after the first shake as long as you fill the bottle to overflowing as instructed in step five.
- However, once the contents settle, this sensory bottle DIY will remain clear each time you shake it or turn it upside down.
7. Glue on the lid of your DIY butterfly sensory bottle (optional).
- Read the sensory bottle tips in the next section before gluing the bottle shut.
Related: Seashells Calming Sensory Bottle
DIY Butterfly Sensory Bottle Tips
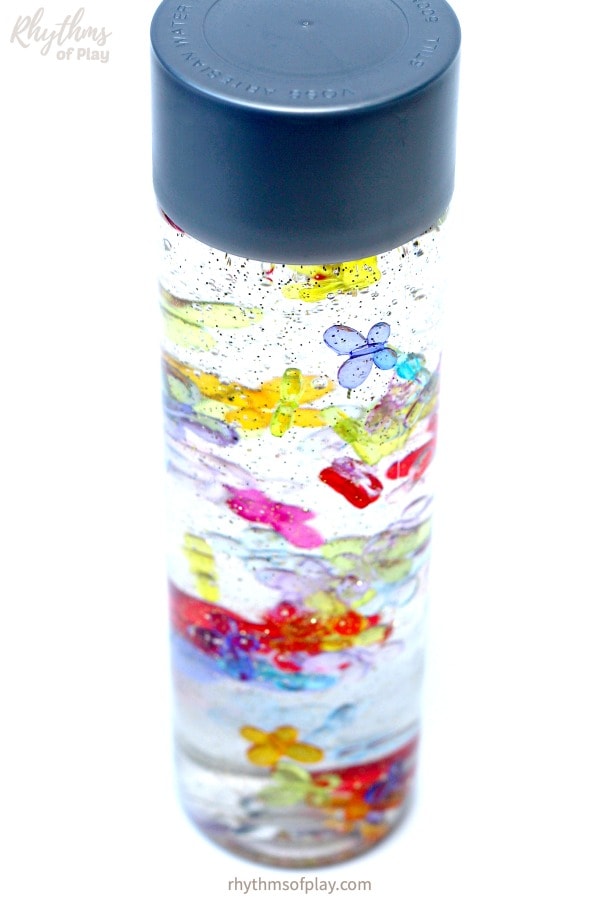
Gently tip the sensory bottle from top to bottom to watch the butterflies slowly move and fly. Continue to play with this butterfly sensory bottle for a day or two, and make sure you like how it moves.
If you want the butterflies to move faster, pour out some liquid contents, and add more water. Or, if you want them to move slower, pour out some fluid and add clear liquid hand soap or glue. Want more glitter? Add some more. Easy peasy!
Once you are happy with your DIY butterfly sensory bottle, glue on the lid with super glue and hand it over to your kids. You can also leave it unglued. There are pros and cons to either gluing the bottle or not.
Not gluing the butterfly calm down jar shut makes it possible to open it again, which can be a true nightmare (and a potential trip to the emergency room) if your toddler or preschooler opens it in an attempt to drink it or pour it all over the house or classroom.
However, older children, teens, and adults might like to be able to open the sensory bottle in the future to allow air back into the water when suction dents appear or change up the contents. So please choose the option with the slightest amount of danger or negatives depending on the age of the children you are making it for. You can also make this calming sensory bottle filled with soothing seashells.
Related: Book-Inspired Rainbow Science for Kids
Butterfly Sensory Bottle Science Lesson or STEM Activity
Feel free to add a science lesson on viscosity while making this sensory bottle. There are many fun ways to do this. One way, for example, is to ask children to notice how the different ingredients move inside the bottle.
Another way to spark children’s curiosity is to invite them to make another butterfly sensory bottle without hand soap, glue, or glycerine (use only water). Or, make one sensory bottle with clear liquid hand soap, another with clear glue, and another with glycerine, each with the same amount of water to compare the differences. You can even make a butterfly sensory bottle with only water and compare how fast the butterflies move in each one.
Asking these types of questions and setting up simple science experiments for children at home or in the classroom will cause them to ask a lot of why questions and this works to inspire them to discover the answers to the questions they seek, which is how learning happens best! You might also enjoy this massive list of outdoor learning ideas and nature activities for kids.
Related: Books That Help Kids Understand Their Feelings
Calm Down Sensory Bottles
DIY Calm-down sensory bottles are excellent science teaching aids and timeout tools. They can help anxious children (or adults) calm down, unwind, and relax. Watching the butterflies gracefully move within the bottle can help soothe anxiety and stress, providing a sense of tranquility and relaxation.
This butterfly sensory bottle is also a great tool to help children develop self-regulation skills. Whether used at home, in classrooms, or as a therapy aid, this DIY sensory bottle offers a simple yet effective tool for promoting emotional regulation and sensory exploration. The gentle motion and captivating visuals can also aid in mindfulness practices, encouraging focus and attention redirection.
Calm-down bottles like this butterfly bottle also provide an easy and safe way for babies and toddlers to investigate small items, such as butterfly beads, that are unsafe for them to touch without the risk of choking. Check out Calm Down Sensory Bottles 101 to learn more about sensory bottles, their uses, and how to make them, including our best troubleshooting tips.
Check out these homemade DIY projects for kids and adults for fun do-it-yourself crafts and gift ideas for moms, dads, caregivers, and teachers everywhere!
Learn more about Rhythms of Play HERE!
If you liked this DIY Butterfly Bottle, You might also like:
- DIY Butterfly Tree Centerpiece
- Frozen-Inspired Snowstorm Sensory Bottle
- Nature-Inspired Sensory Bottles
- DIY Monarch Butterfly Peg Dolls
- Printable Sunflower Crown


What type of butterflies
Hi Katherine, I’m sorry I missed your comment!
We used the butterflies listed in the sensory bottle supply section. 🙂
Do you happen to know the brand of clear liquid hand soap you used? I’ve used baby oil and water but see where the hand soap would keep things suspended for a longer time.
Hi Cheryl, I use softsoap and it works great!
Can you use dish liquid soap?
Yes, but you will need to use more dish soap and less water 🙂
Do you glue the lid down after you are satisfied with the bottle and the contents are no longer murky?? Thanks!
Hi Debbie! Yes, after you are happy with the content and how it moves it is time to glue it shut. You can also add duck tape around it to make it extra secure. The lids can break if there are twisted after they are glued shut. 🙂
Would glycerin work in place of the hand soap?
Hi Gail, great question!
No, glycerin will not work in place of hand soap. The butterflies would sink quickly to the bottom if you used glycerine. Glycerin is great for helping the glitter in sensory bottles swirl but is not viscous enough to help the butterflies float, swirl and fly slowly. Hand soap helps add viscosity to the water so the butterflies can gently fly around the sensory bottle. 🙂